The Importance of Laundry Shelves
Laundry shelves are essential for maintaining an organized and functional laundry space. They provide a designated area for storing detergent, fabric softener, stain removers, and other laundry essentials. By having these items easily accessible, you can streamline your laundry routine and save time and effort. Additionally, laundry shelves can help maximize the use of space in a small laundry room, allowing you to keep the area clutter-free.
Materials Needed
1. Wood
Choose a sturdy and durable wood material, such as plywood or pine boards, for building the shelves. Ensure that the wood is properly measured and cut according to your desired shelf size.
2. Screws and Nails
Use appropriate screws and nails to secure the shelves together and attach them to the wall. Opt for screws and nails that are suitable for the type of wall you have, whether it’s drywall or concrete.
3. Level
A level will help ensure that your shelves are straight and properly aligned. This tool is crucial for achieving a professional-looking finished product.
4. Drill
A drill will make the installation process easier and quicker. It will allow you to create pilot holes for the screws and make attaching the shelves to the wall a breeze.
5. Paint or Stain
If desired, paint or stain can be used to add a personal touch to your laundry shelves. Choose a color or finish that complements the overall aesthetic of your laundry room.
Step-by-Step Guide
1. Measure and Mark
Start by measuring the wall where you plan to install the shelves. Use a pencil to mark the height and position of each shelf. Ensure that the marks are level and evenly spaced.
2. Attach Brackets
Using a drill, attach brackets or support brackets to the wall at the marked positions. Make sure they are securely fastened and level.
3. Install Shelf Supports
Place the shelf supports on top of the brackets and secure them in place using screws or nails. Double-check that they are level and aligned correctly.
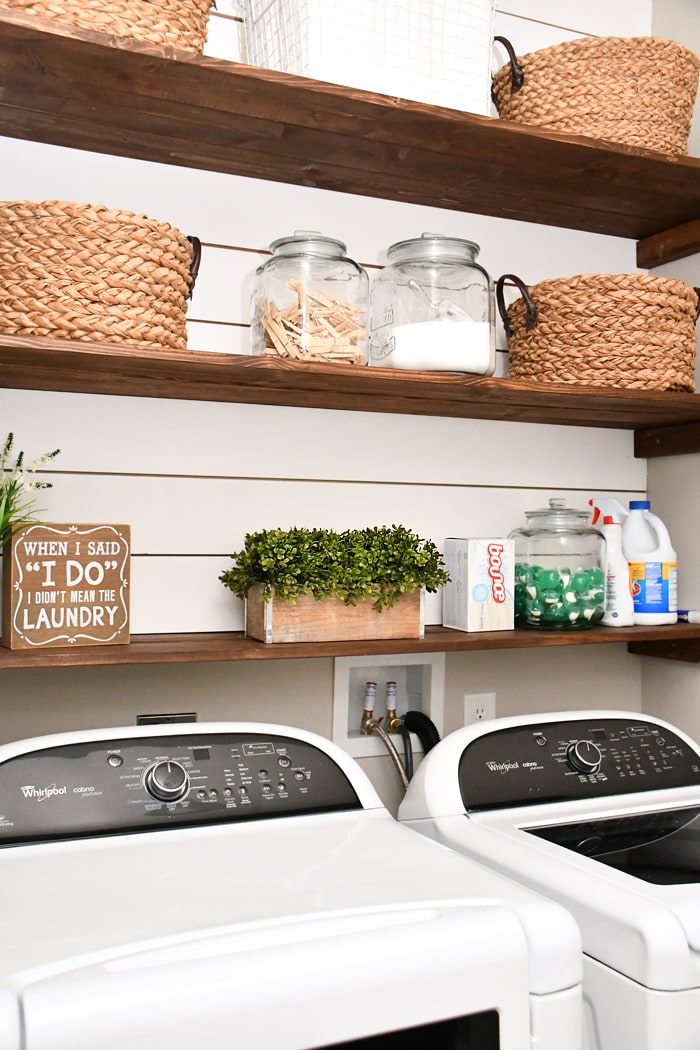
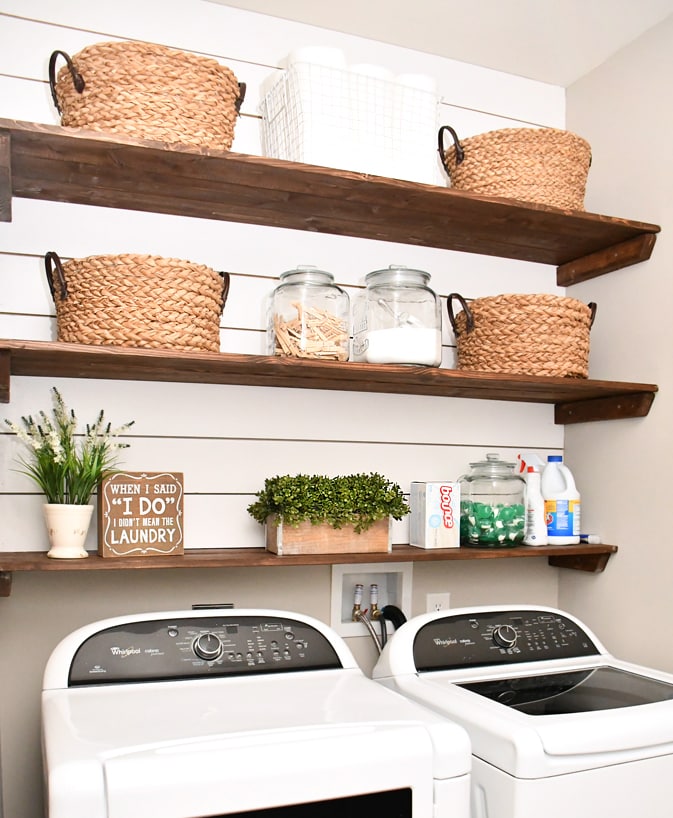
4. Add Shelves
Place the pre-cut shelves onto the supports. Make sure they are positioned securely and level. Use screws or nails to attach the shelves to the supports for added stability.
5. Finishing Touches
If desired, paint or stain the shelves to enhance their appearance. Allow the paint or stain to dry completely before using the shelves.
Maintenance Tips
To keep your laundry shelves in good condition, follow these maintenance tips:
1. Regular Cleaning
Wipe down the shelves regularly to remove any dust or debris. This will help maintain their cleanliness and prevent the buildup of dirt.
2. Check for Wear and Tear
Periodically inspect the shelves for any signs of wear and tear. Repair or replace any damaged parts to ensure the shelves remain sturdy and functional.
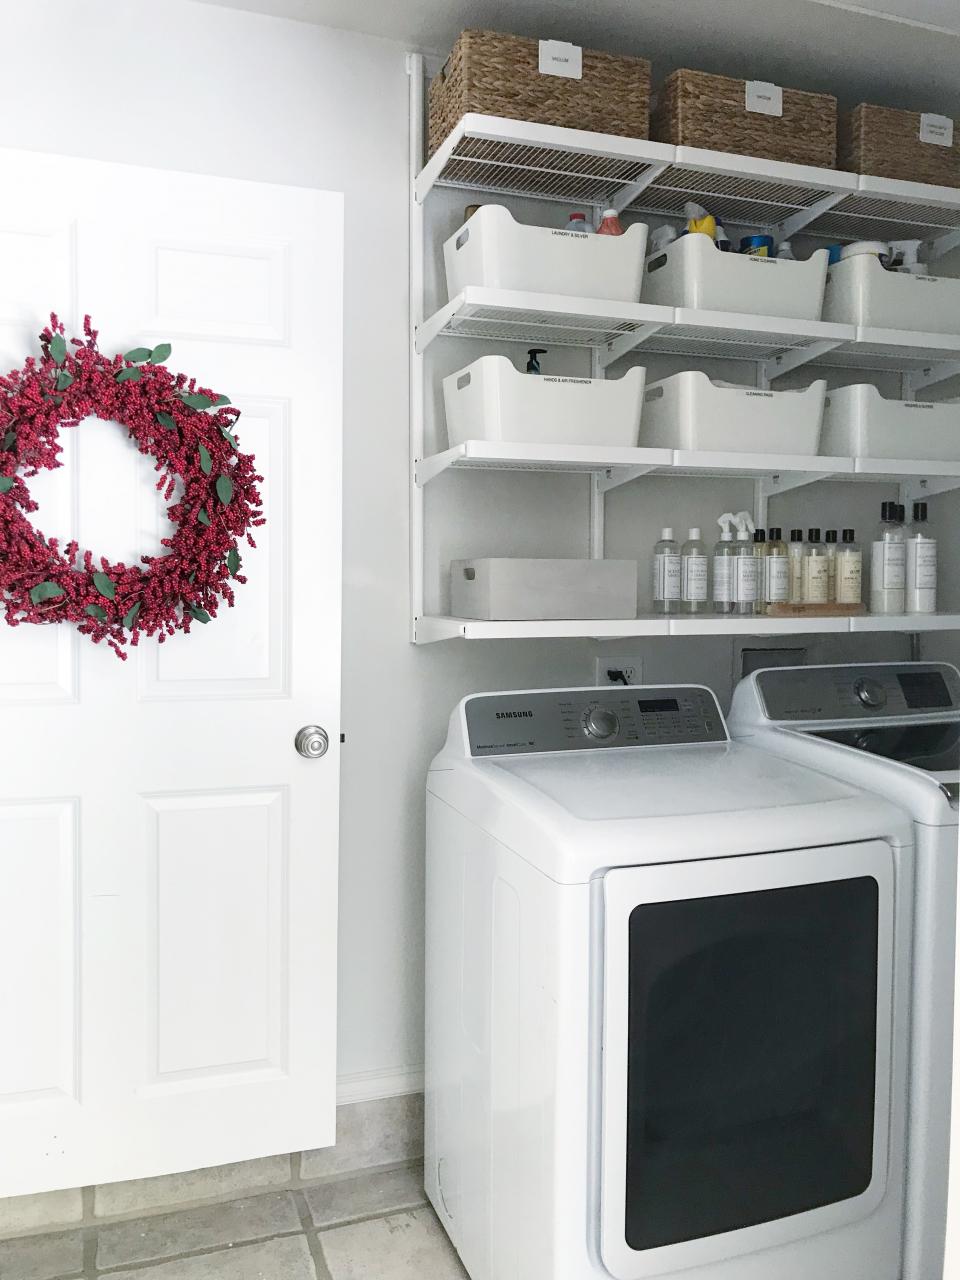
3. Optimize Organization
Take the time to organize your laundry supplies on the shelves. Group similar items together and use storage containers or baskets to keep everything neat and accessible.
4. Utilize Space Efficiently
Maximize the use of your laundry shelves by utilizing vertical space. Consider adding hooks or hanging organizers to store items such as clothespins, hangers, or cleaning tools.
By following these steps and tips, you can easily build laundry shelves that will enhance the functionality and organization of your laundry room. Enjoy a more efficient and enjoyable laundry experience with your newly built shelves!
Simple DIY Updated Shelving for a Small Laundry Room simply organized
Laundry Room Shiplap and DIY Wood Shelves Easy Tutorial
Laundry Room Shiplap and DIY Wood Shelves Easy Tutorial

68+ Stunning DIY Laundry Room Storage Shelves Ideas Page 55 of 70
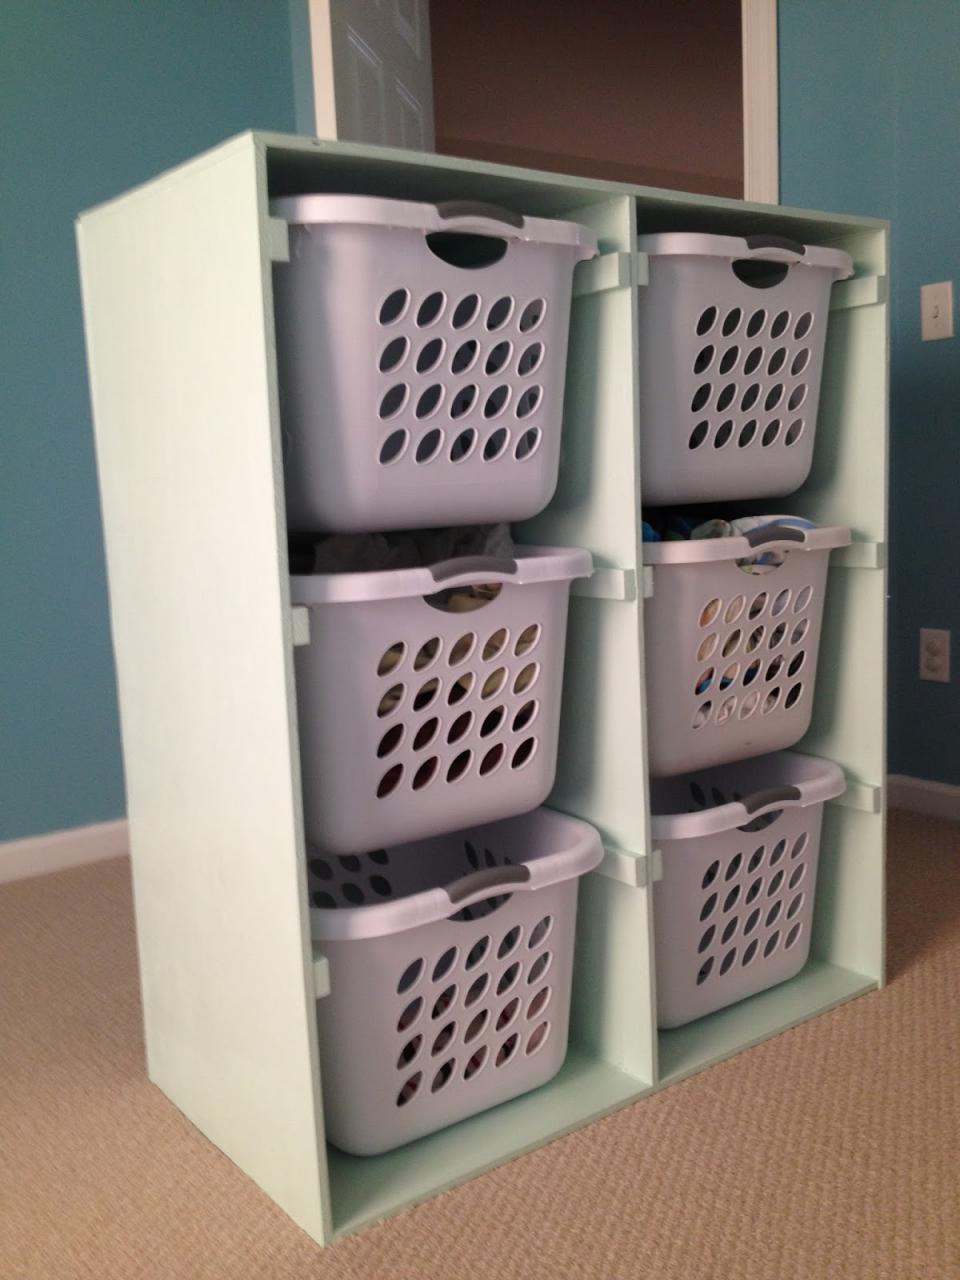
Charlotte's Empire Build Shelves for your laundry baskets

Remodelaholic Builtin Laundry Unit with Shelving
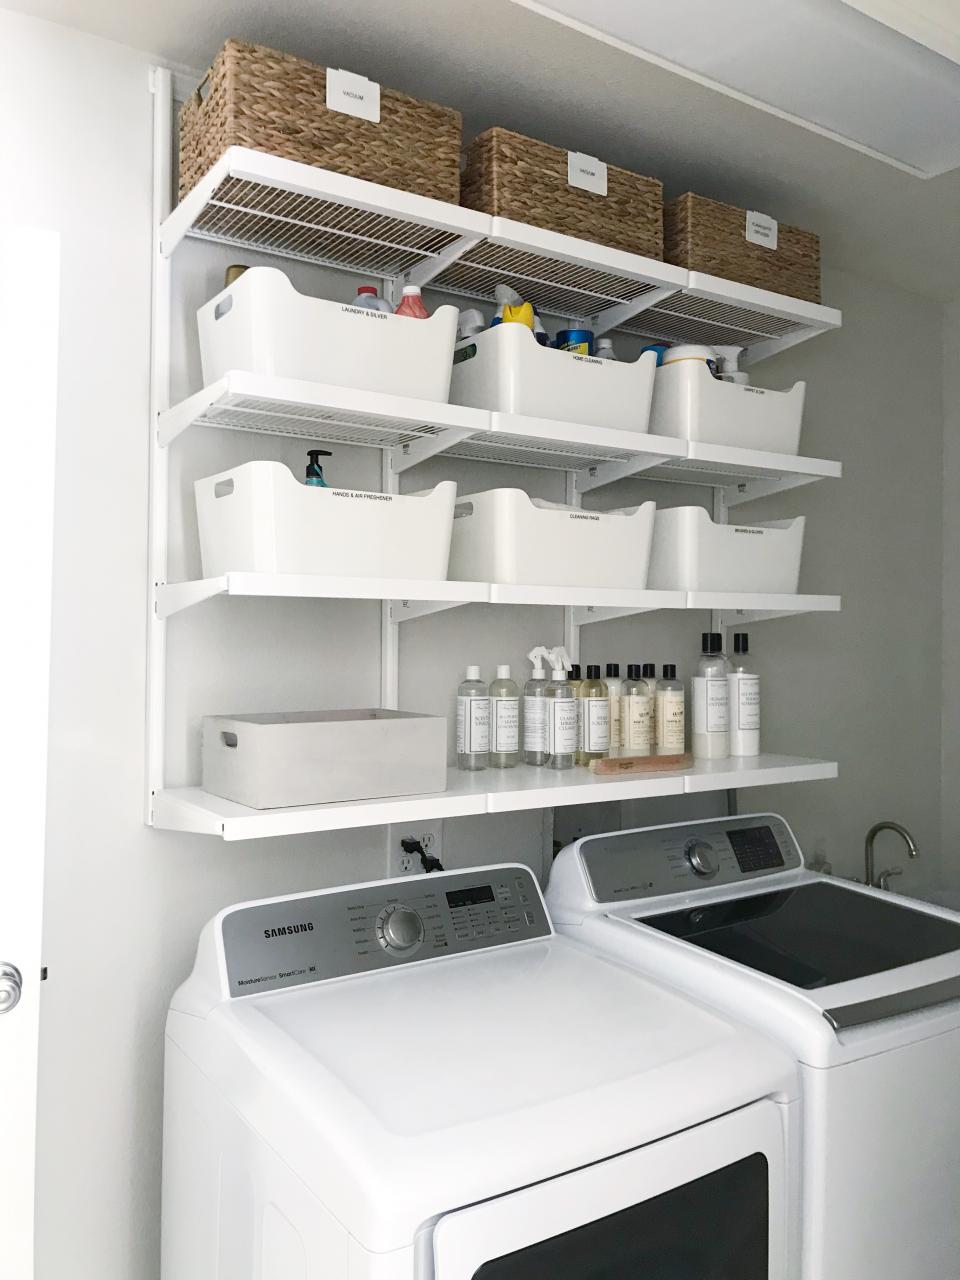
Homemade Laundry Room Shelves 68+ Stunning DIY Laundry Room Storage
Finally Looking Forward to Laundry Day 25 Laundry Room
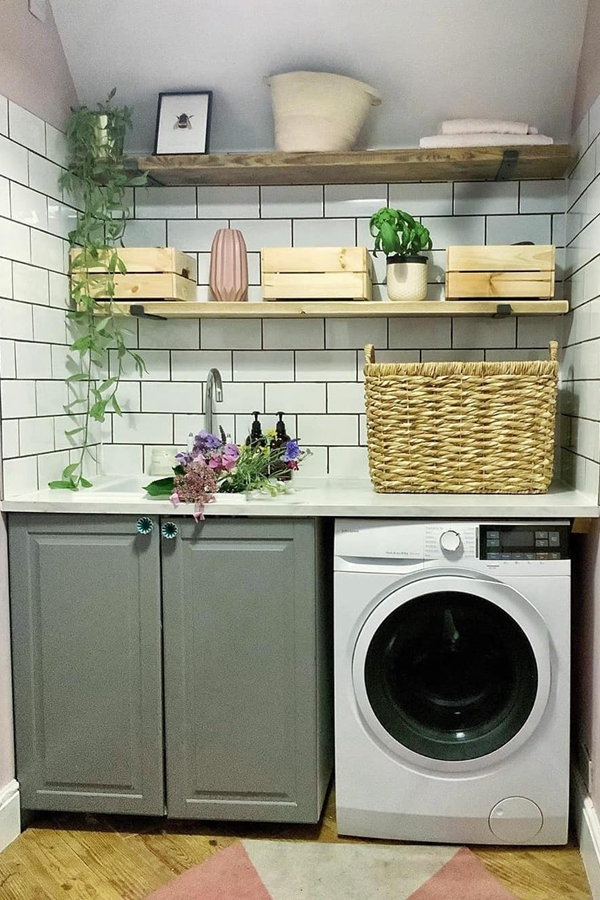
Our Quick, Easy DIY Laundry Shelf Hometalk
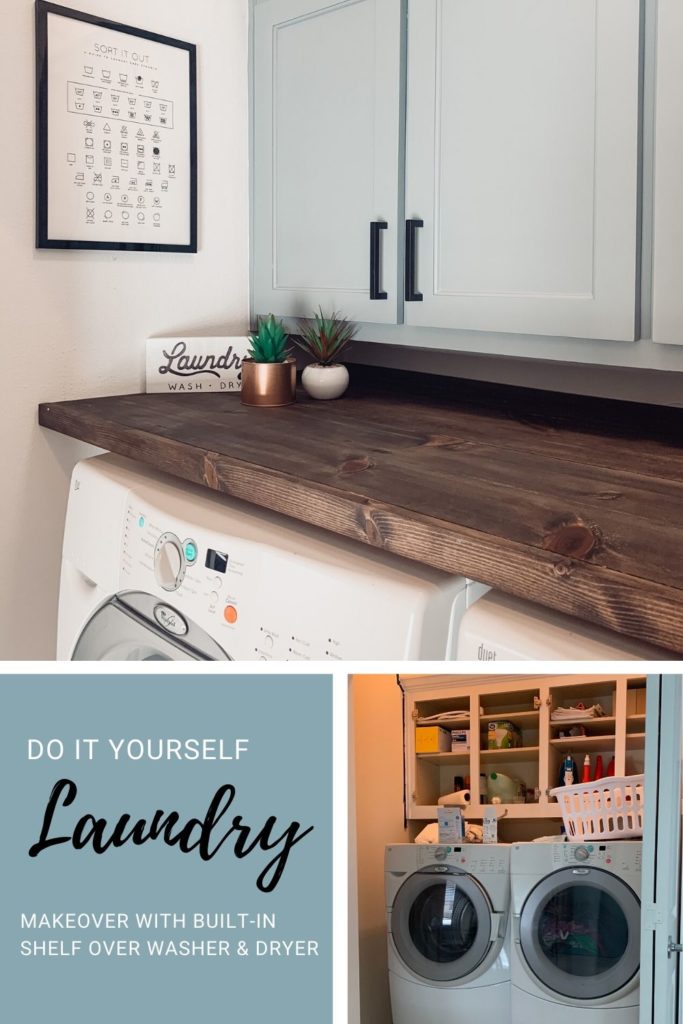
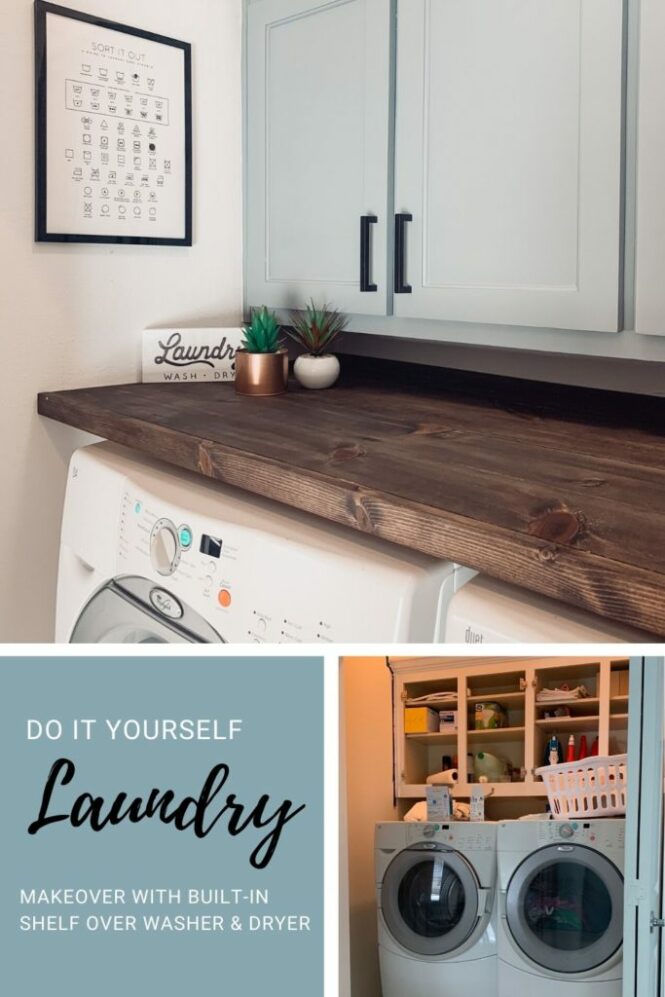
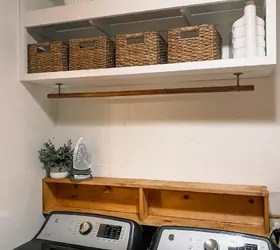
DIY Laundry Room Shelf Over Washer and Dryer Laundry Countertop


