Introduction
The laundry room is an essential part of any home, and having an organized and functional space can make laundry day much easier. One way to enhance the functionality and aesthetics of your laundry room is by installing shelving using black pipe. Black pipe shelving not only provides ample storage space but also adds a touch of industrial charm to your laundry room. In this article, we will explore the benefits and steps involved in creating laundry room shelving using black pipe.
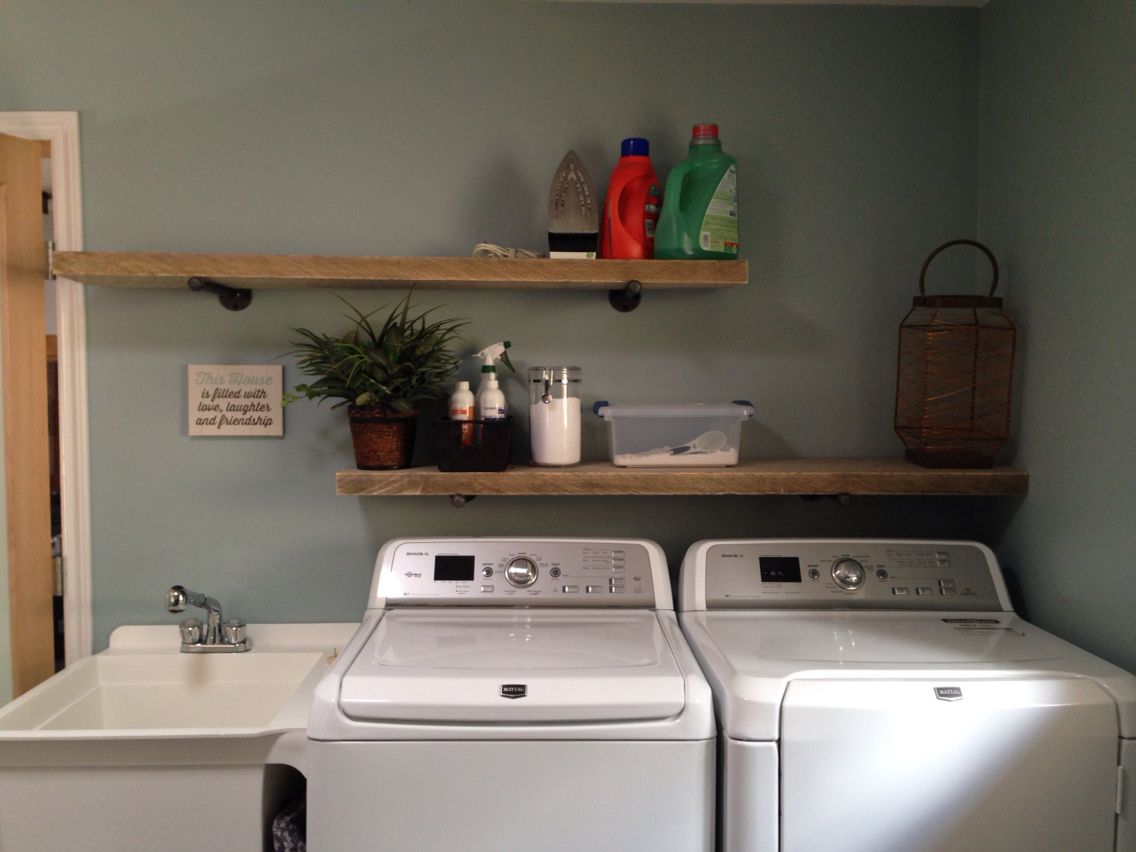
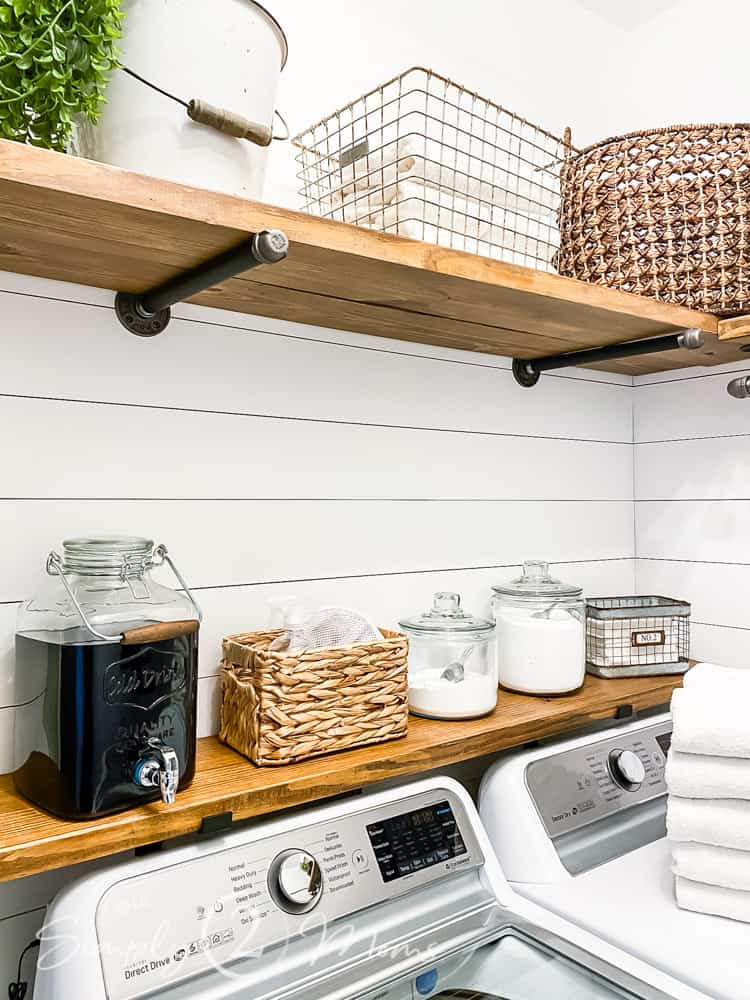
Benefits of Black Pipe Shelving
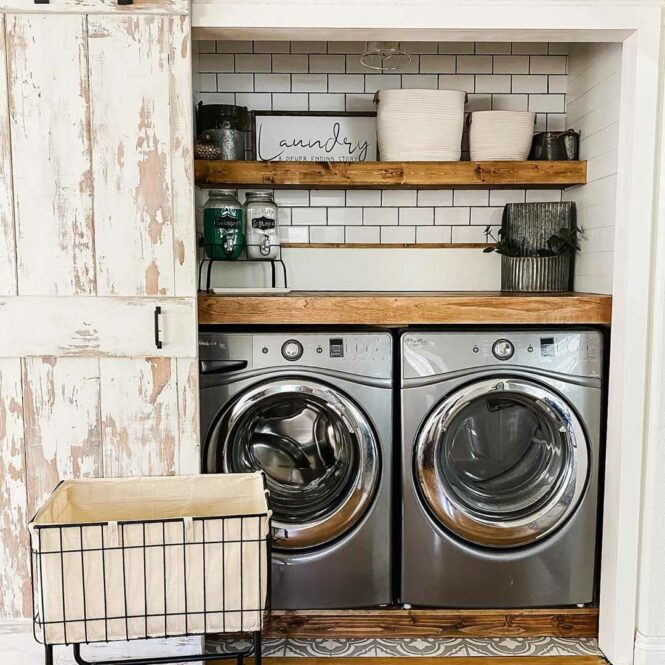
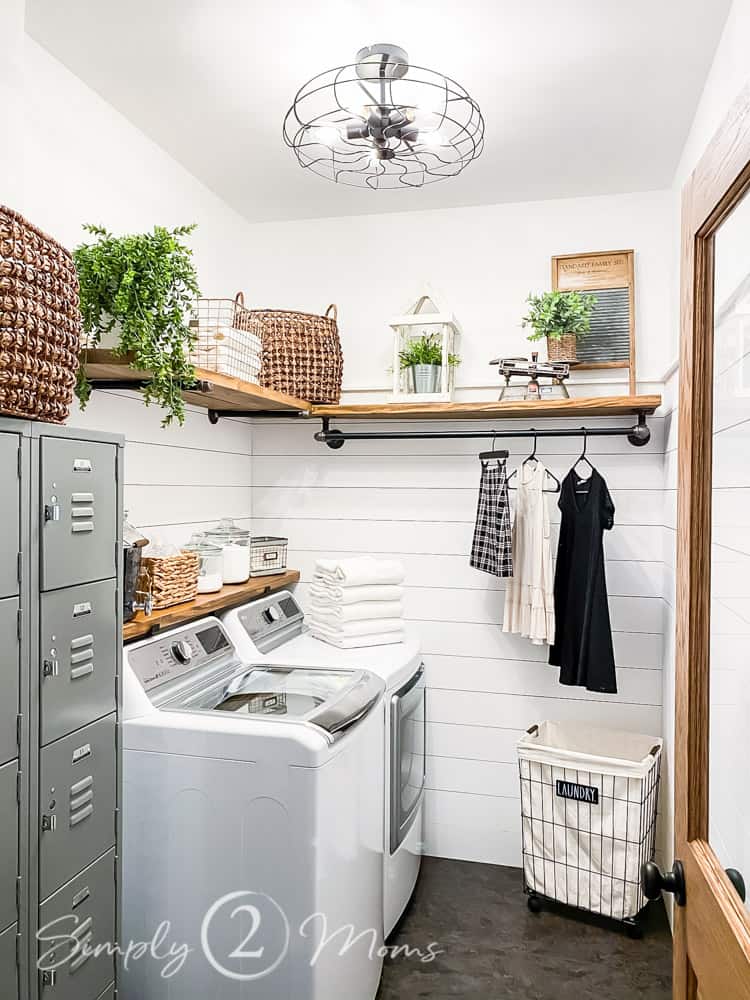
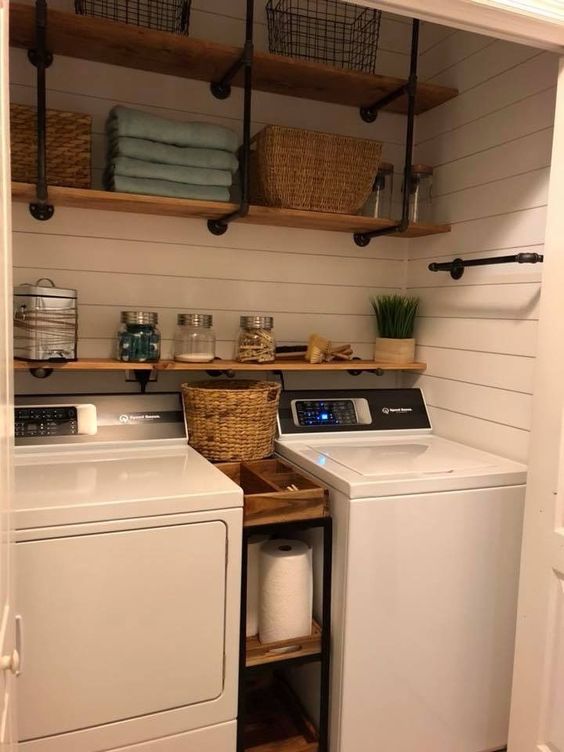
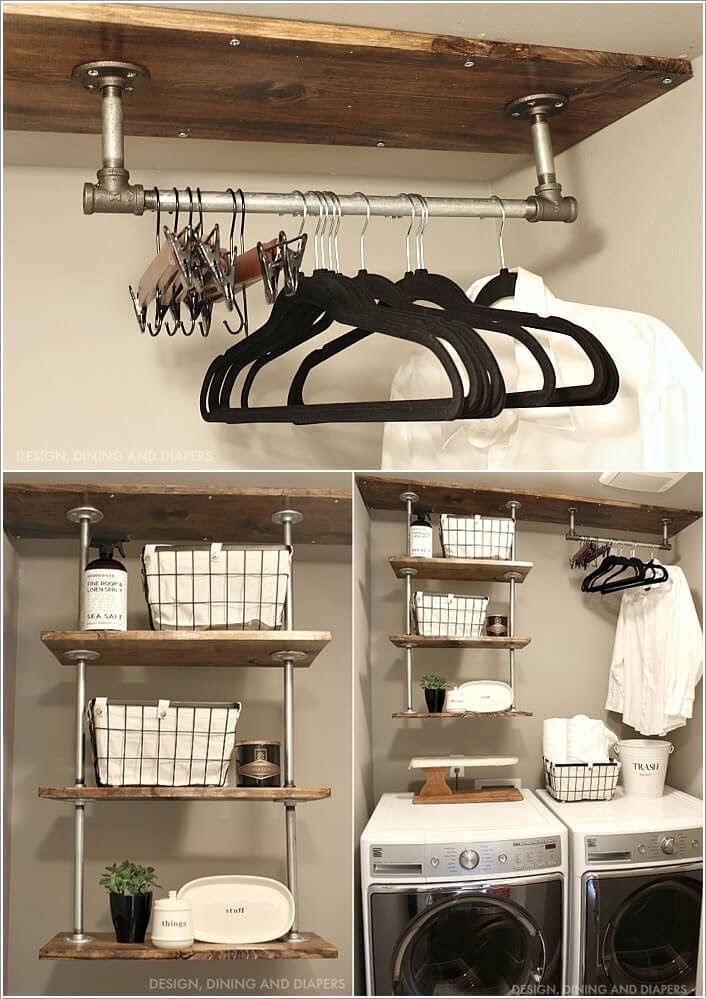
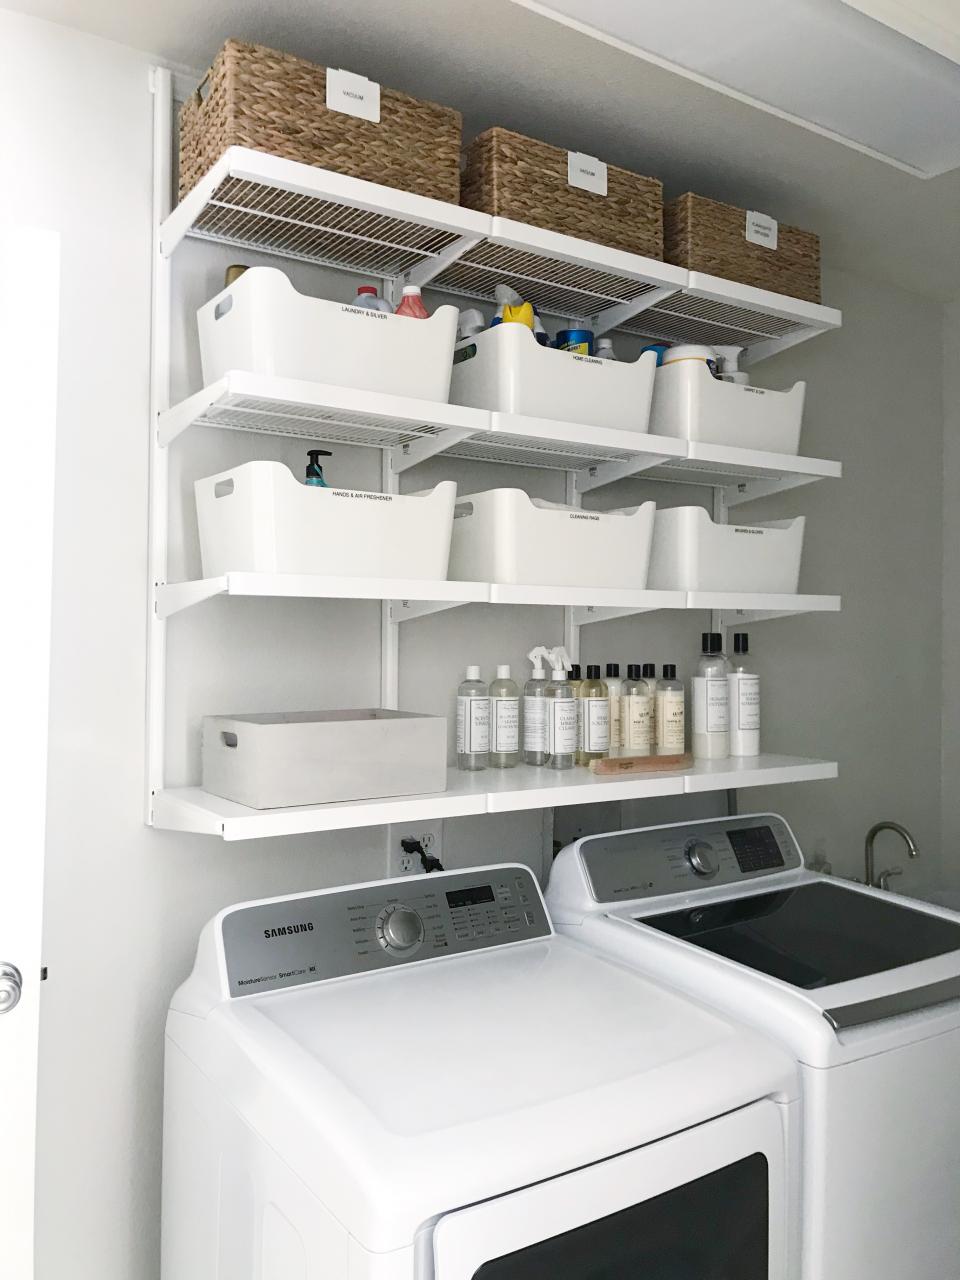
Black pipe shelving offers several advantages over traditional shelving options. Firstly, black pipe is incredibly sturdy and can support heavy loads, making it perfect for storing laundry essentials such as detergent, fabric softeners, and cleaning supplies. Additionally, black pipe shelving is highly customizable, allowing you to create a storage solution that perfectly suits your laundry room’s dimensions and your specific needs. Lastly, black pipe shelving adds a unique and stylish industrial look to your laundry room, elevating its overall appearance.
Materials Needed
Before you begin, gather the following materials:
– Black pipe and fittings
– Wood boards
– Screws and anchors
– Pipe cleaner and sealant
– Power drill and screwdriver
– Measuring tape and level
Step 1: Measure and Plan
Start by measuring the available space in your laundry room where you want to install the shelving. Consider the height, width, and depth you desire for your shelves. Sketch a rough plan to visualize how the shelving will fit into the room.
Step 2: Purchase Materials
Based on your measurements and plan, purchase the necessary black pipe, fittings, and wood boards from a local hardware store or online retailer. Ensure that you have all the required screws, anchors, and tools as well.
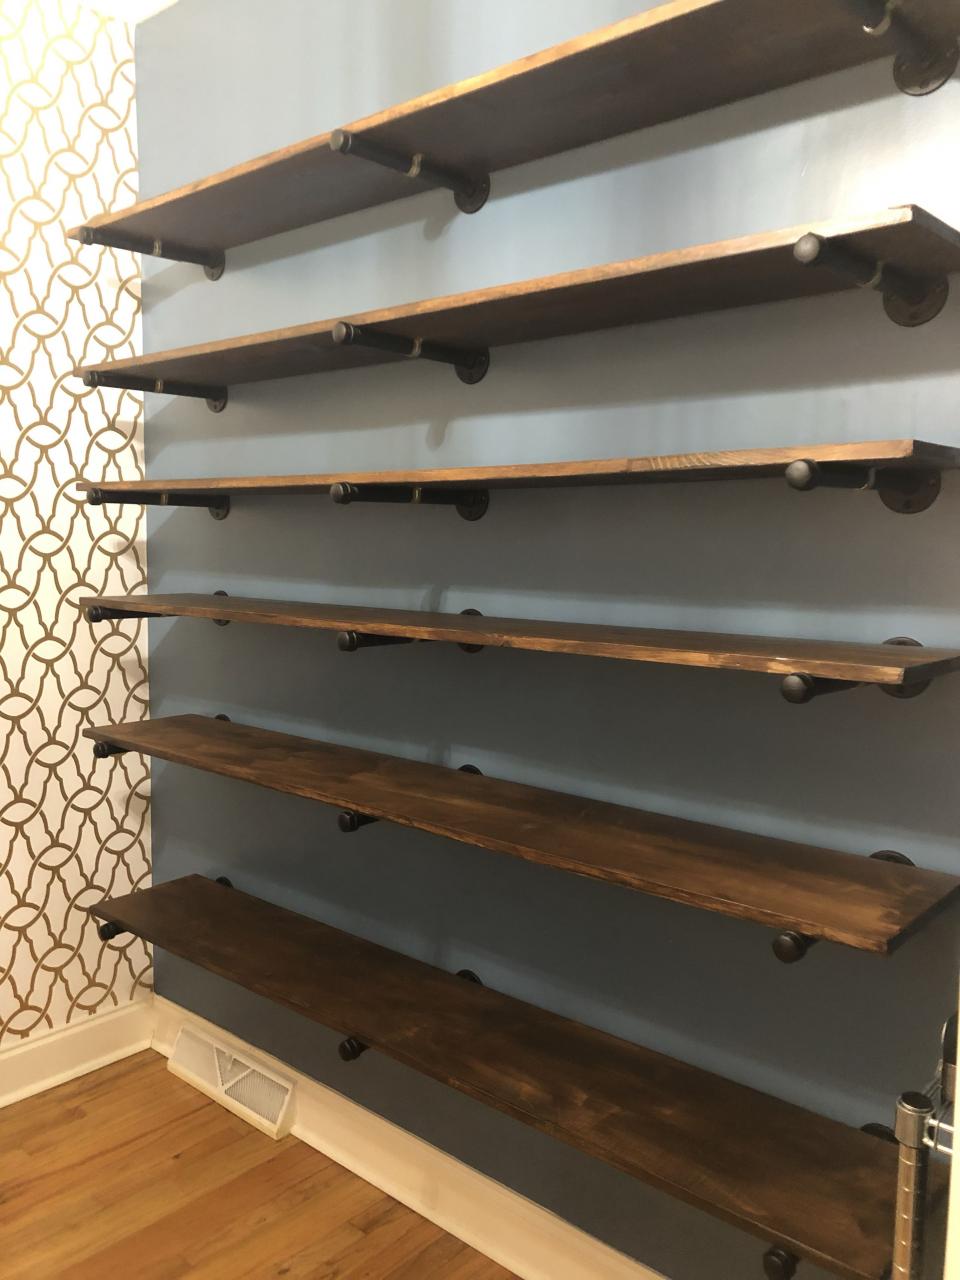
Step 3: Build the Frame
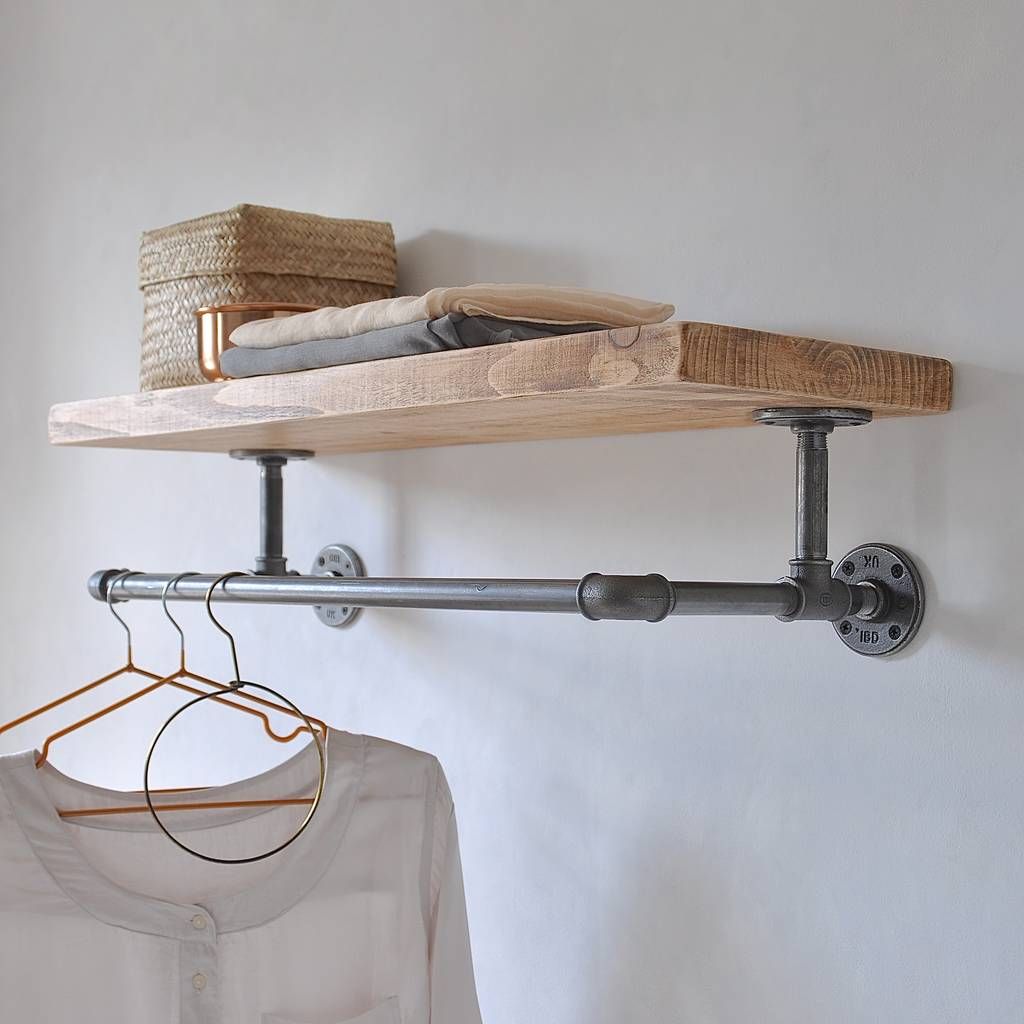
Begin by assembling the black pipe frame. Use a pipe cutter to cut the pipe to your desired lengths, and then connect the pieces using the fittings. Use a pipe cleaner and sealant to ensure secure connections.
Step 4: Attach the Wood Boards
Next, attach the wood boards to the black pipe frame. Measure and mark the locations for the screw holes on both the pipes and boards. Pre-drill the holes and then screw the boards onto the frame.
Step 5: Install the Shelving
Now that the frame and boards are assembled, it’s time to install the shelving in your laundry room. Use a level to ensure that the shelves are straight and secure them to the wall using screws and anchors for added stability.
Step 6: Finishing Touches
Finally, step back and admire your newly installed black pipe shelving in your laundry room. You can further enhance the appearance by staining or painting the wood boards to match your room’s decor.
Conclusion
By following these steps, you can create functional and stylish laundry room shelving using black pipe. This DIY project not only provides ample storage space but also adds a unique touch to your laundry room’s design. Enjoy your organized and aesthetically pleasing laundry room!
Wait Until You See This Amazing Laundry Room Transformation
Are you interested in our industrial wooden storage shelf? With our
11 Brilliant Laundry Room Ideas The Unlikely Hostess
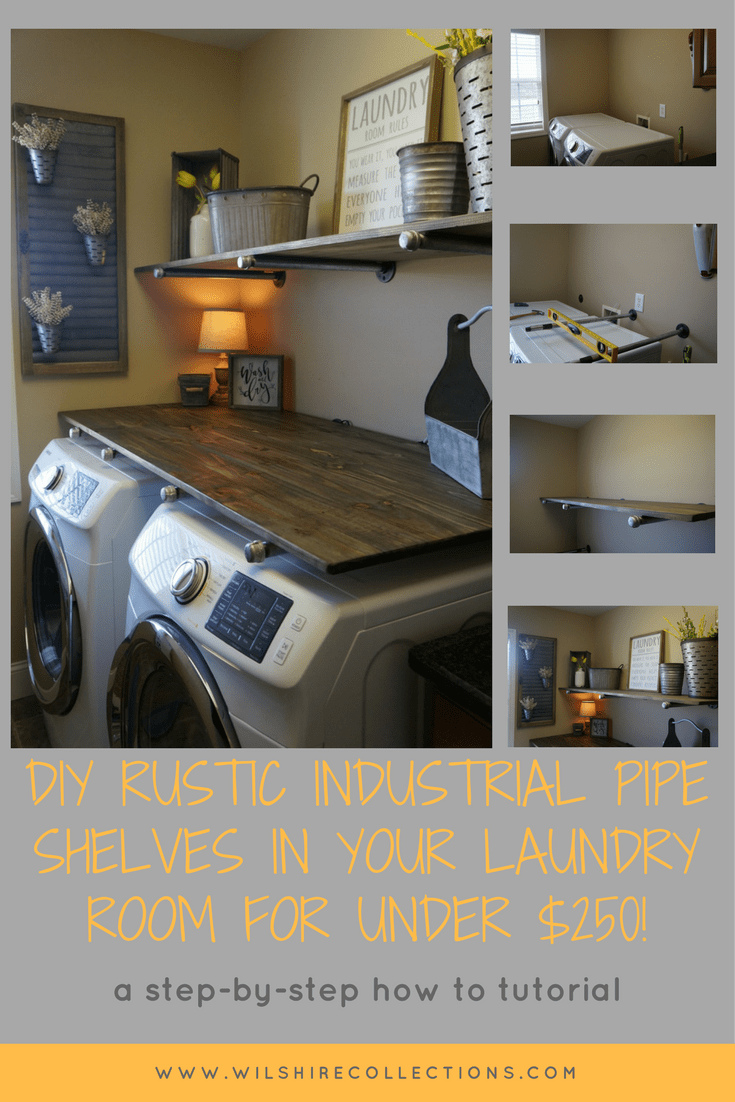
Laundry Room Makevover for under 250! With DIY Rustic Industrial Pipe
Pin en See How Wonderful Projects Can Be Made with Metal Pipes
Homemade Laundry Room Shelves 68+ Stunning DIY Laundry Room Storage
Pin on Laundry Room
Pin on Home Reno ideas
Wait Until You See This Amazing Laundry Room Transformation

19 Best Laundry Room Shelving Ideas For an Organized Space


