Introduction
In this article, we will guide you on how to create a DIY wooden box with secret storage. This project is perfect for those who enjoy woodworking and want to add a unique and functional piece to their home. The secret storage compartment adds an element of mystery and can be used to store valuable items or simply as a fun hiding spot. Let’s get started!
Gather Your Materials
Before beginning the project, make sure you have all the necessary materials. You will need:
- Wood boards (preferably hardwood)
- Saw
- Screws or nails
- Wood glue
- Hinges
- Lock and key (optional)
- Sandpaper
- Stain or paint
- Brushes
Once you have gathered these materials, you are ready to start building your wooden box.
Building the Box
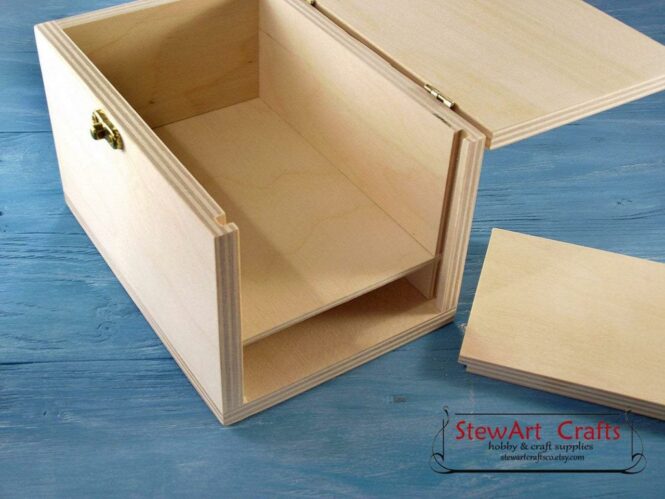
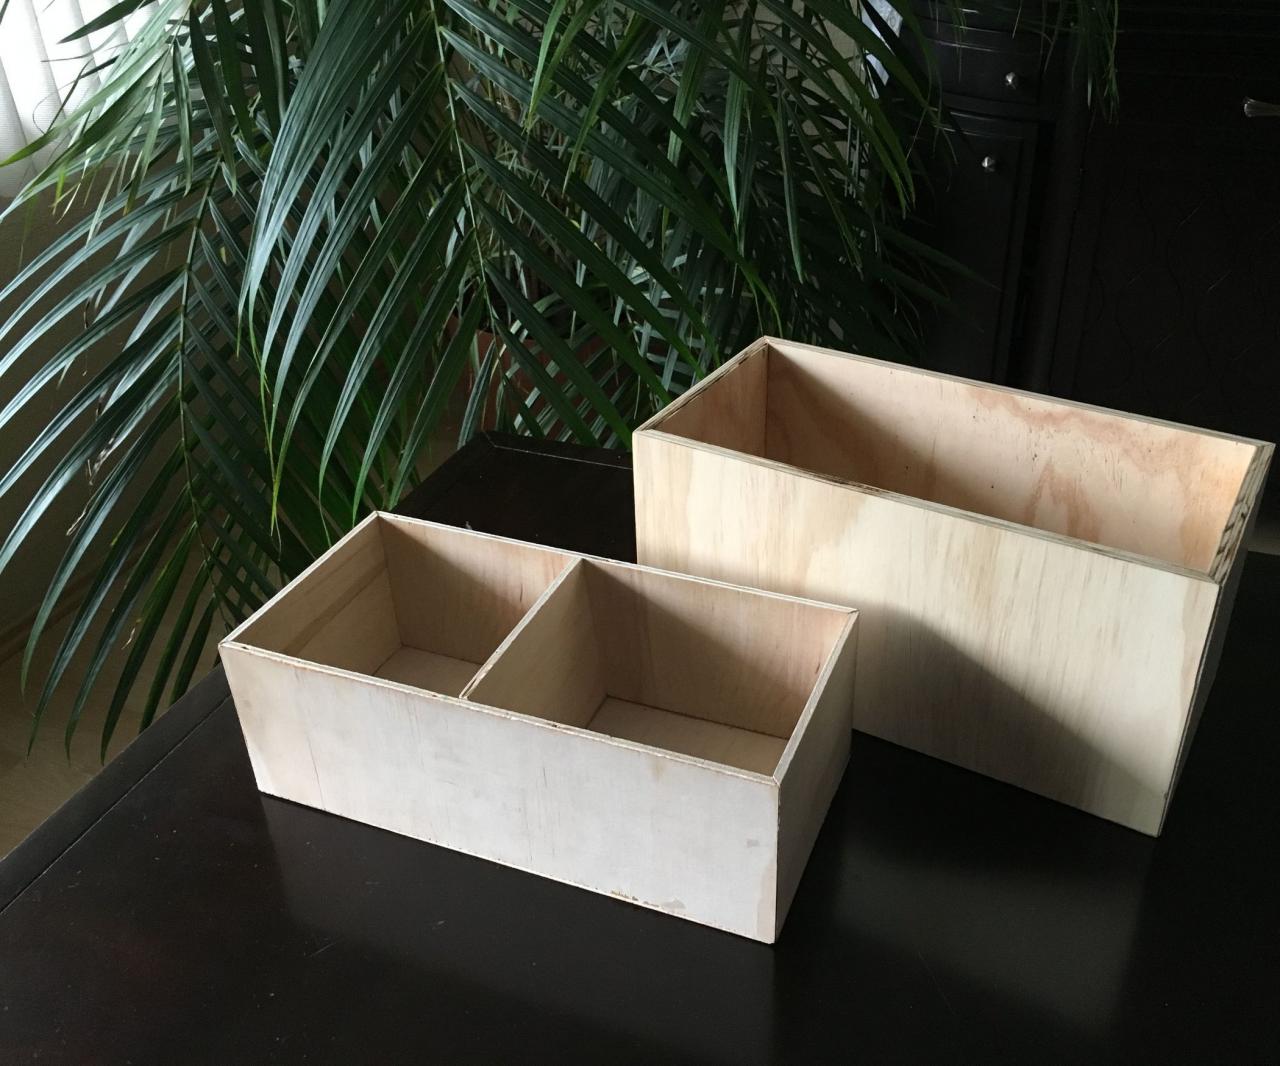
First, measure and cut the wood boards into the desired dimensions for your box. You will need six pieces for the sides, top, and bottom. Use a saw to make precise cuts.
Next, assemble the box by attaching the sides to the bottom piece using screws or nails. Apply wood glue to ensure a strong and secure bond. Allow the glue to dry completely.
Once the glue is dry, attach the top piece using hinges. This will allow the top to open and close smoothly. You can also add a lock and key for added security.
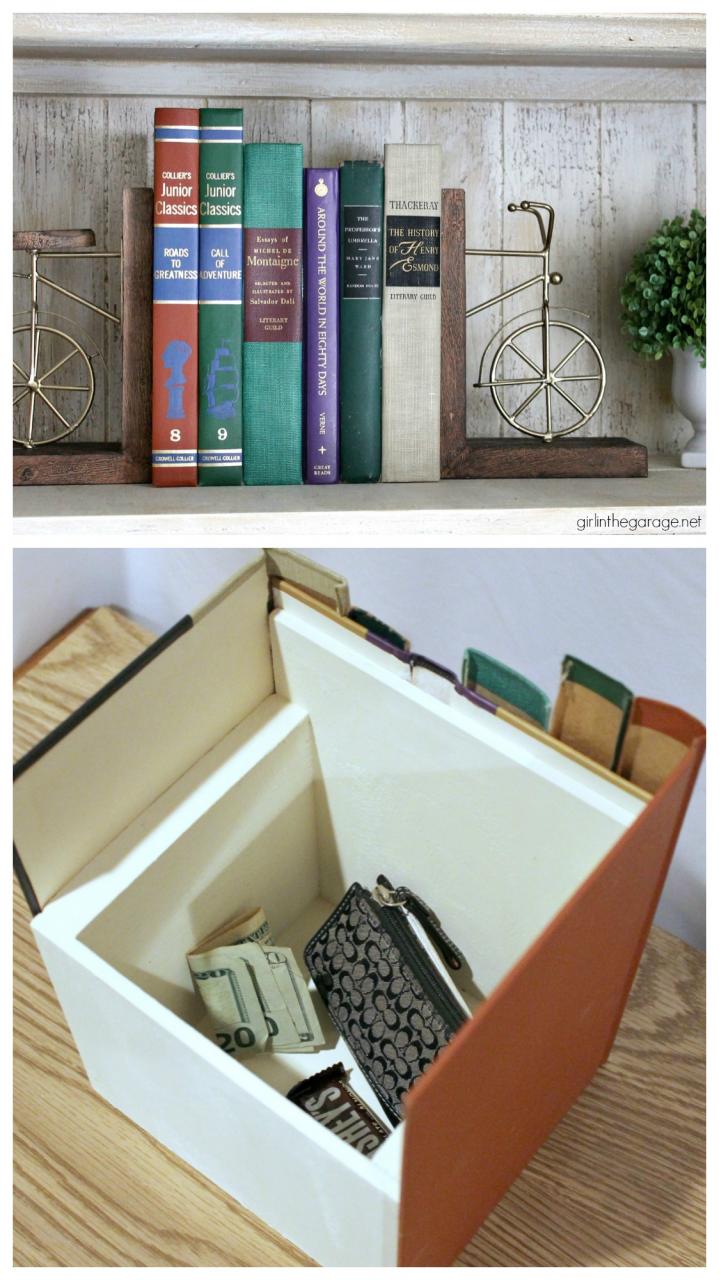
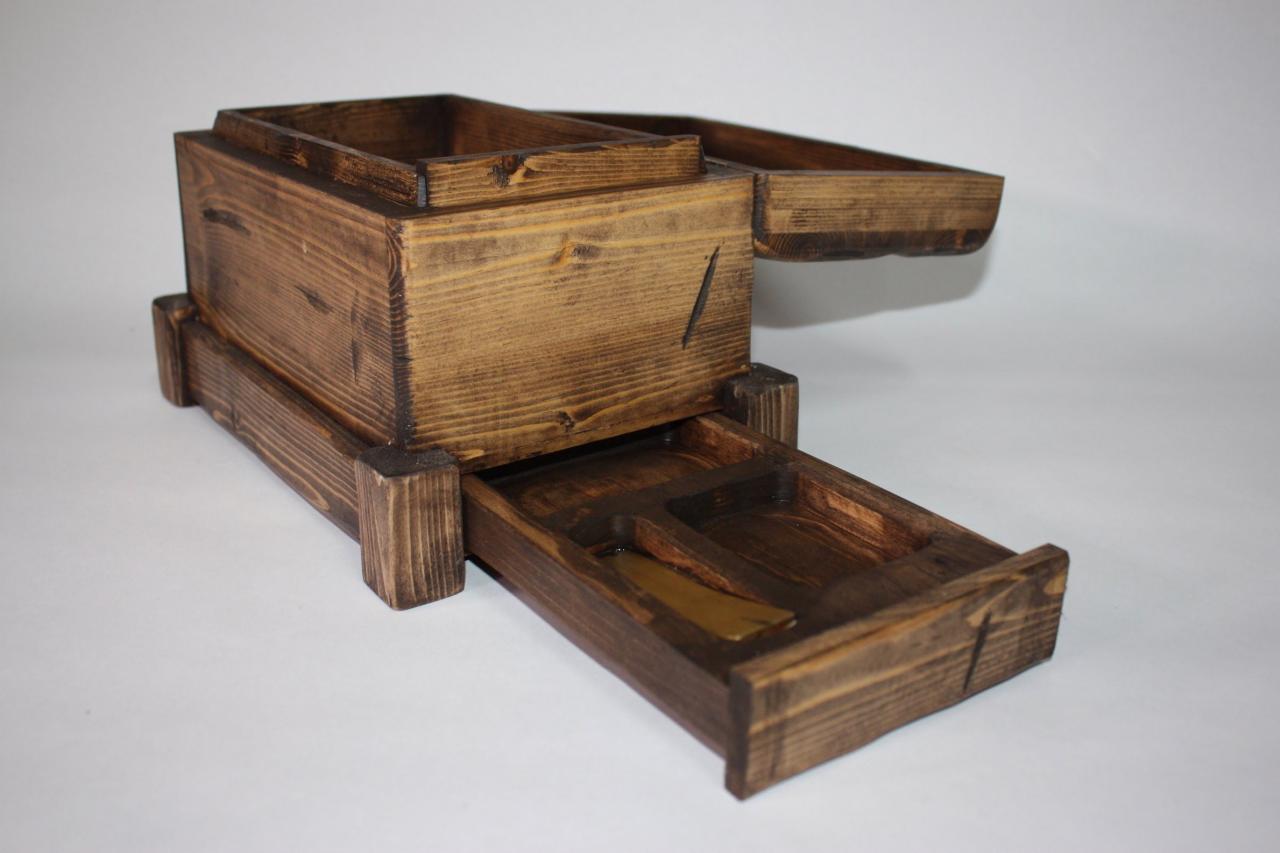
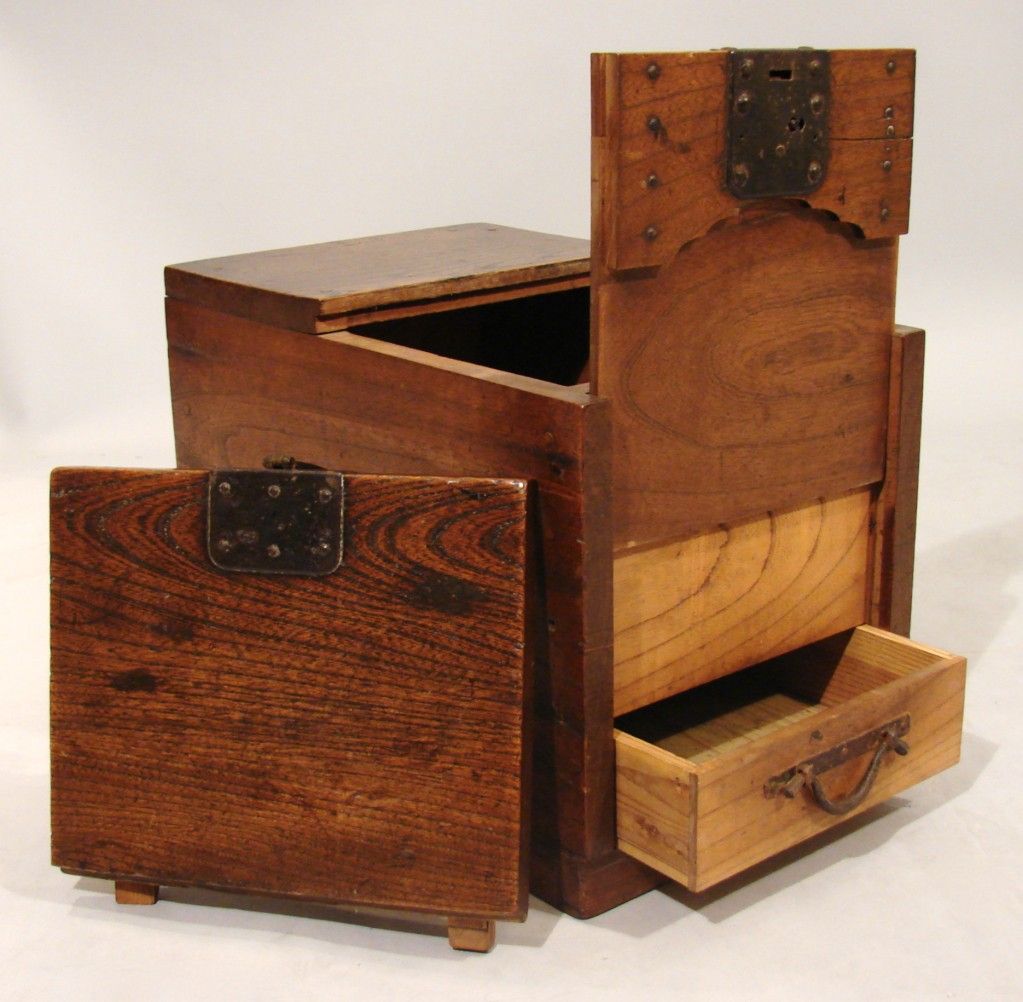
Creating the Secret Compartment
To create the secret storage compartment, you will need to carefully measure and cut a smaller piece of wood that fits inside the box. This piece will serve as the false bottom of the box.
Attach the false bottom to the box using hinges, similar to how you attached the top piece. Make sure it is secure and properly aligned.
Once the false bottom is attached, you can now store your valuable items or personal belongings inside the secret compartment.
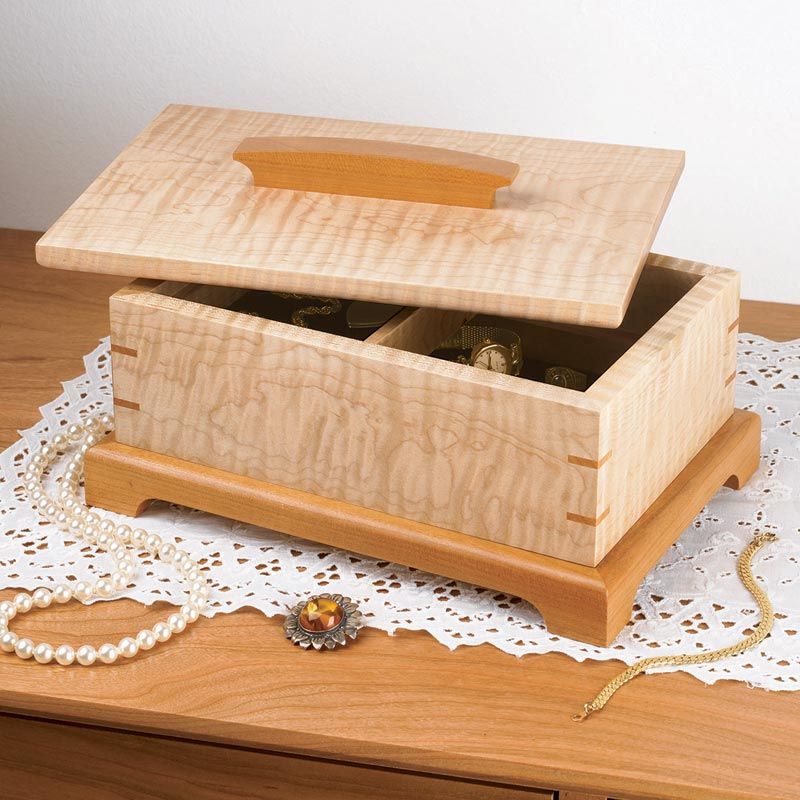
Finishing Touches
After assembling the box and secret compartment, it’s time to add the finishing touches. Sand the entire surface of the box to achieve a smooth finish. You can also round the edges for a more polished look.
Apply your chosen stain or paint to enhance the natural beauty of the wood. Use brushes to ensure an even application. Allow the stain or paint to dry according to the manufacturer’s instructions.
Once dry, your DIY wooden box with secret storage is complete and ready to be used. Place it in your living room, bedroom, or office to add a touch of charm and functionality to your space.
Conclusion
Building a DIY wooden box with secret storage is a rewarding project that allows you to showcase your woodworking skills while creating a practical and unique piece. Remember to take your time, follow the instructions carefully, and have fun throughout the process. Enjoy your new wooden box and its hidden secret compartment!
![[Video] Make A Box That Only Can Be Opened With A Secret Way. A Keyless](https://togethersandia.com/wp-content/uploads/2023/11/Secret_Box-The_Unabox-1.png)
[Video] Make A Box That Only Can Be Opened With A Secret Way. A Keyless
Secret Bottom Wood Box! Diy wood box, Small wood box, Woodworking
diysecretstoragebookbox Girl in the Garage®

Pin on woodworking

Hidden compartment jewelry box Secret Stashing Wood jewelry box
Secret Compartments and Concealed Doors Hidden Storage Ideas Made by
How To Secret Compartment Box II Wooden box designs, Secret
40 Creative Hidden Compartment Ideas to Keep Your Valuables Safe The
jewelry box Woodworking Plan from WOOD Magazine

Unfinished Wooden Secret Compartment Box Rangement secret


 - A Hidden Gem For Storage Solutions")


