Introduction
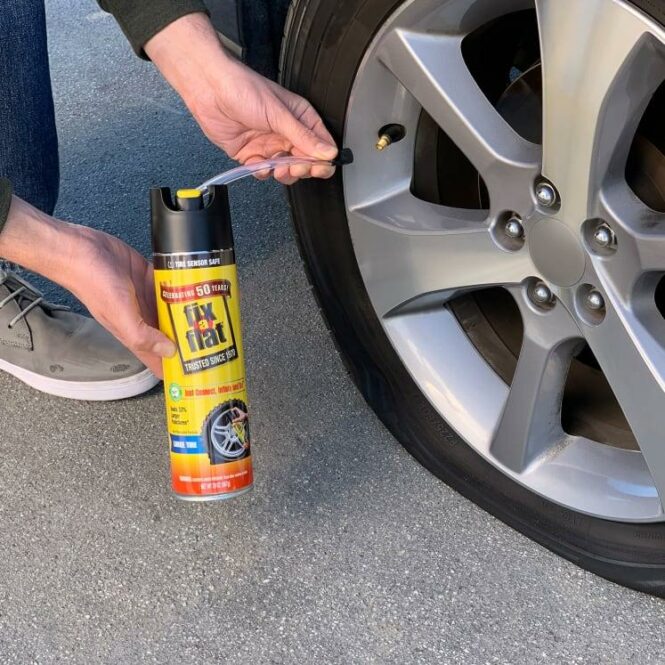
Having a secret storage can is a clever way to keep valuable items hidden in plain sight. However, like any other device, it may require some maintenance over time. In this guide, we will walk you through the steps to fix a flat secret storage can, ensuring that your hidden treasures remain safe and secure.
Tools and Materials Needed
1. Flathead Screwdriver
A flathead screwdriver is essential for opening the secret compartment of the can.
2. New Rubber Seal
If your secret storage can has a flat tire, you will need to replace the rubber seal to maintain its airtightness.
3. Tire Patch Kit
If the flat tire is caused by a puncture, a tire patch kit will be necessary to fix the hole.
Step-by-Step Guide
Step 1: Empty the Can
Before proceeding with any repairs, ensure that the secret storage can is empty. Remove all contents and set them aside in a safe place.
Step 2: Remove the Old Rubber Seal
Using a flathead screwdriver, carefully pry open the secret compartment of the can. Locate the rubber seal and gently remove it from its position.
Step 3: Clean the Can and Seal
Thoroughly clean the interior of the can as well as the removed rubber seal. Use a mild detergent and warm water to remove any dirt or debris.
Step 4: Inspect for Damage
While cleaning, inspect the can and the rubber seal for any signs of damage or wear. If the can or seal is severely damaged, it may need to be replaced entirely.
Step 5: Install the New Rubber Seal
Take the new rubber seal and carefully position it in the groove of the secret compartment. Ensure that it fits securely and creates an airtight seal when closed.
Step 6: Test the Seal
Close the secret compartment and press down firmly to test the seal. Listen for any air leaks or unusual sounds. If necessary, adjust the seal to achieve a proper fit.
Step 7: Fixing a Puncture
If the flat tire is caused by a puncture, follow the instructions provided with the tire patch kit to fix the hole. This will ensure that the secret storage can remains functional and airtight.
Step 8: Reassemble the Can
Once the repairs are complete, carefully reassemble the secret storage can. Ensure that all components are securely in place and that the secret compartment opens and closes smoothly.
Step 9: Test the Functionality
Place some non-valuable items inside the secret compartment and test its functionality. Open and close the compartment multiple times to ensure that it operates as intended.
Step 10: Reintroduce Valuables
Once you are confident in the functionality of the secret storage can, reintroduce your valuable items. Rest easy knowing that they are safely hidden and protected.
Conclusion
Fixing a flat secret storage can is a straightforward process that requires minimal tools and materials. By following the steps outlined in this guide, you can ensure that your hidden treasures remain secure and accessible whenever you need them.
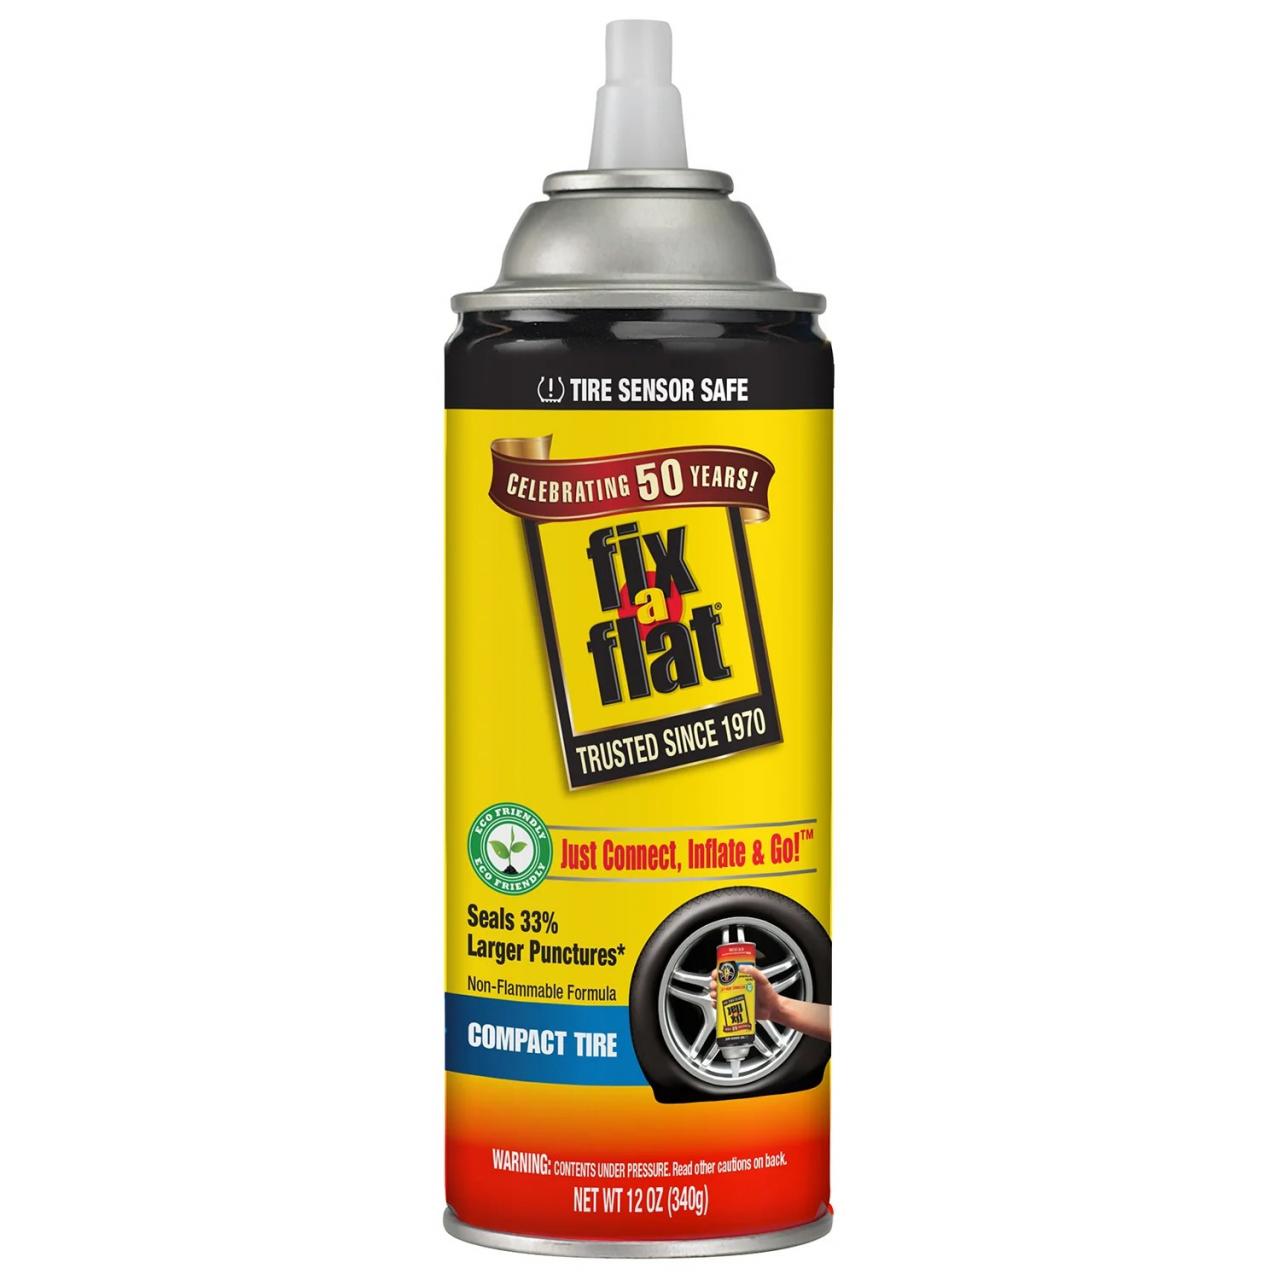
FixaFlat 12 oz Assets (S60410)
FixAFlat, 16 oz Can No. S420 Whitehead Industrial Hardware

FixAFlat Home Hardware Center
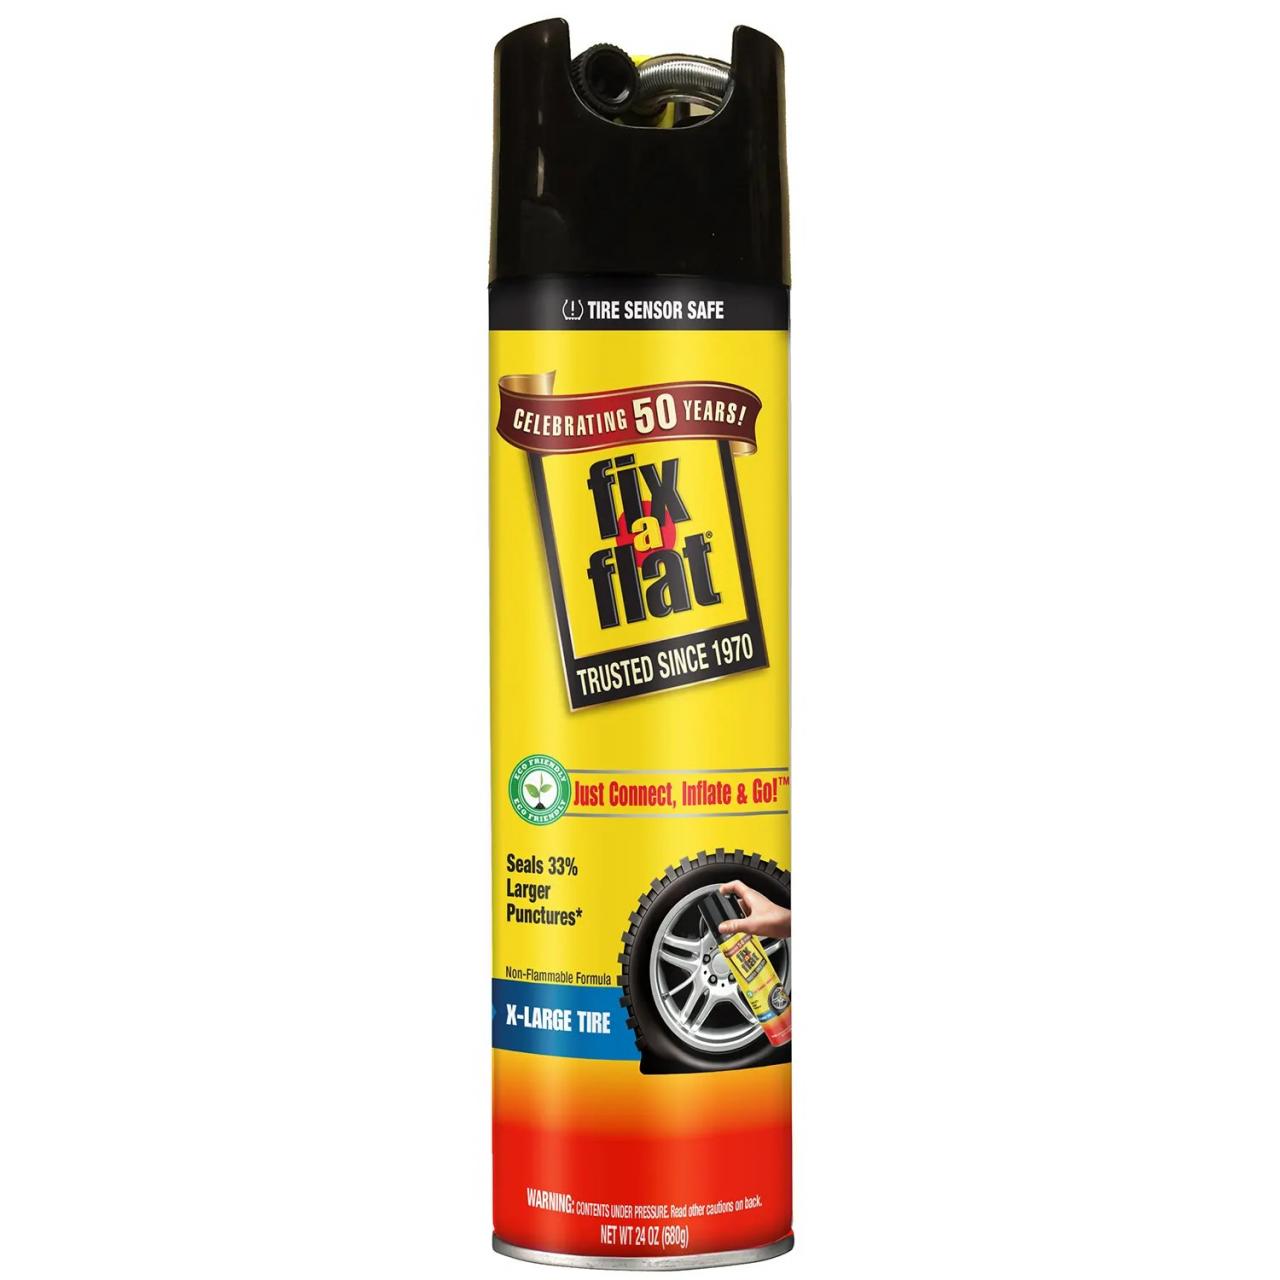
FixaFlat 24 oz Assets (S60369)

FixaFlat 16 oz Assets (S60420)
FixaFlat 16 oz Assets (S60420)

FixAFlat Ultimate 1Step Automotive Product Review by Lauren Fix

FixaFlat 16 oz Assets (S60420)

FixaFlat 12 oz Assets (S60410)
FixAFlat 20 Oz Eco Friendly Formula Large Tire Fix Aerosol Can by Fix


