Introduction
Many homeowners are looking for ways to maximize the functionality of their bathrooms, and one popular solution is to install a shower over an existing bath. This allows you to enjoy the benefits of both a shower and a bath in a single space. In this article, we will guide you through the process of installing a shower over your existing bath, providing you with step-by-step instructions and helpful tips along the way.
1. Assess Your Existing Bath
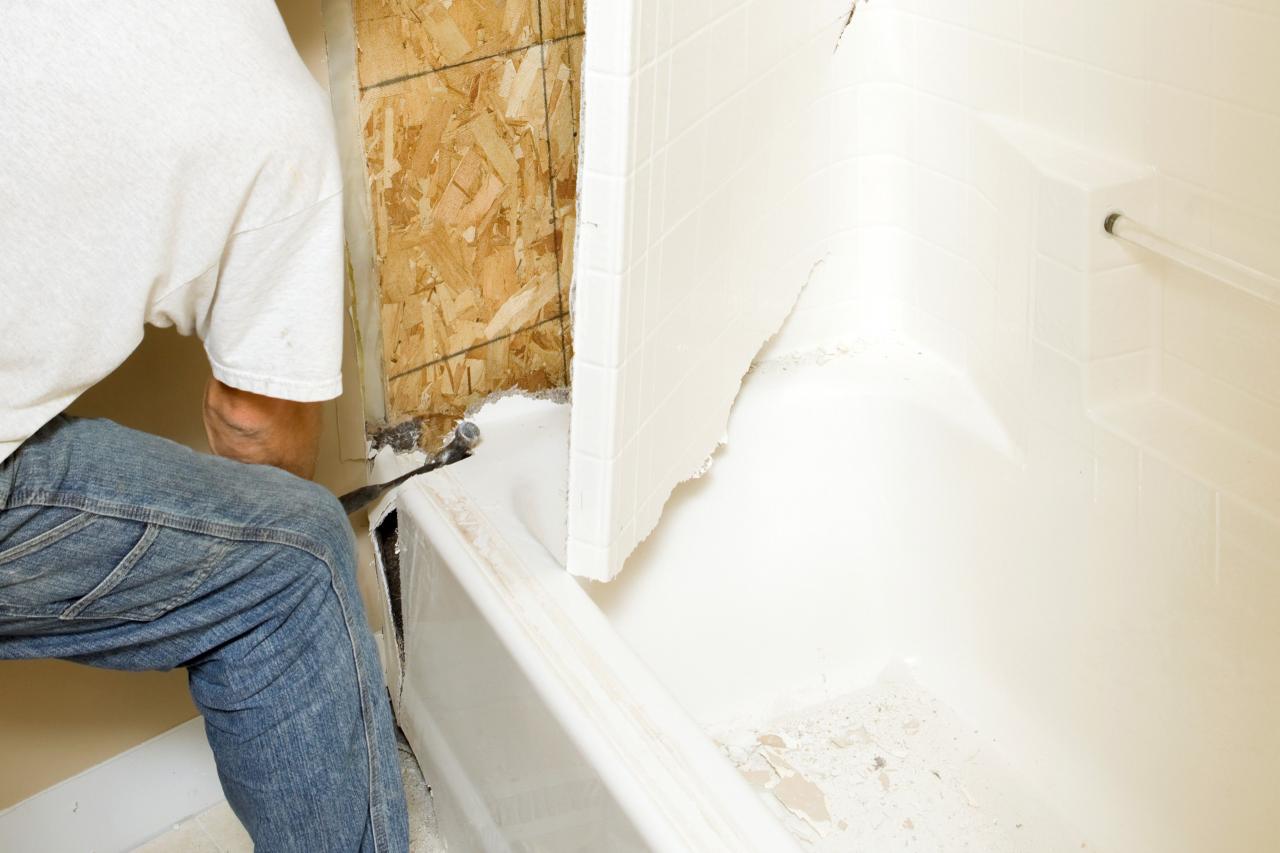
The first step is to assess your existing bath to determine if it is suitable for a shower installation. Check if the bath is in good condition, free from cracks or leaks. Additionally, ensure that the walls surrounding the bath are waterproof or can be made waterproof to prevent any water damage.
2. Gather the Necessary Tools
Before you begin the installation, gather all the necessary tools and materials. This may include a shower kit, showerhead, shower mixer, silicone sealant, drill, screws, and a wrench. Make sure you have everything you need to complete the installation process without any interruptions.
3. Prepare the Bath Area
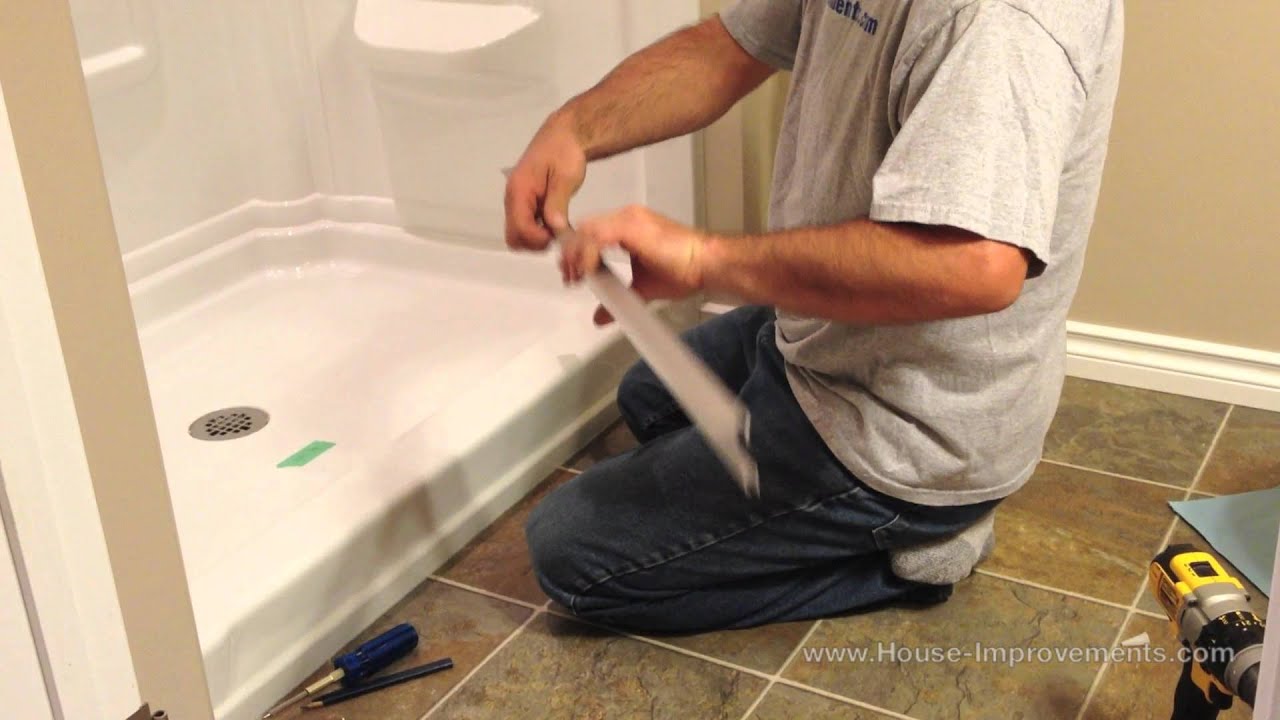
The next step is to prepare the bath area for the shower installation. Remove any existing fixtures or accessories that may obstruct the installation process. Clean the bath thoroughly and ensure it is dry before proceeding.
4. Install the Shower Mixer
Start by installing the shower mixer, which controls the water flow and temperature. Follow the manufacturer’s instructions to properly connect the shower mixer to the existing water supply. Use a wrench to tighten the connections securely.
5. Install the Showerhead
Attach the showerhead to the shower mixer according to the manufacturer’s instructions. Ensure that the showerhead is positioned at a comfortable height and angle. Use a wrench to tighten the connections, but be careful not to overtighten and damage the fittings.
6. Seal the Gaps
To prevent any water leakage, it is crucial to seal all gaps and joints. Apply silicone sealant around the edges of the bath, shower mixer, and showerhead. Smooth out the sealant with your finger or a caulking tool for a neat finish. Allow the sealant to dry completely before using the shower.
7. Test the Shower
Before using the shower regularly, it is essential to test the installation. Turn on the water and check for any leaks or drips. Adjust the shower mixer to ensure the water temperature is to your liking. Run the shower for a few minutes to ensure everything is functioning correctly.
8. Consider Additional Features
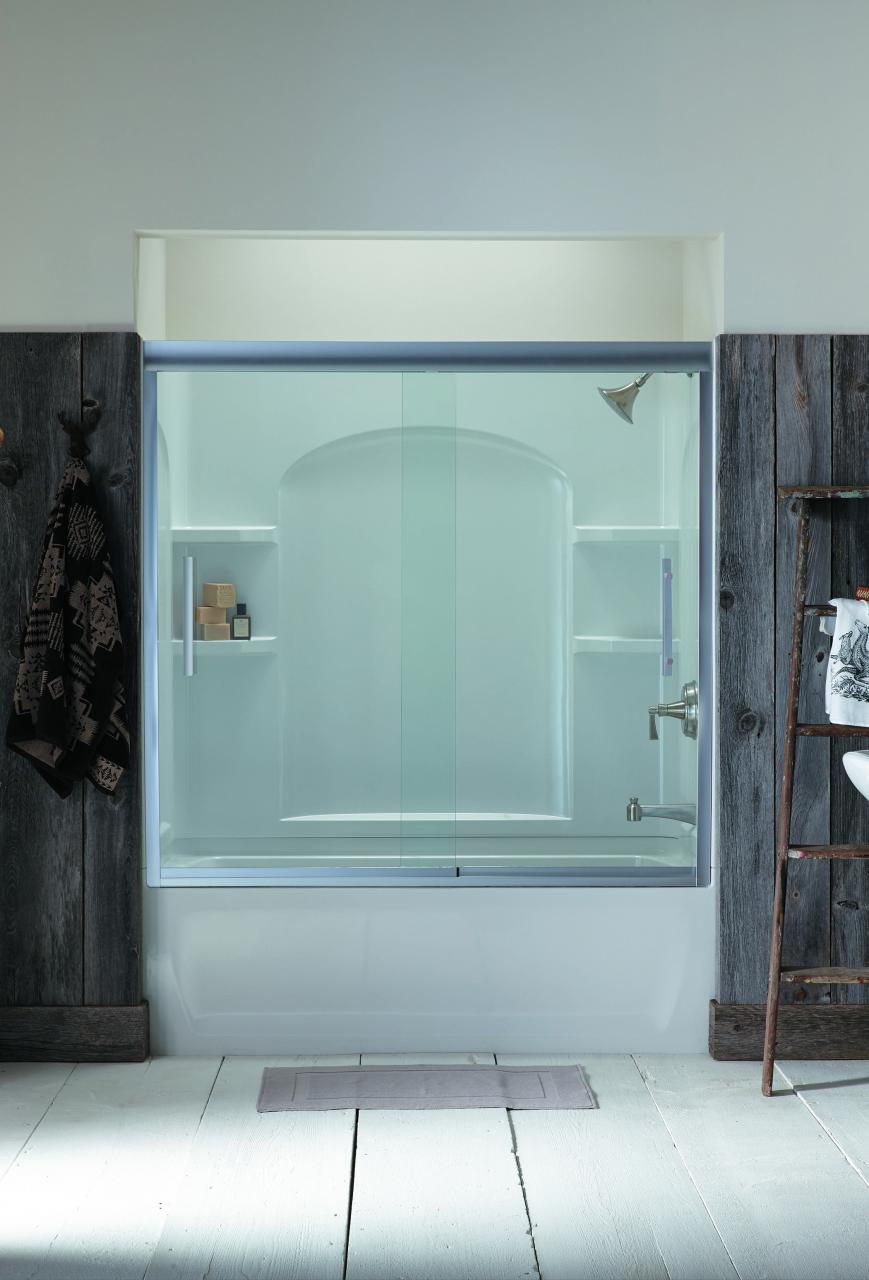
If you want to enhance your showering experience, consider adding additional features such as a shower screen, grab bars, or a shower caddy. These additions can improve safety, convenience, and organization within your shower space.
9. Maintain Proper Care
To ensure the longevity of your shower over the existing bath, it is essential to practice proper maintenance. Regularly clean the showerhead and remove any mineral deposits. Keep the bath area clean and dry to prevent mold or mildew growth. Address any plumbing issues promptly to avoid costly repairs.
10. Enjoy Your New Shower
Now that you have successfully installed a shower over your existing bath, it’s time to enjoy the benefits. Take relaxing showers or indulge in a luxurious bath whenever you desire. You have transformed your bathroom into a versatile space that meets all your bathing needs.

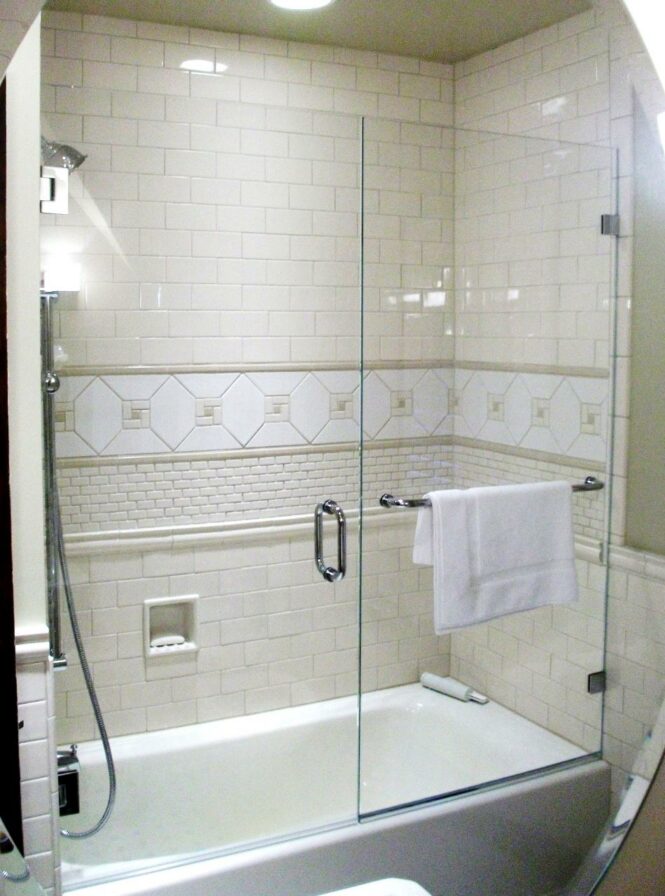
Frameless Shower Enclosure Door + Panel on Tub with WallMount Clips
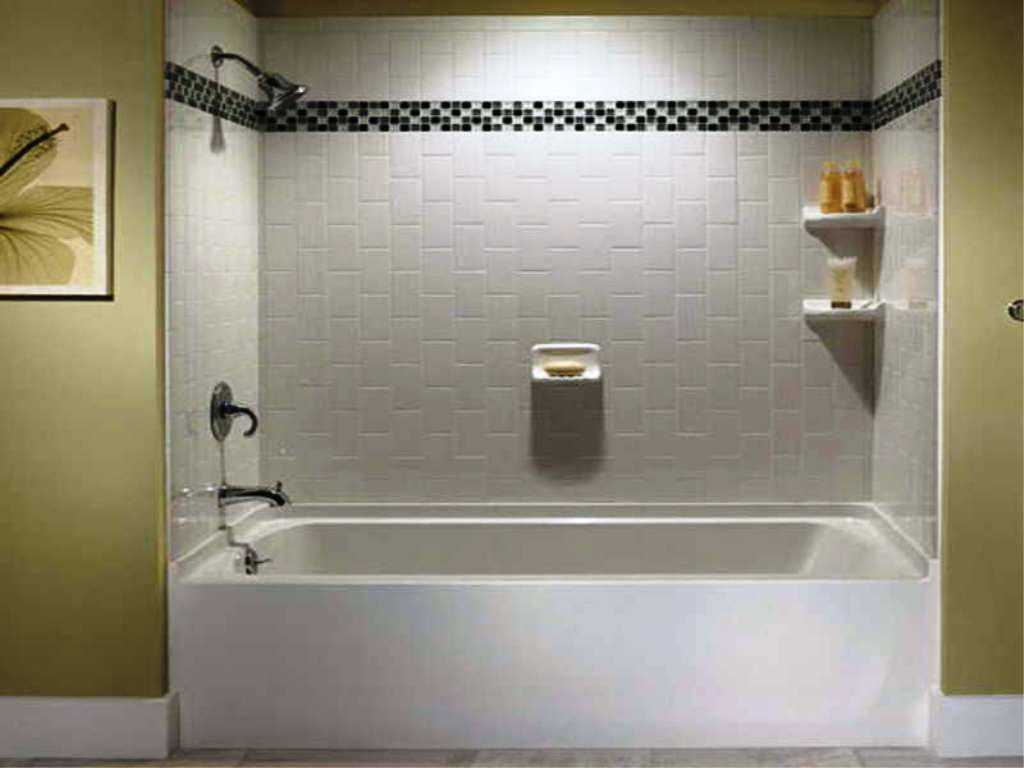
Bathtub Insert For Shower • Bathtub Ideas
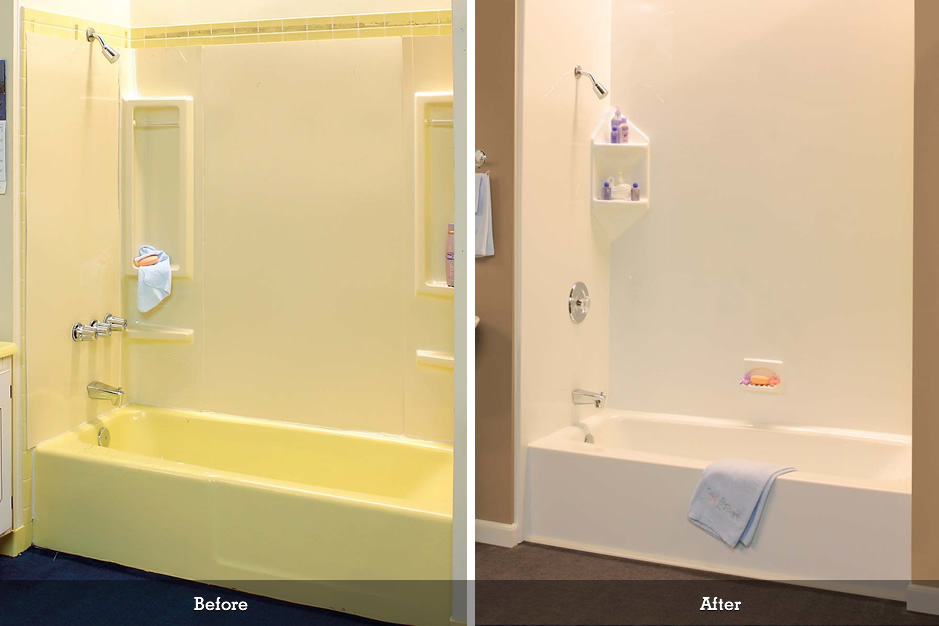
Bath liners installed over your existing tub Mr Tub

Shower Door Bathtub Install Do It Yourself YouTube
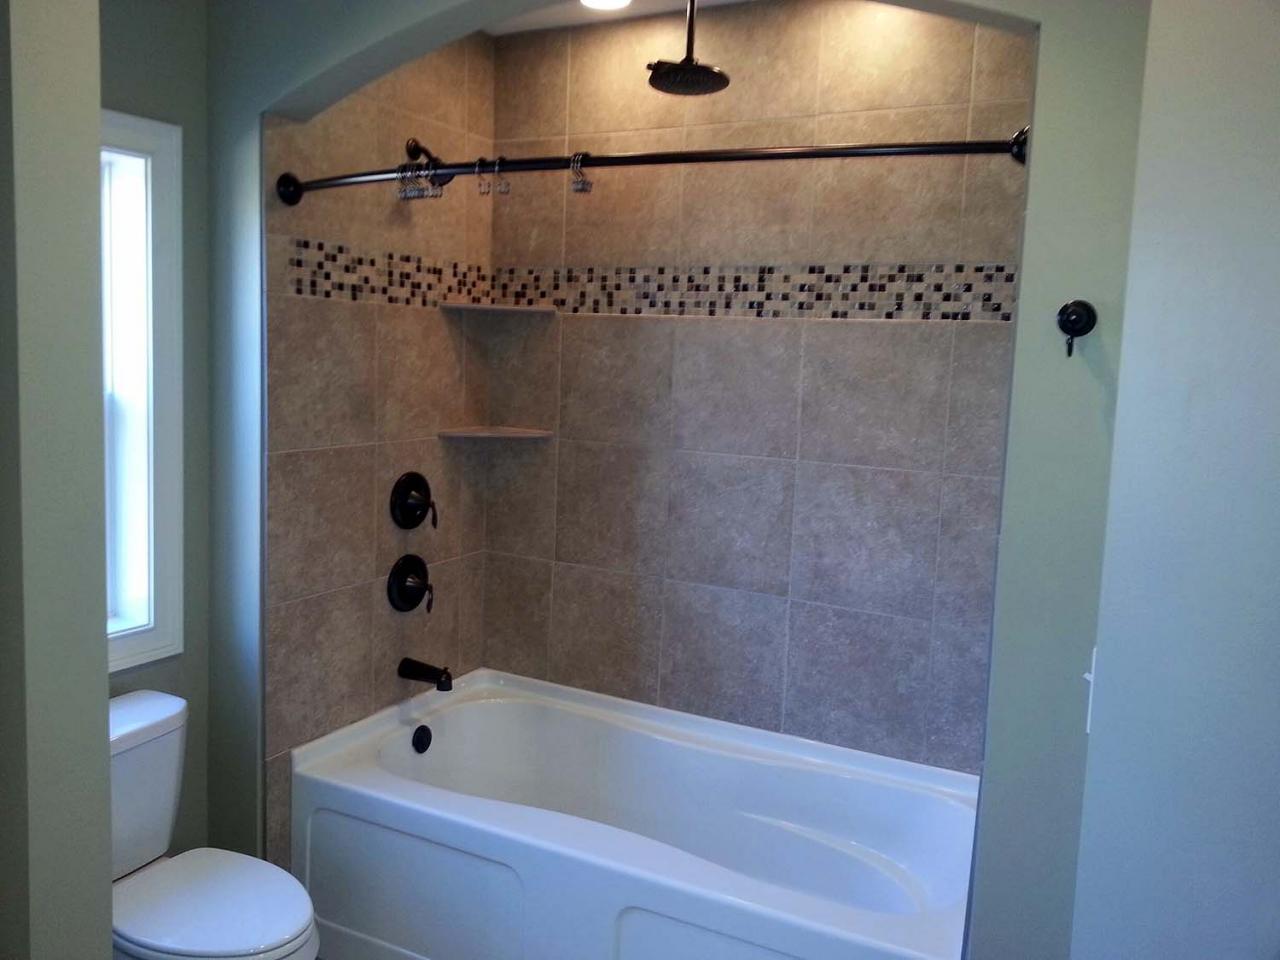
tubandshower Custom Homes by Tompkins Construction
How To Install Sliding Glass Shower Doors How to Put Tile in a Shower
Product Type Bath Door Shower Doors Bathtub shower doors, Bath
How to Install a DirecttoStud Tub or Shower Surround
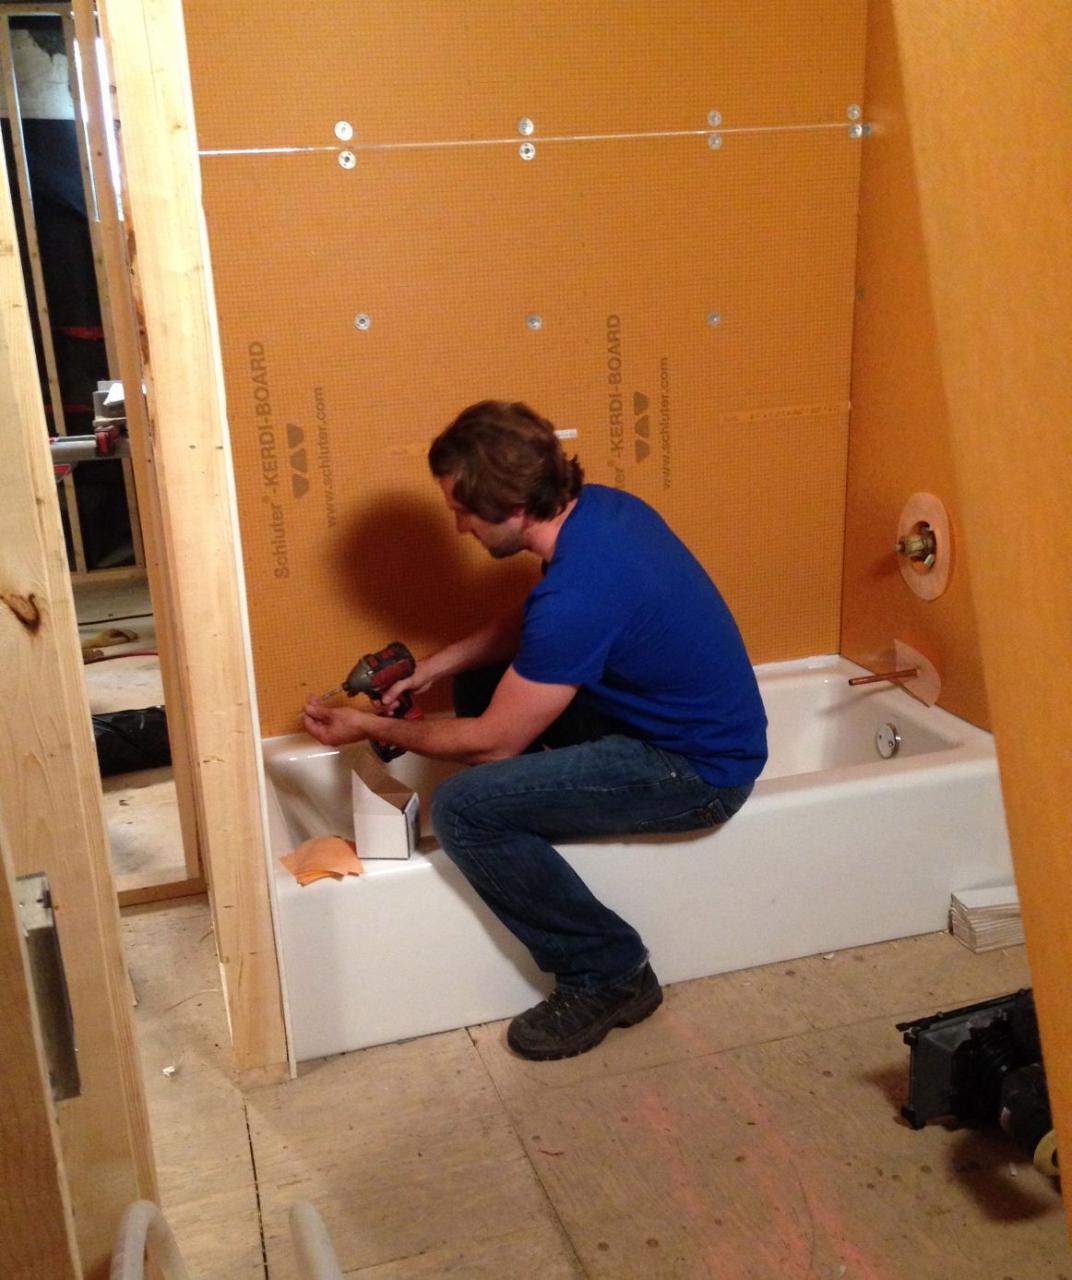
Using Schluter Kerdi Board to waterproof this tub surround. No water
Stand Up Shower Kits Tub Shower surround, Bathroom remodel cost

