Introduction
Remodeling a bathroom shower can be an exciting and rewarding project that can transform the look and functionality of your bathroom. Whether you are looking to update an outdated shower or create a spa-like retreat, this article will provide you with step-by-step instructions on how to remodel your bathroom shower.
Planning
Before starting any remodeling project, it is important to plan and visualize your desired outcome. Consider the size of your bathroom, your budget, and your personal preferences. Determine if you want to replace the entire shower or make smaller changes such as replacing the showerhead or tiles.
Step 1: Demolition
The first step in remodeling a bathroom shower is to remove the existing fixtures and tiles. Turn off the water supply and remove the showerhead, faucets, and handles. Use a hammer and chisel to carefully remove the tiles, taking care not to damage the surrounding walls or floor.
Step 2: Plumbing and Electrical Work
If you are planning to change the layout or add new fixtures, now is the time to make any necessary plumbing and electrical modifications. Consult a professional if you are unsure about the process or if you need to make any major changes.
Step 3: Waterproofing
Proper waterproofing is crucial to prevent water damage and mold growth. Apply a waterproofing membrane to the walls and floor of the shower area, following the manufacturer’s instructions. This will create a barrier that prevents water from seeping into the surrounding areas.
Step 4: Tile Installation
Choose the type and design of tiles that suit your style and budget. Start by applying thin-set mortar to the walls and floor using a notched trowel. Press the tiles into place, making sure they are level and evenly spaced. Allow the mortar to dry and then grout the tiles, wiping off any excess with a damp sponge.
Step 5: Install Fixtures and Accessories
Once the tiles are installed, it’s time to reinstall the fixtures and accessories. Attach the showerhead, faucets, and handles following the manufacturer’s instructions. Install shelves, towel racks, and other accessories to enhance the functionality and aesthetics of your bathroom shower.
Step 6: Finishing Touches
Lastly, add the finishing touches to complete your bathroom shower remodel. Apply a sealant to the grout lines to prevent staining and water damage. Install a shower curtain or glass door to keep the water contained. Paint the walls or add wallpaper to complement the new shower design.
Conclusion
Remodeling a bathroom shower can be a challenging but rewarding project. With careful planning and execution, you can create a beautiful and functional space that enhances your daily routine. Remember to follow the steps outlined in this article and consult professionals when needed. Enjoy your newly remodeled bathroom shower!
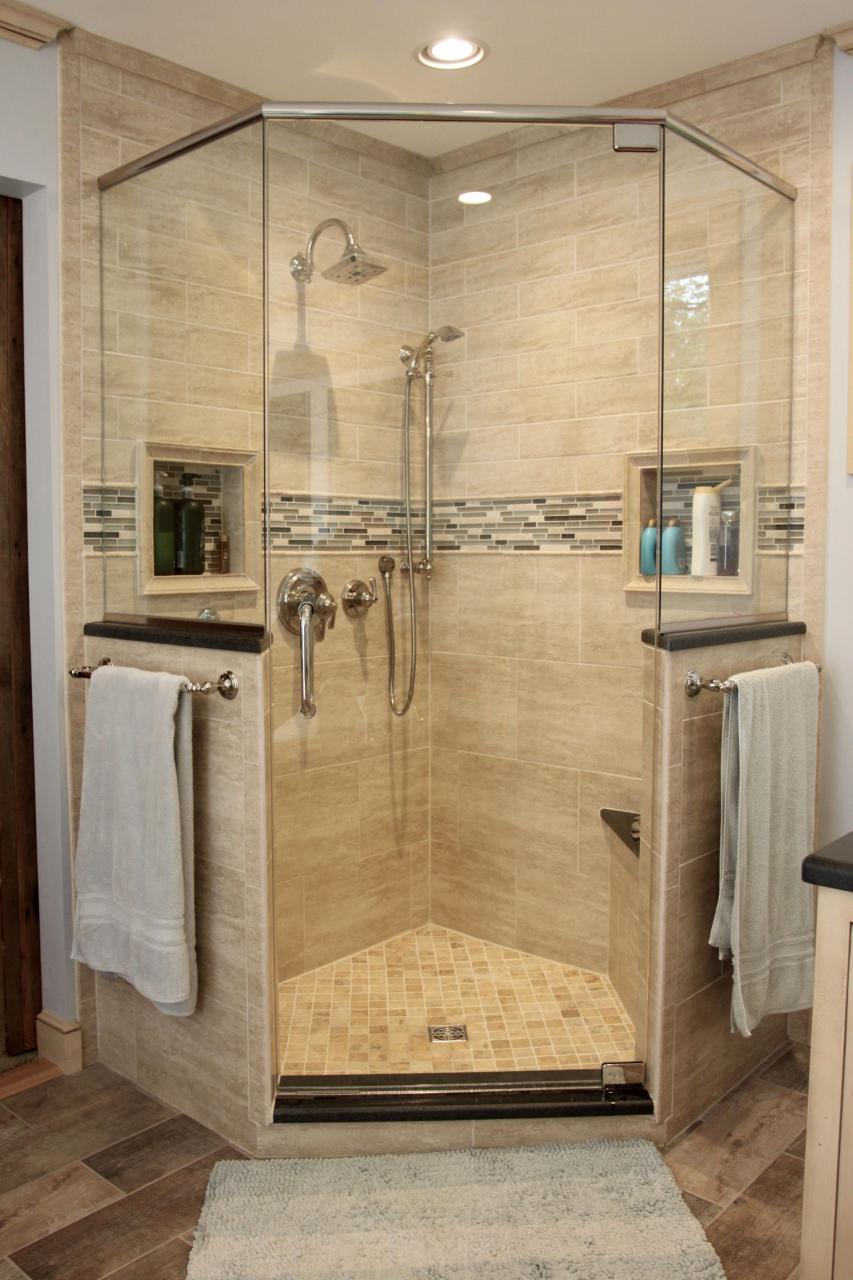
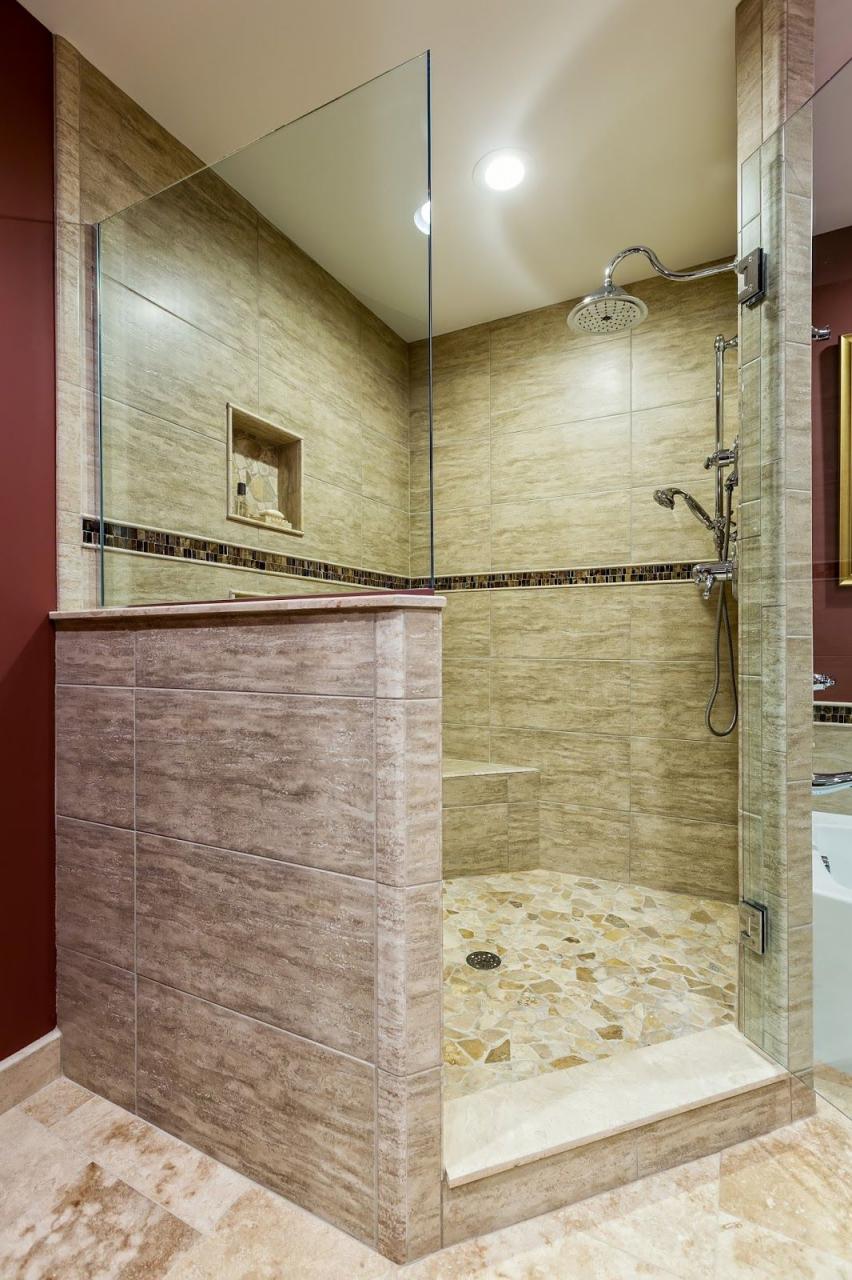
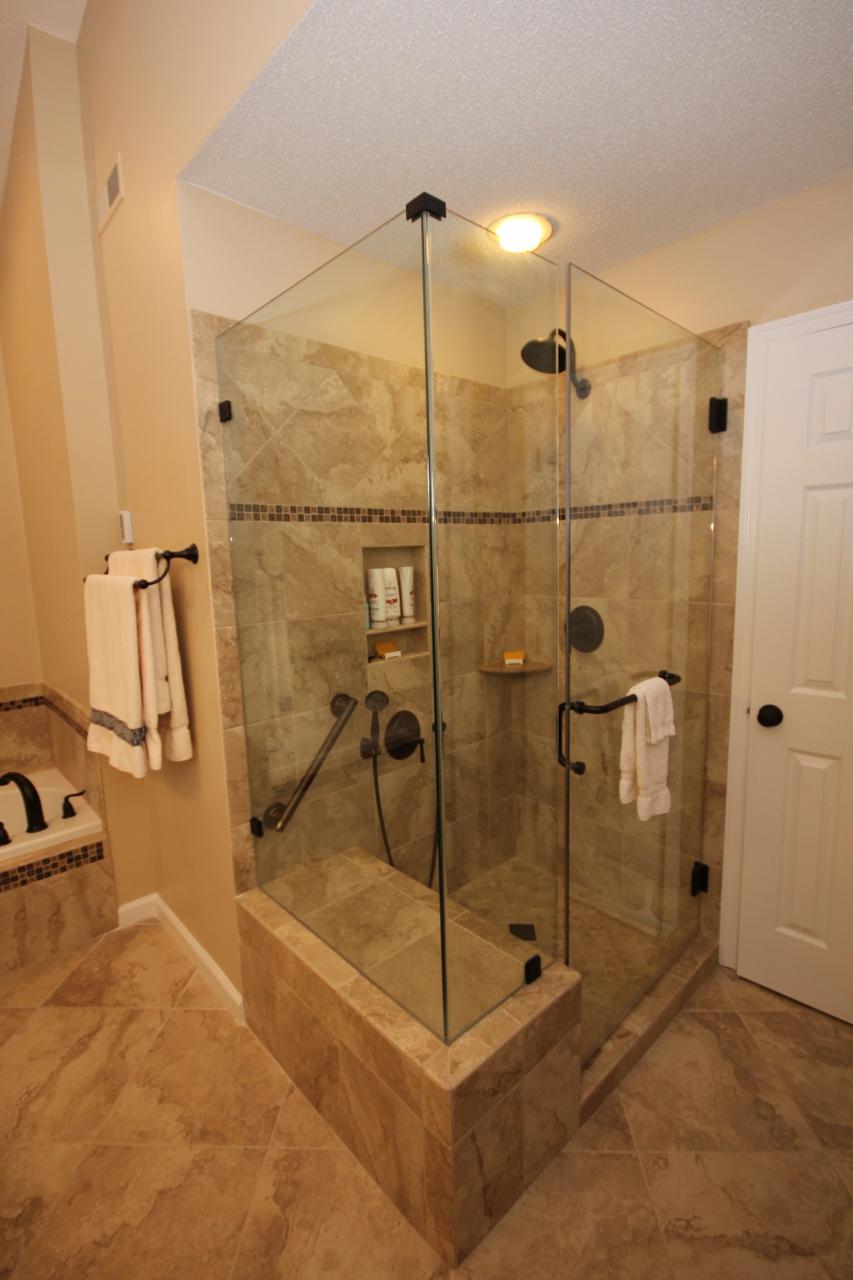
Corner shower with glass Landenberg, Pa. BathroomShowerMarble
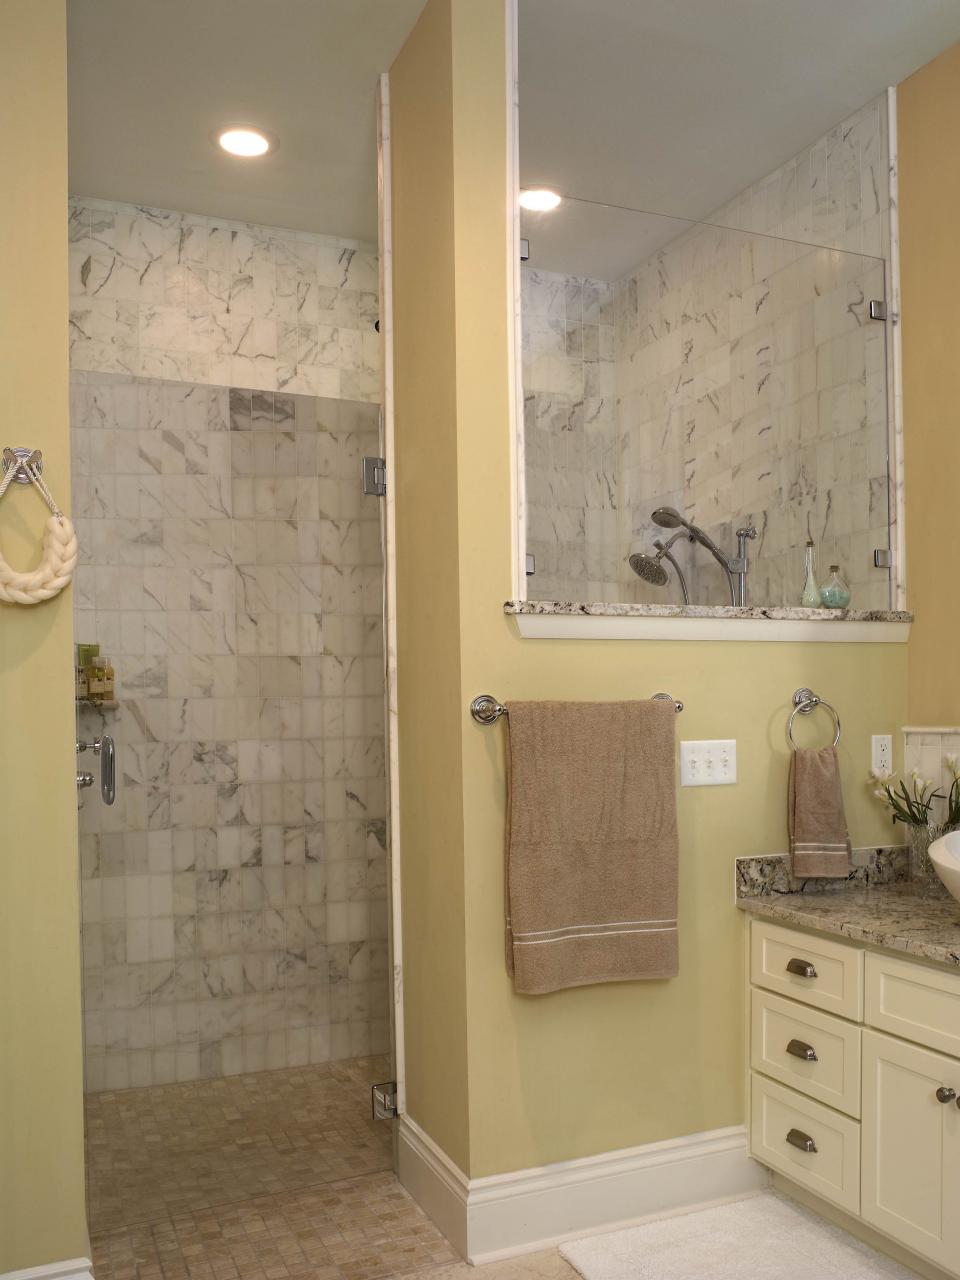
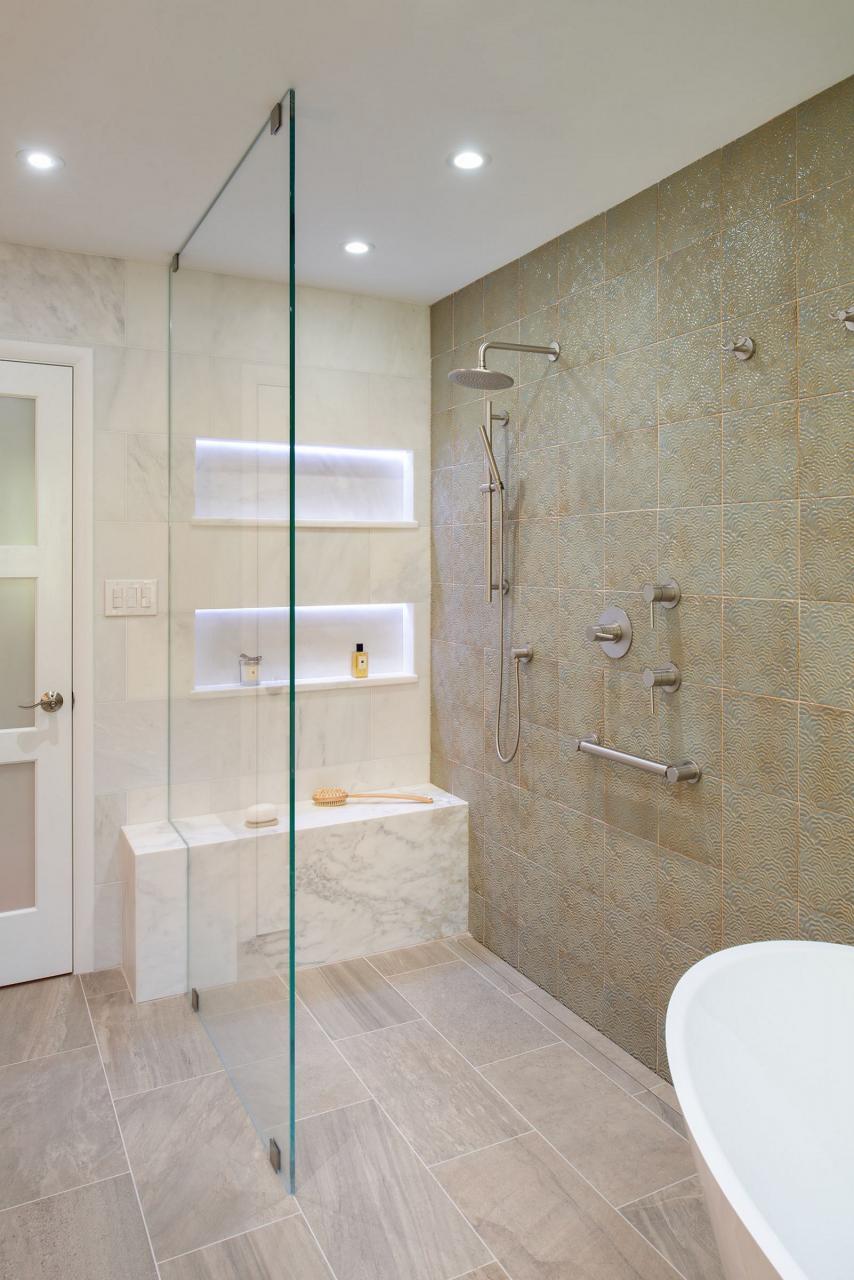
Best WalkIn Shower Designs for showers tile doorless shower designs
Pin on Bathroom
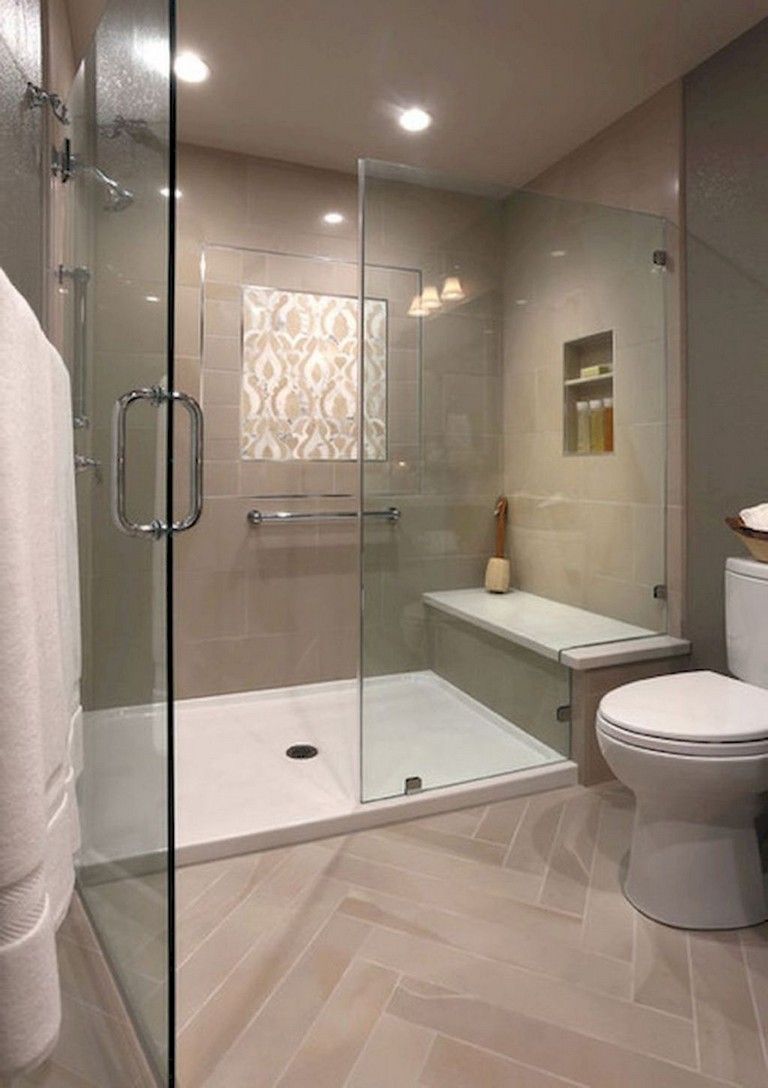
65 Beautiful Bathroom Shower Remodel Ideas
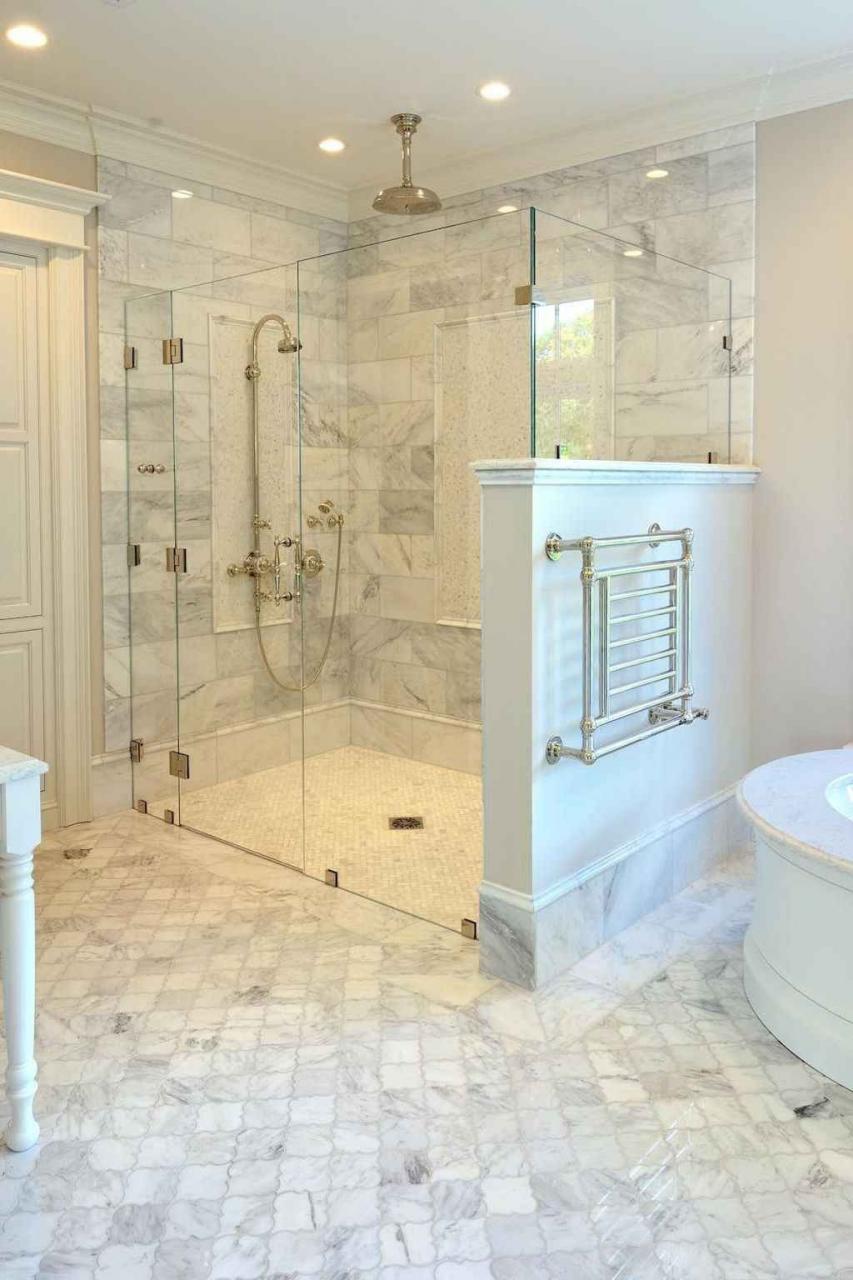
curbless steam shower Google Search Walk in shower designs, Rustic
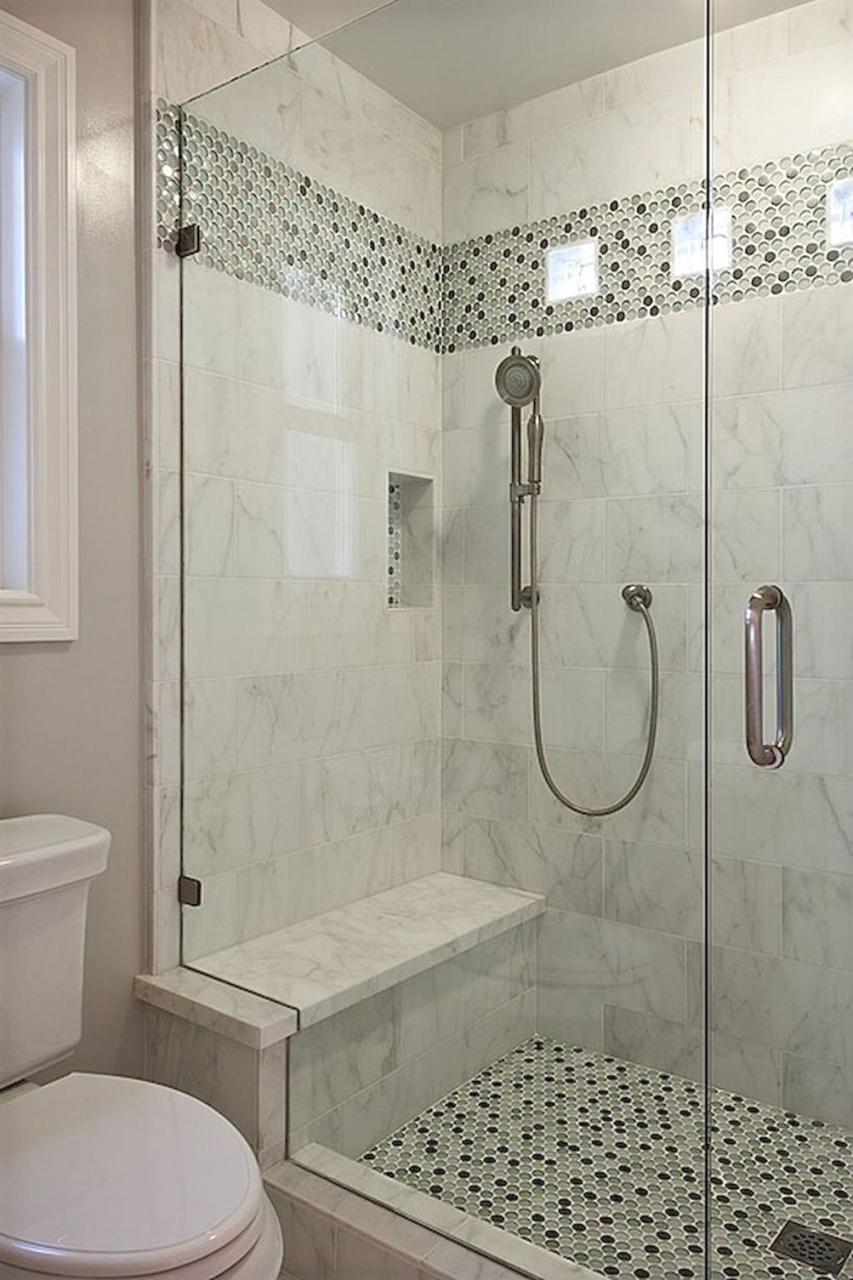
10+ Inspirational Simple Bathroom Shower Design And Decoration Ideas
remodeling bathroom on a slab Master bathroom shower, Bathroom
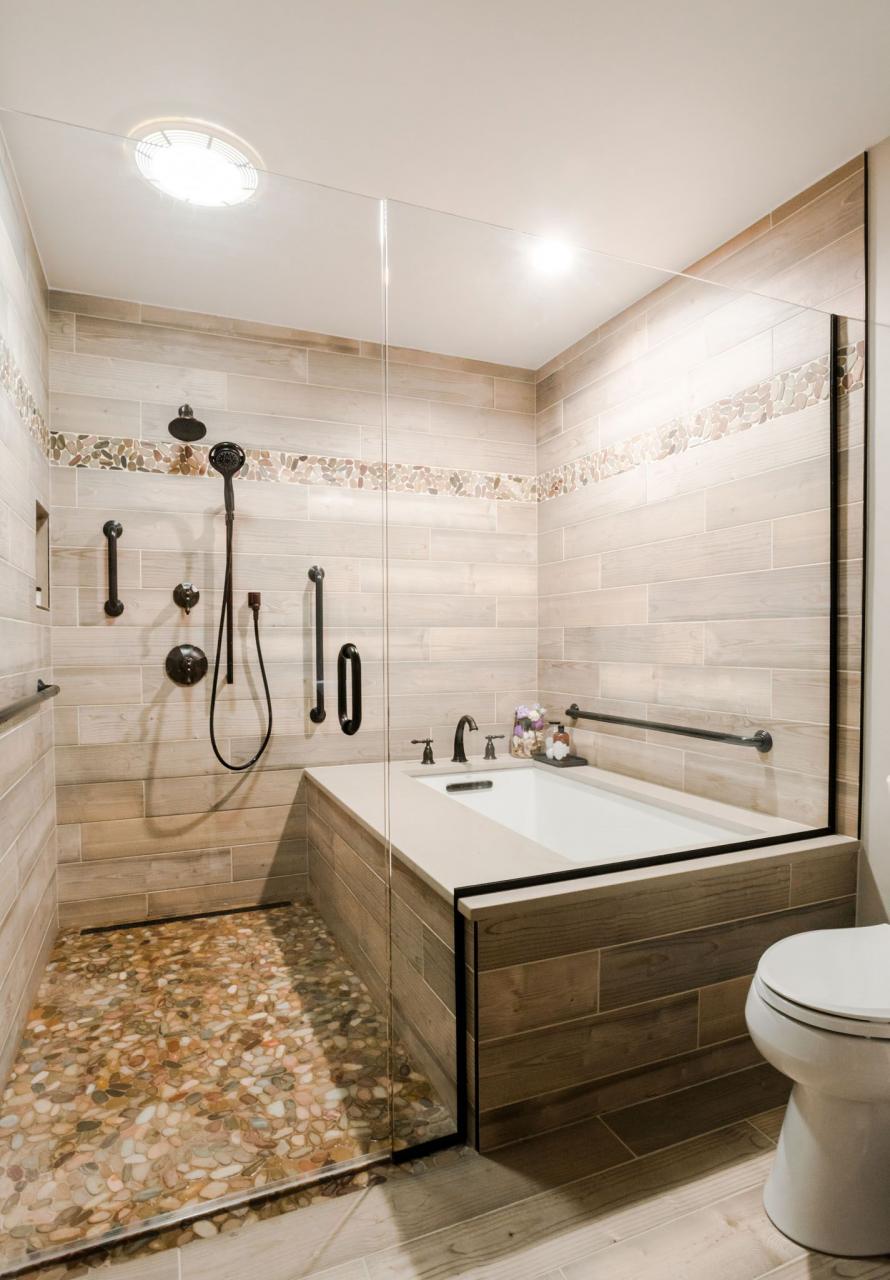
Shower / Bath combination Bathroom remodel shower, Master bathroom
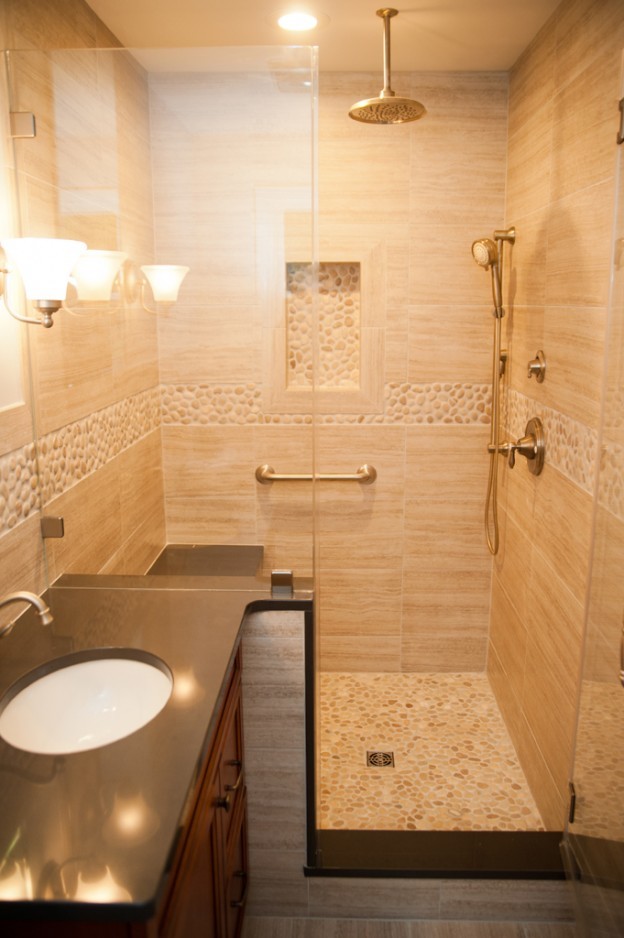
Custom Designed Showers Bath Remodeling Center Cary, NC
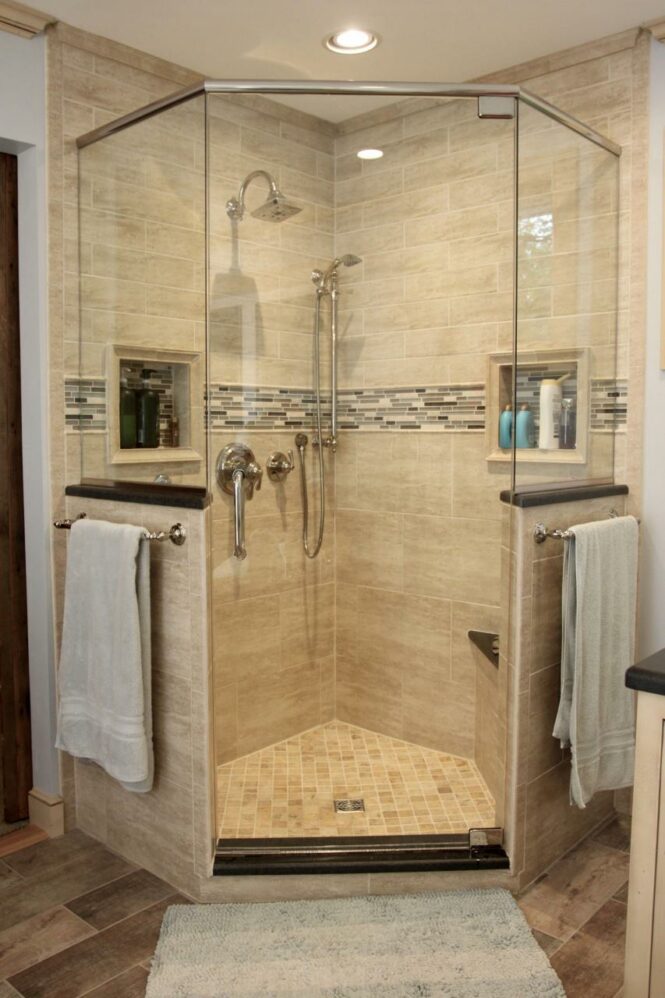
Custom Shower Options for a Bathroom Remodel Design Build Planners
