Introduction
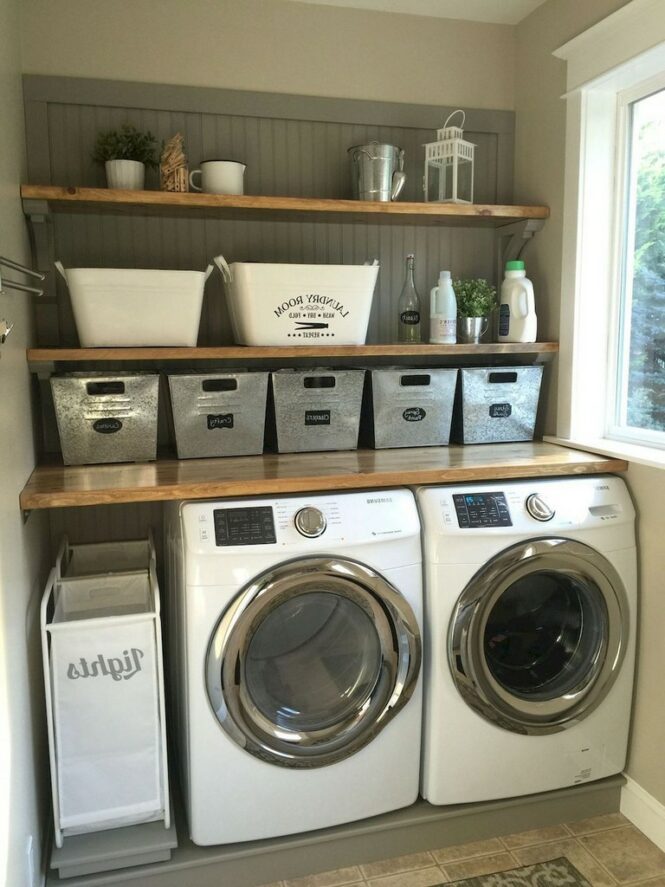
Having adequate storage space in your laundry room is essential for keeping things organized and clutter-free. One great way to maximize storage is by building laundry shelves. In this guide, we will walk you through the process of building your own laundry shelves, providing you with all the necessary information and steps to complete the project successfully.
Materials Needed
Before you begin, gather the following materials:
- Measuring tape
- Pencil
- Level
- Drill with appropriate drill bits
- Screws
- Wood boards (preferably 1×12 inches)
- Brackets
- Screwdriver
- Saw (if necessary)
- Sandpaper
- Paint or stain (optional)
Step-by-Step Guide
1. Measure and Plan
Begin by measuring the space where you want to install the laundry shelves. Consider the height, width, and depth of the shelves. Take note of any obstructions or outlets that might affect the placement of the shelves. Once you have your measurements, create a plan on paper or using a digital design tool to visualize the layout.
2. Purchase and Cut the Wood
Based on your measurements, purchase the appropriate length and number of wood boards. If the boards are longer than needed, use a saw to cut them to the desired lengths. Sand the edges to smooth them out.
3. Install the Brackets
Using a level, mark the locations where you will install the brackets. Ensure they are evenly spaced and aligned. Use a drill to attach the brackets securely to the wall, making sure they are level and stable.
4. Attach the Wood Boards
Place the wood boards on top of the brackets, ensuring they fit snugly. Use a drill to attach the boards to the brackets from underneath, ensuring a secure connection. Repeat this process for each shelf level.
5. Finishing Touches
If desired, you can paint or stain the shelves to match your laundry room’s decor. Allow the paint or stain to dry completely before using the shelves.
6. Organize and Enjoy
Once the shelves are securely installed, organize your laundry supplies and other items on the shelves. Consider using baskets or bins to further organize smaller items. Step back and admire your newly built laundry shelves!
Tips and Considerations
– When measuring, always double-check your numbers to ensure accuracy.
– Use a stud finder to locate the wall studs for stronger support when attaching the brackets.
– Before drilling into the wall, make sure there are no electrical wires or pipes in the area.
– If you don’t have access to a saw, most home improvement stores offer wood cutting services.
– Consider adding a backing board to the shelves for added stability and to prevent items from falling off the back.
Conclusion
Building laundry shelves is a practical and rewarding DIY project that can help you optimize your laundry room space. By following this step-by-step guide, you can create custom shelves that meet your specific needs, providing you with a functional and organized laundry room.
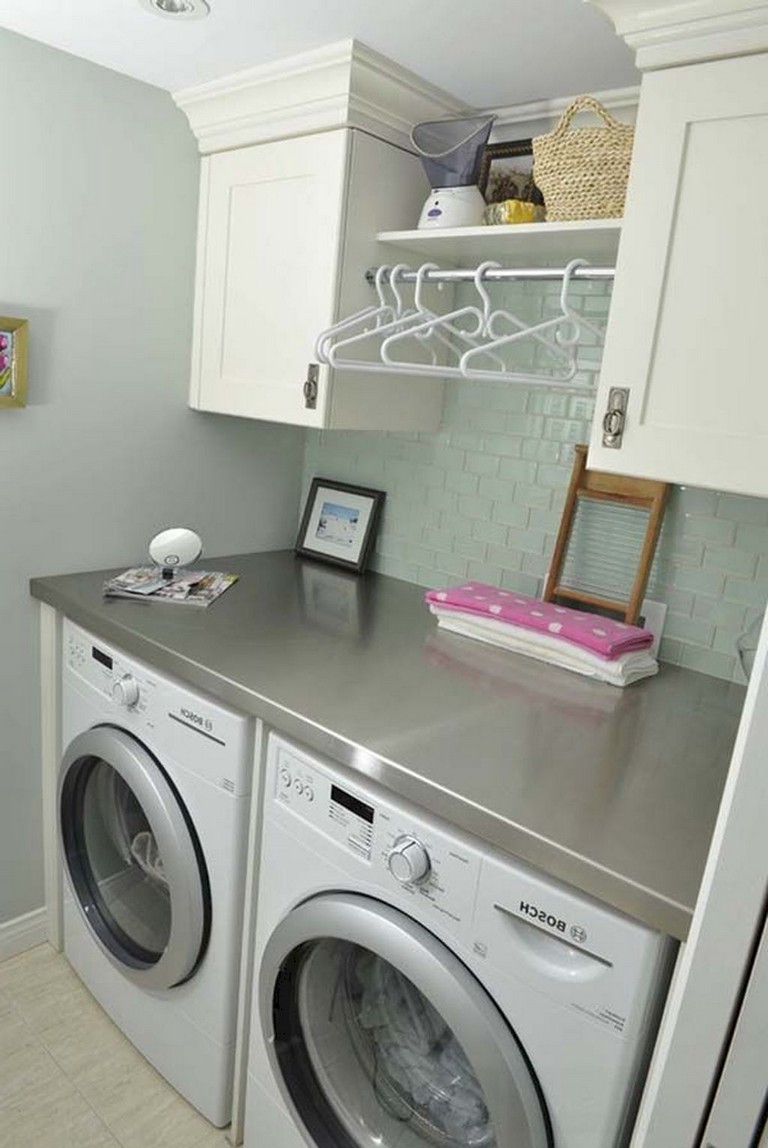
68+ Stunning DIY Laundry Room Storage Shelves Ideas Page 55 of 70
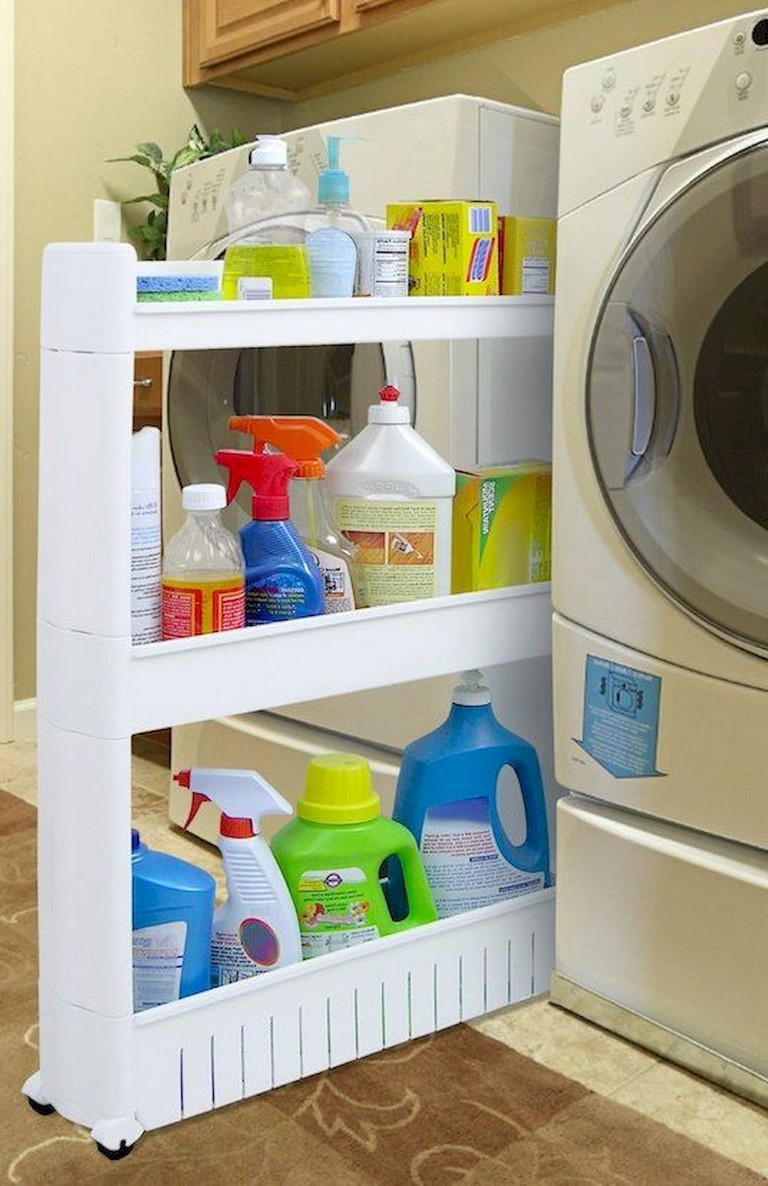
68+ Stunning DIY Laundry Room Storage Shelves Ideas Page 25 of 70
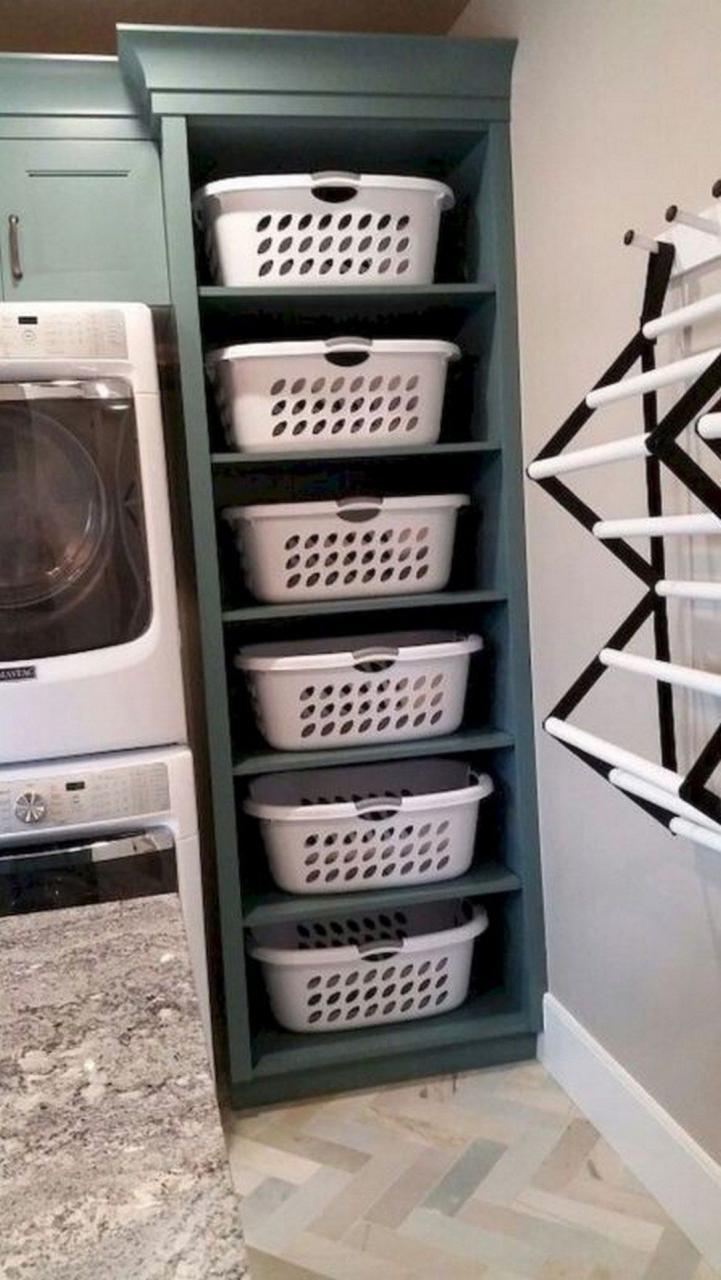
40 DIY Rustic Farmhouse Laundry Room Shelves Farmhouse Room Laundry
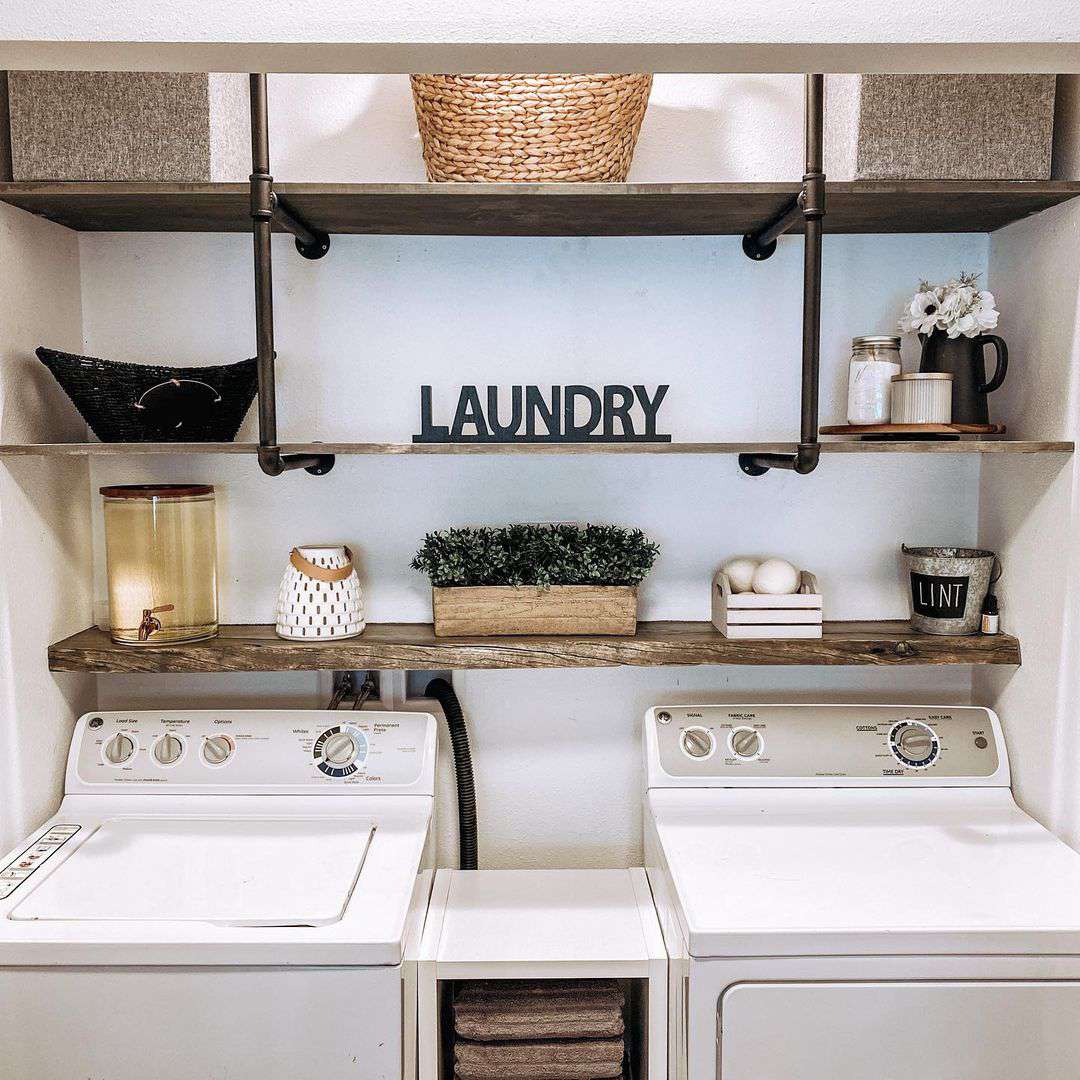
19 Best Laundry Room Shelving Ideas For an Organized Space
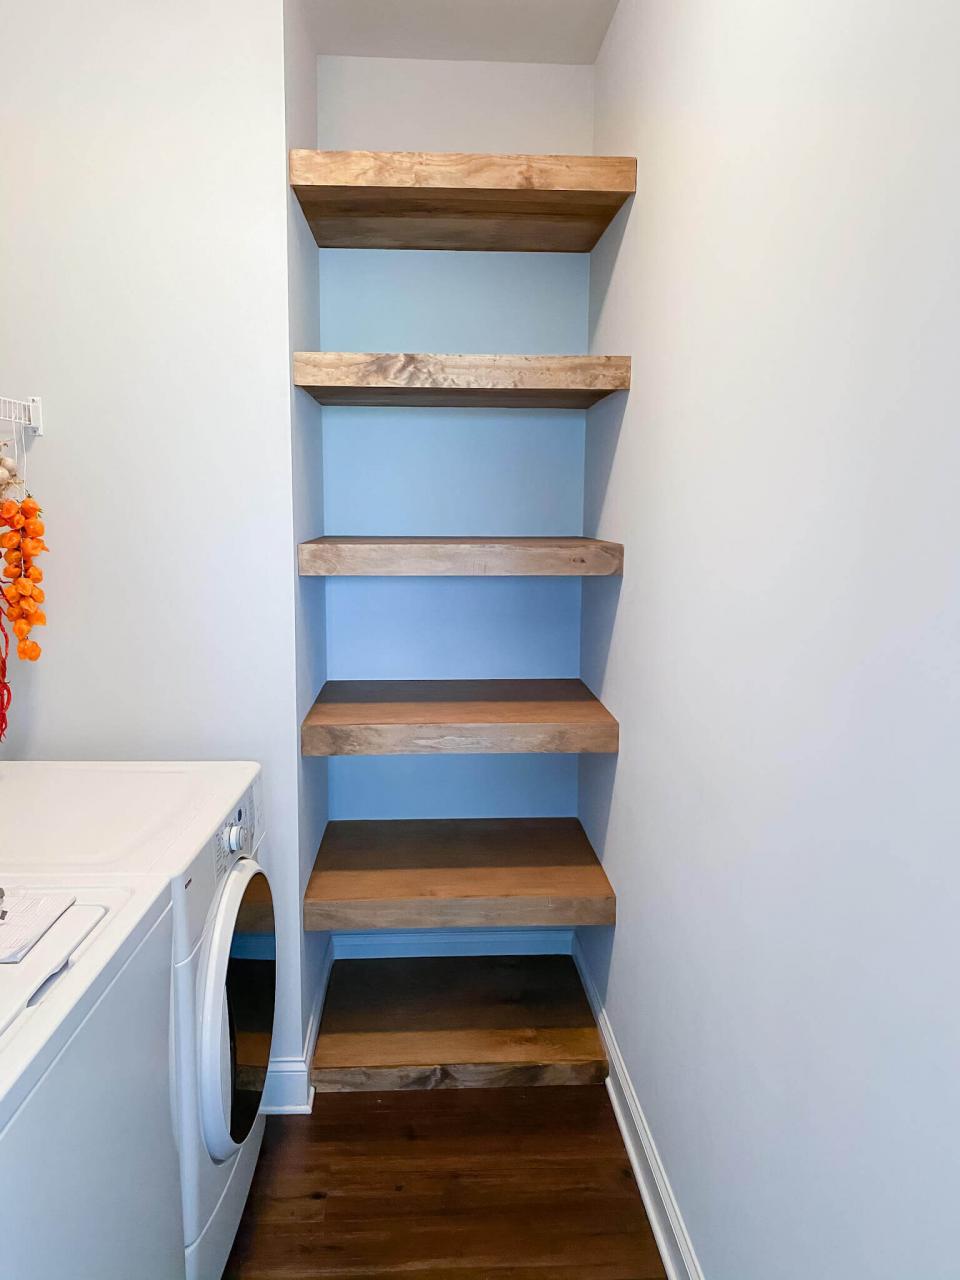
DIY Floating Shelves in the Laundry Room A Hosting Home
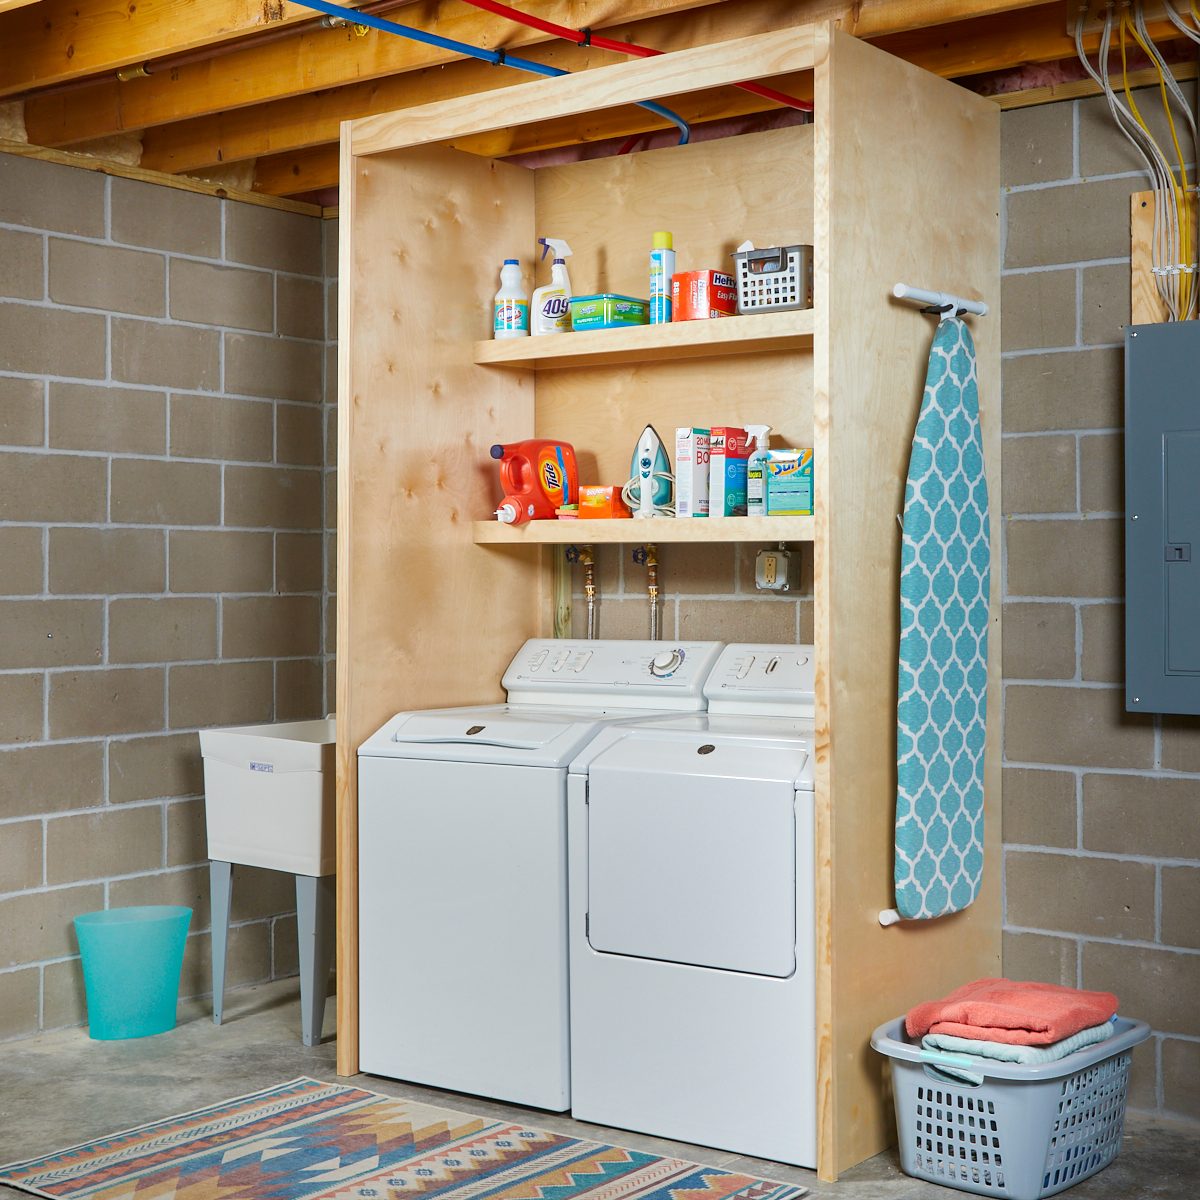
How to DIY Laundry Shelves Family Handyman
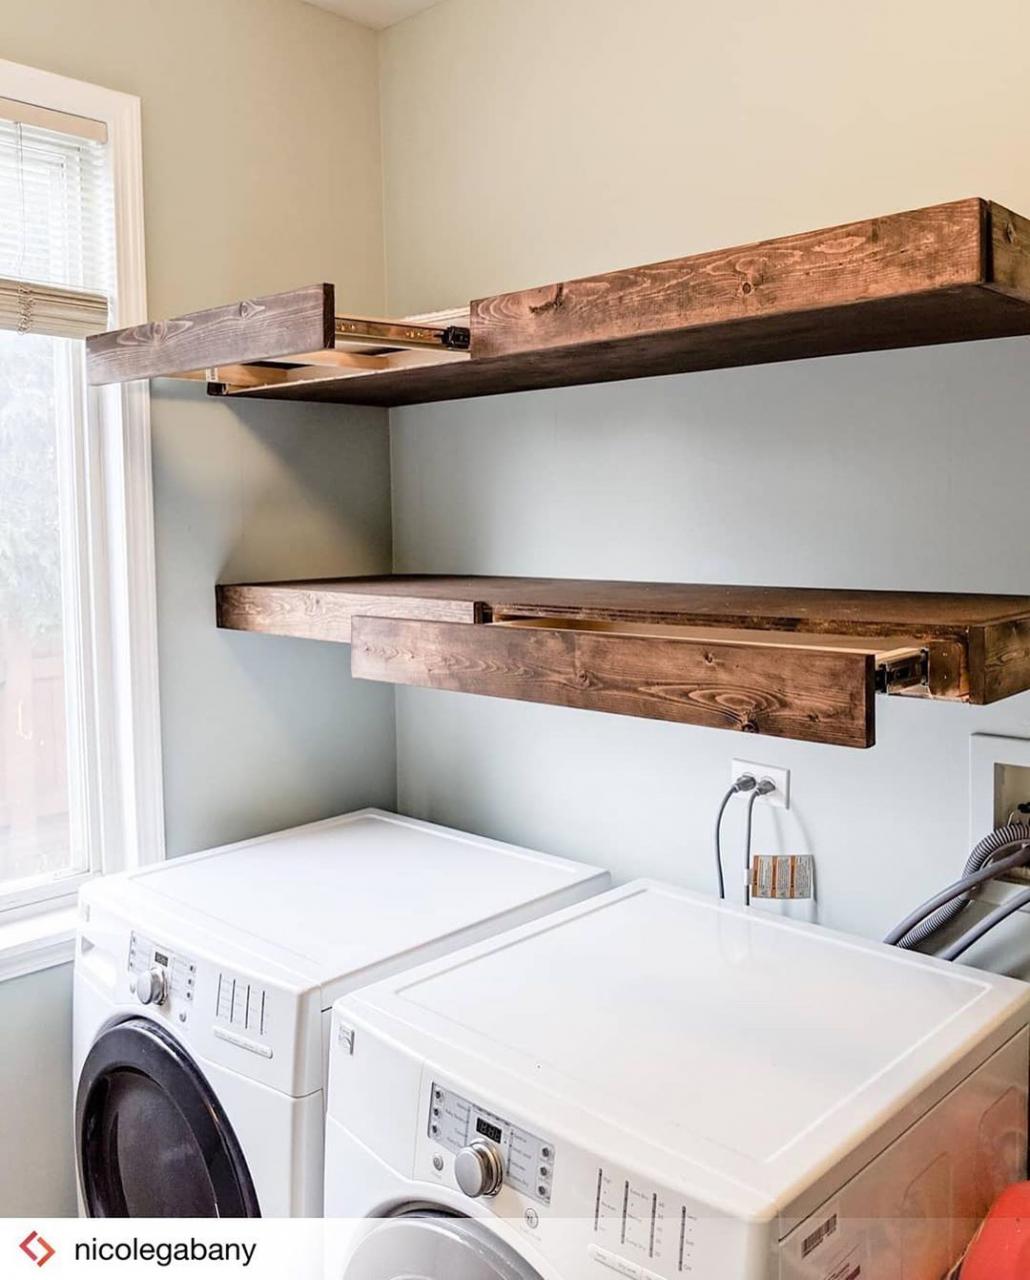
Laundry Room Shelves With Hanging Rod bestroom.one
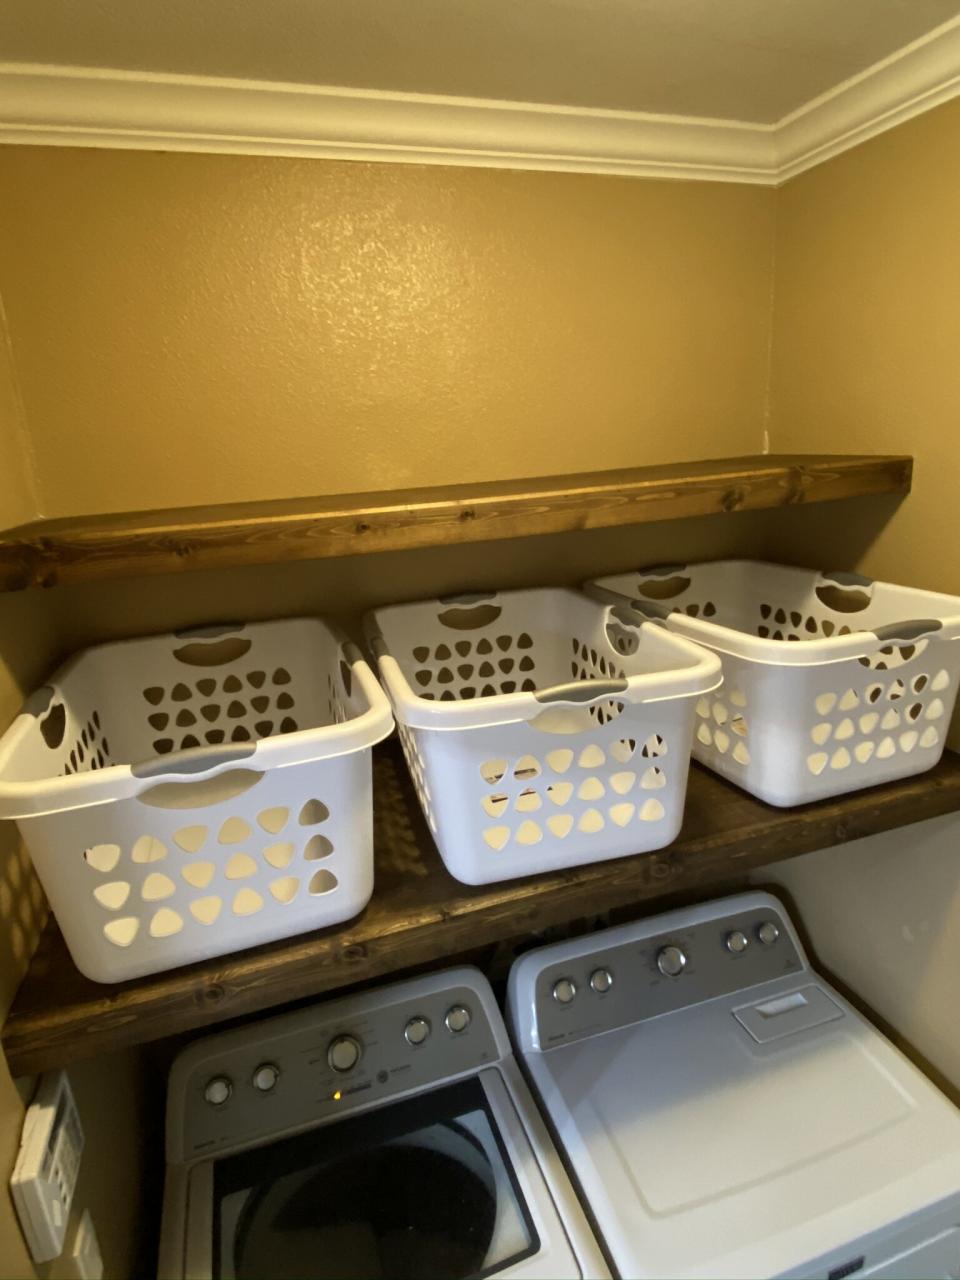
DIY Plywood Floating Shelves for the Laundry Room — 731 Woodworks We
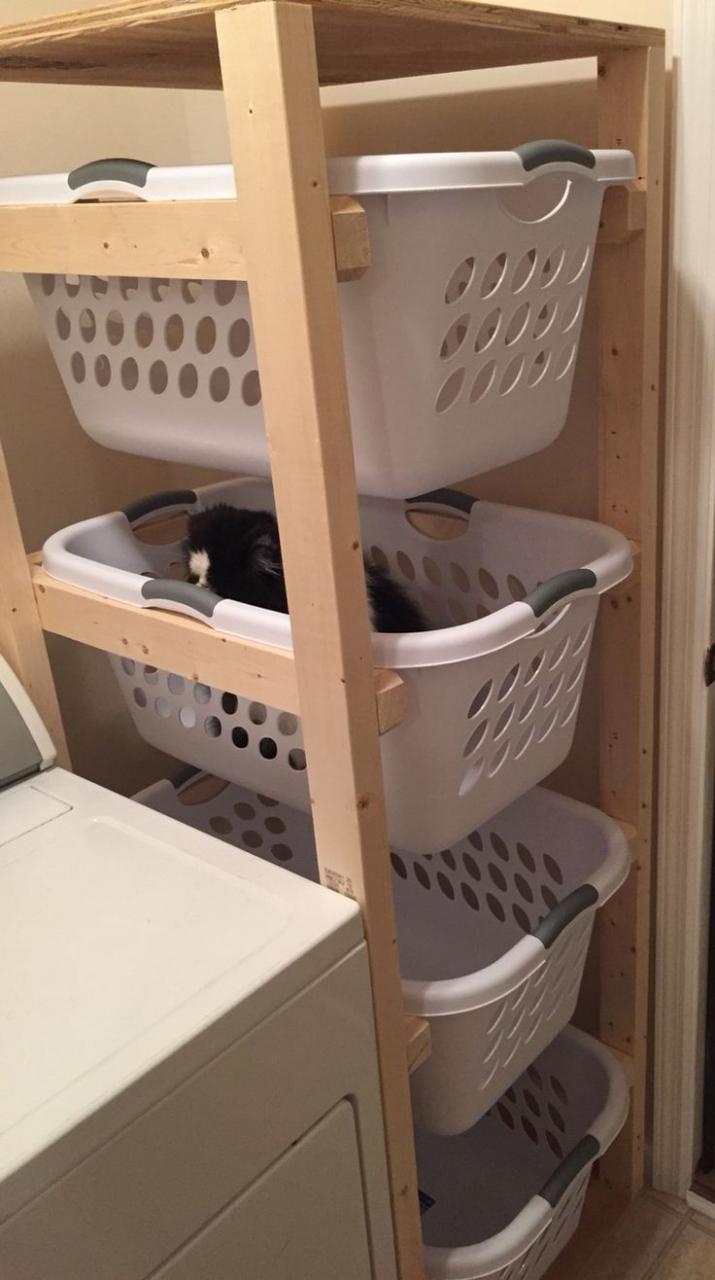
Diy Laundry Room Basket Shelves 20 Laundry Room Organization Ideas
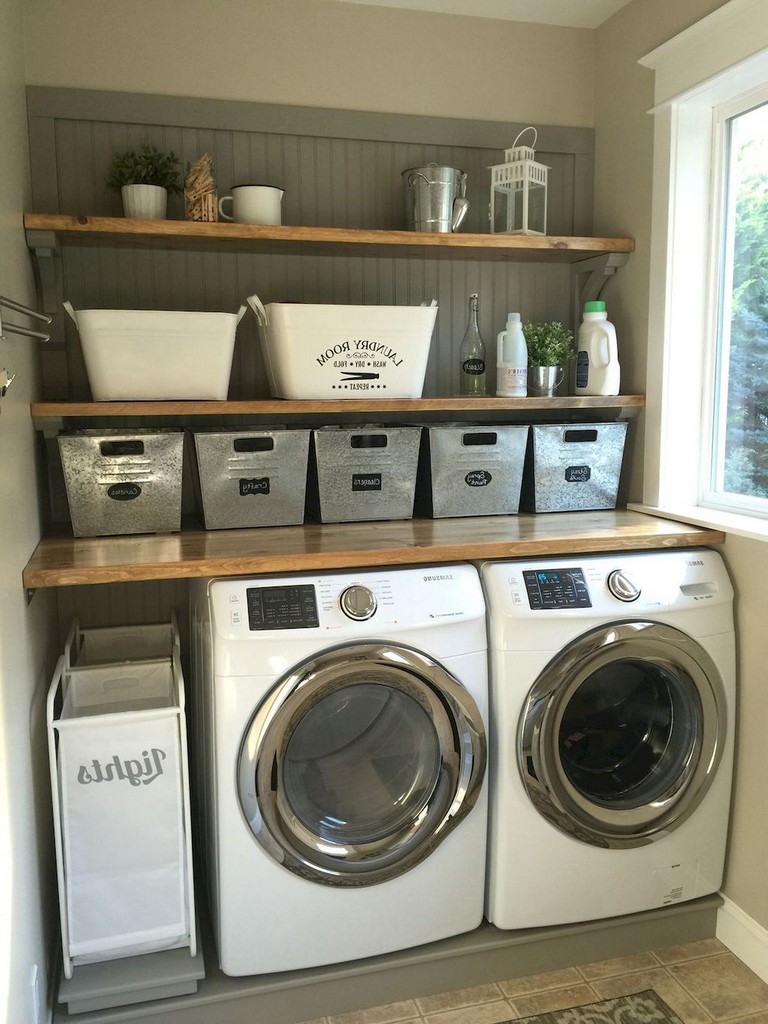
68+ Stunning DIY Laundry Room Storage Shelves Ideas Page 44 of 70
