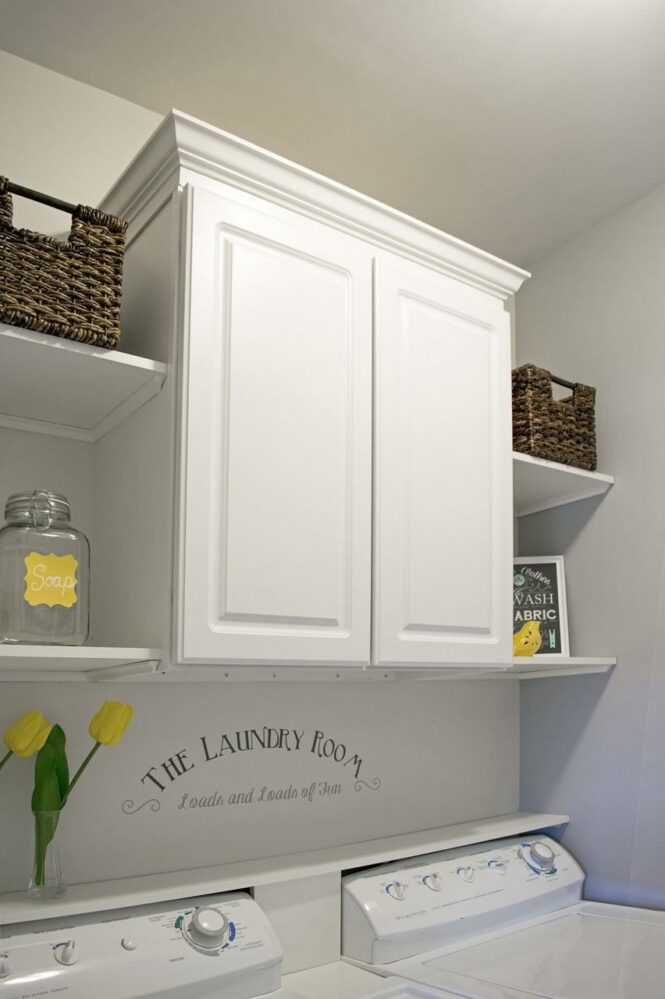
Introduction
If you’re looking to maximize the storage space in your laundry room, installing shelving is a great solution. Laundry room shelving provides a convenient and organized way to store laundry essentials, cleaning supplies, and other items. In this guide, we will walk you through the process of installing laundry room shelving, step by step.
Step 1: Planning
The first step in any successful project is proper planning. Start by measuring the available space in your laundry room and determine the ideal location for the shelving. Consider factors such as accessibility, convenience, and the weight of the items you plan to store on the shelves.
Step 2: Gathering the Supplies
Once you have a clear plan in mind, gather all the necessary supplies. This may include shelving units, brackets, screws, a level, a drill, anchors (if needed), and a stud finder.
Step 3: Marking the Wall
Using a pencil and a level, mark the desired height for your shelves on the wall. Make sure the marks are level and evenly spaced. Use a stud finder to locate the studs in the wall, as they will provide the strongest support for your shelving.
Step 4: Installing the Brackets
Attach the brackets to the wall using screws and a drill. Make sure the brackets are level and securely fastened to the studs. If studs are not available at the desired locations, use anchors to provide additional support.
Step 5: Attaching the Shelves
Place the shelves onto the brackets and secure them in place using screws or other provided hardware. Ensure that the shelves are level and evenly spaced. If you’re using adjustable shelves, adjust them to the desired height.
Step 6: Finishing Touches
Once the shelves are securely installed, take a few moments to ensure everything is level and properly aligned. Use a level to make any necessary adjustments. Clean up any debris or dust that may have accumulated during the installation process.
Tips and Considerations
1. Before starting the installation, check for any electrical wires or plumbing pipes behind the wall to avoid damaging them.
2. Consider adding additional features such as hooks or baskets to further enhance the functionality of your laundry room shelving.
3. Use a level throughout the installation process to ensure that your shelves are straight and aligned.
4. Take your time and follow the manufacturer’s instructions for the specific shelving units you are installing.
Conclusion
Installing laundry room shelving can greatly enhance the storage and organization in your laundry room. By following these steps and considering the tips mentioned, you can successfully install laundry room shelving that meets your needs and complements the overall design of your space.
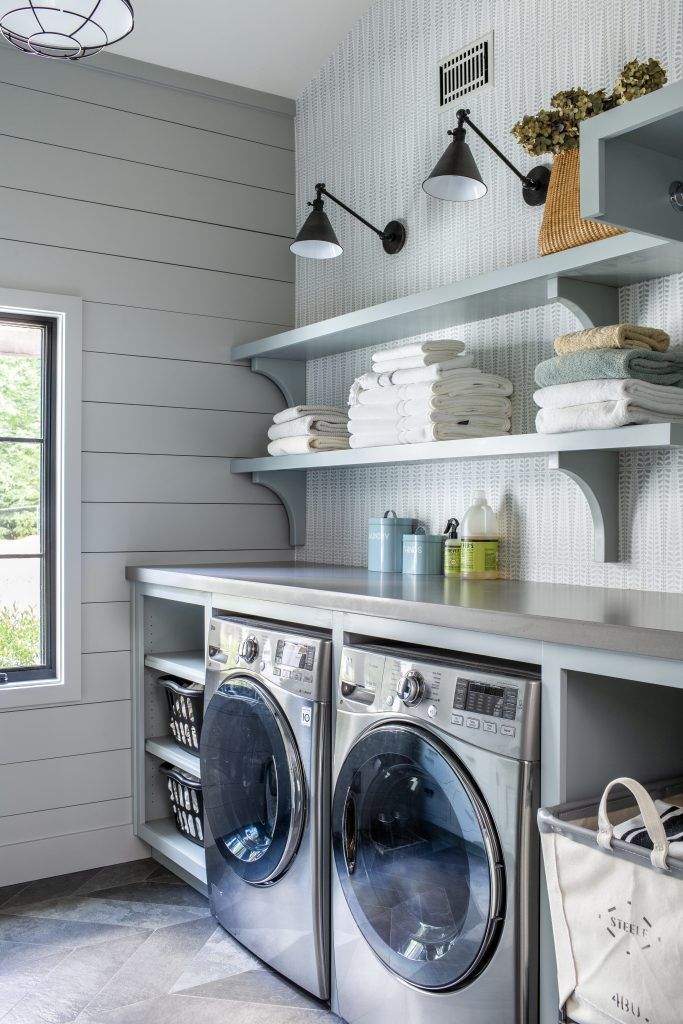
Countertop over the washer and dryer + open shelving in the laundry
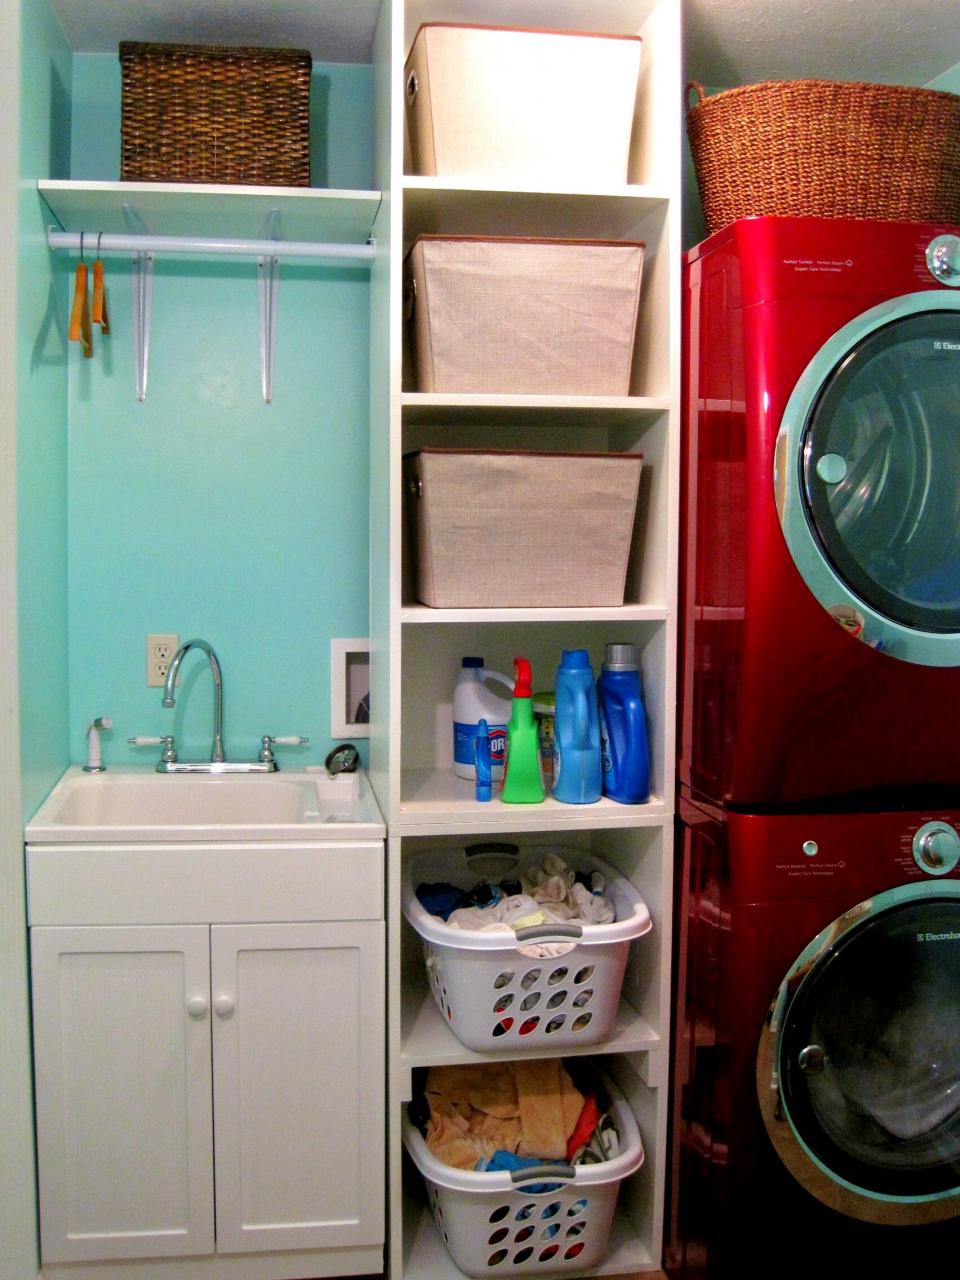
Laundry Room Shelving Ideas for Small Spaces You Need to See HomesFeed
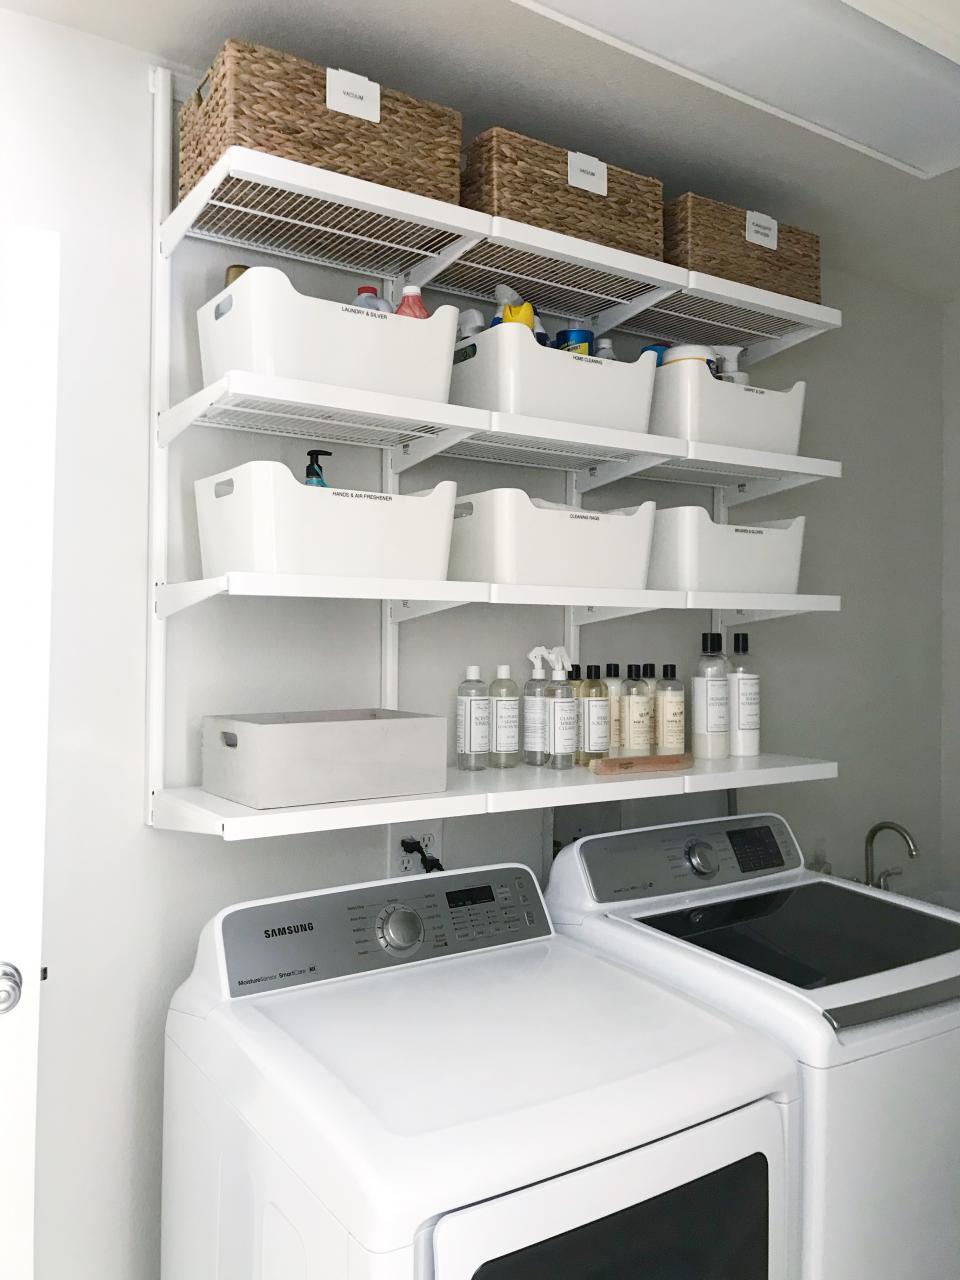
Homemade Laundry Room Shelves 68+ Stunning DIY Laundry Room Storage
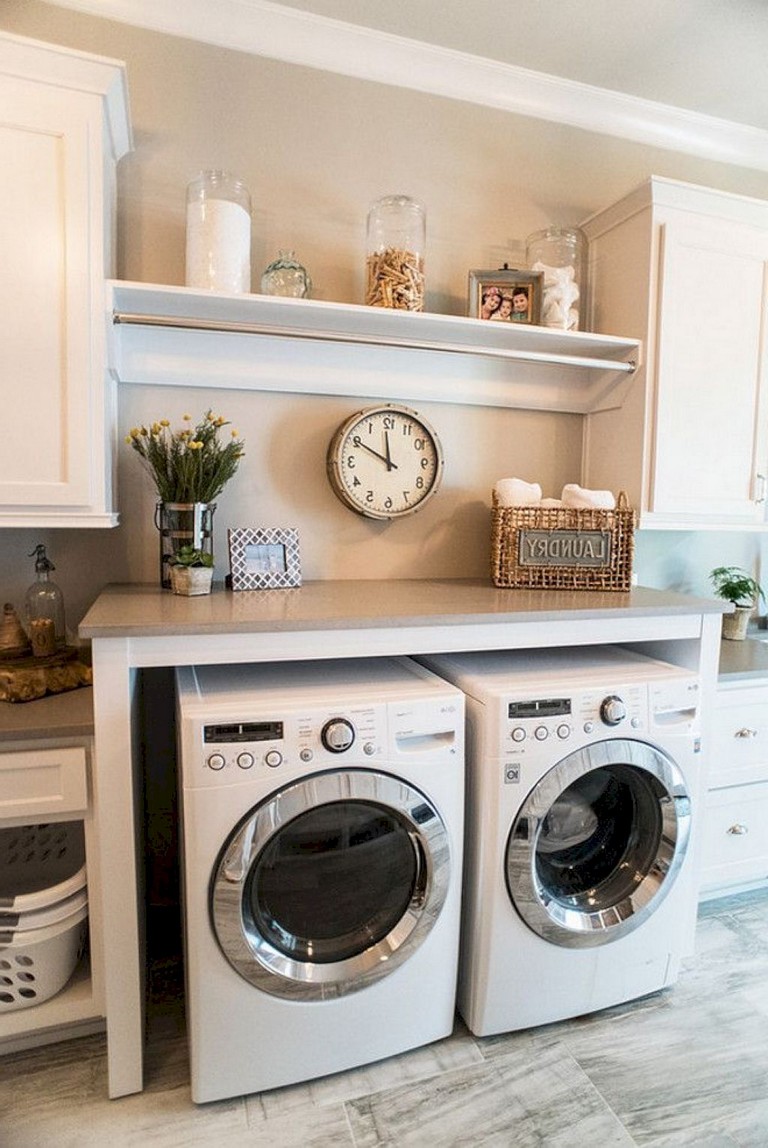
68+ Stunning DIY Laundry Room Storage Shelves Ideas Page 36 of 70
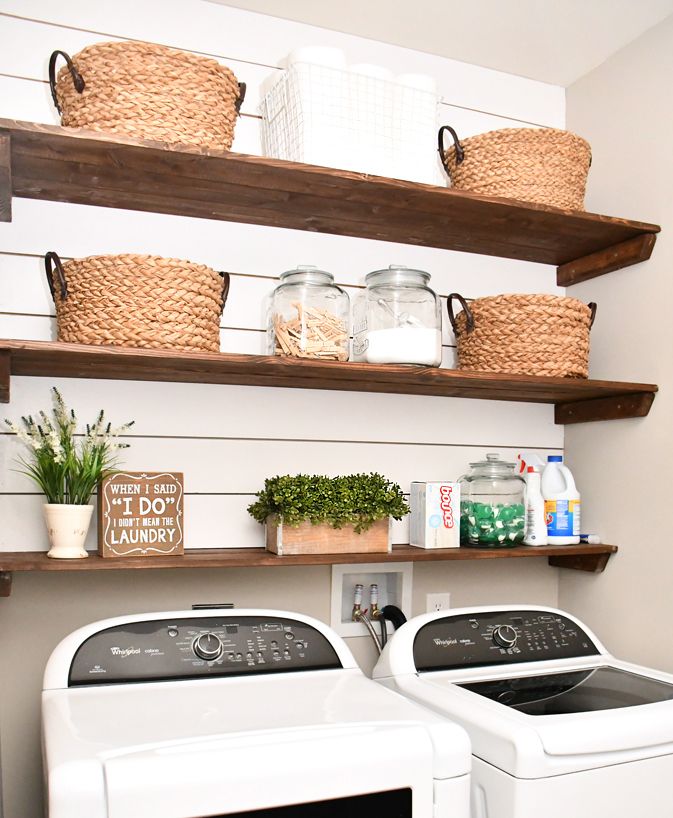
Diy Shelf Ideas For Laundry Room / 1 / If you have a small laundry room
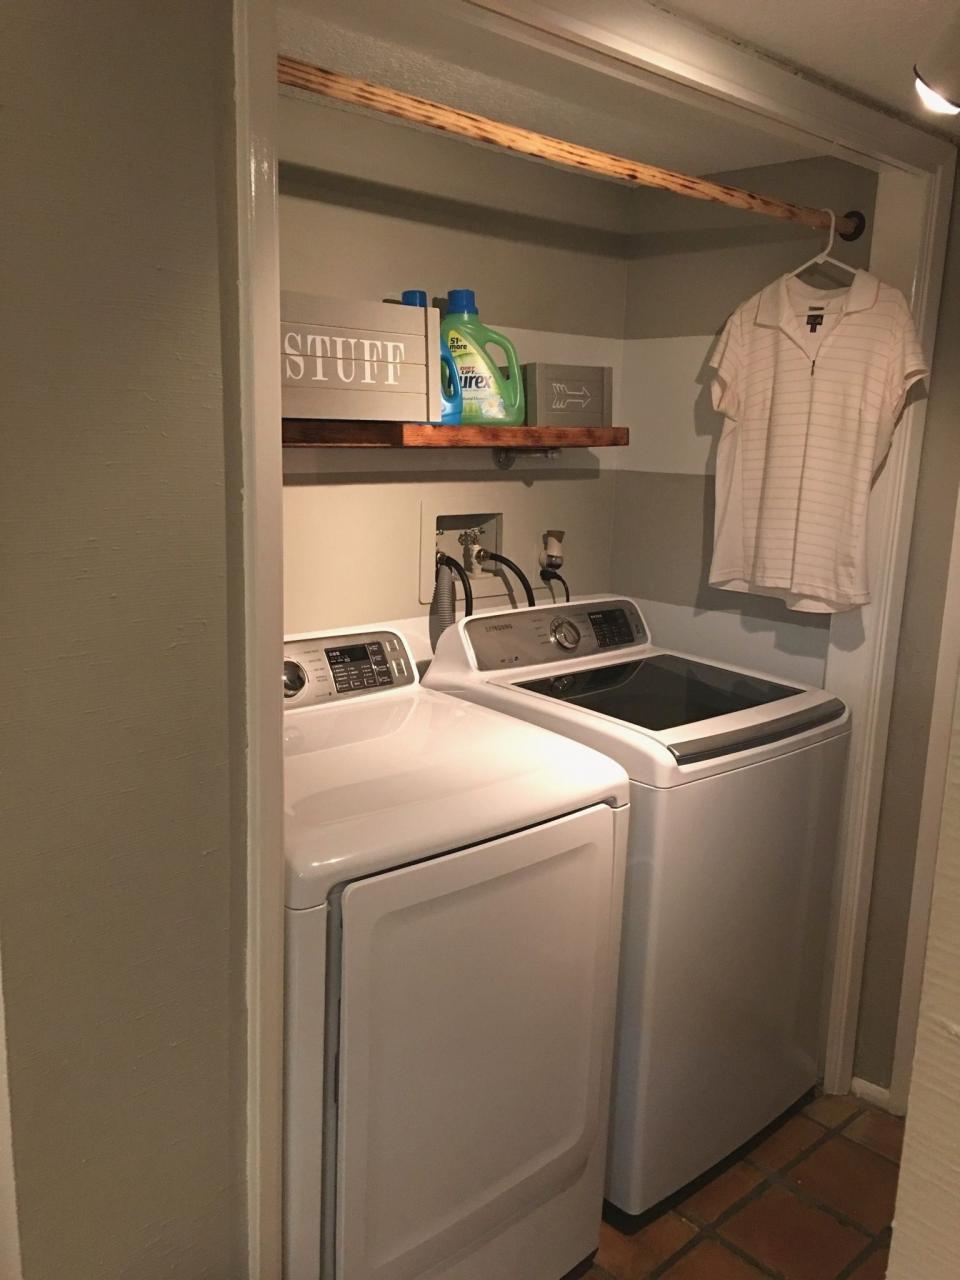
Laundry Room Shelves With Hanging Rod bmpsimply
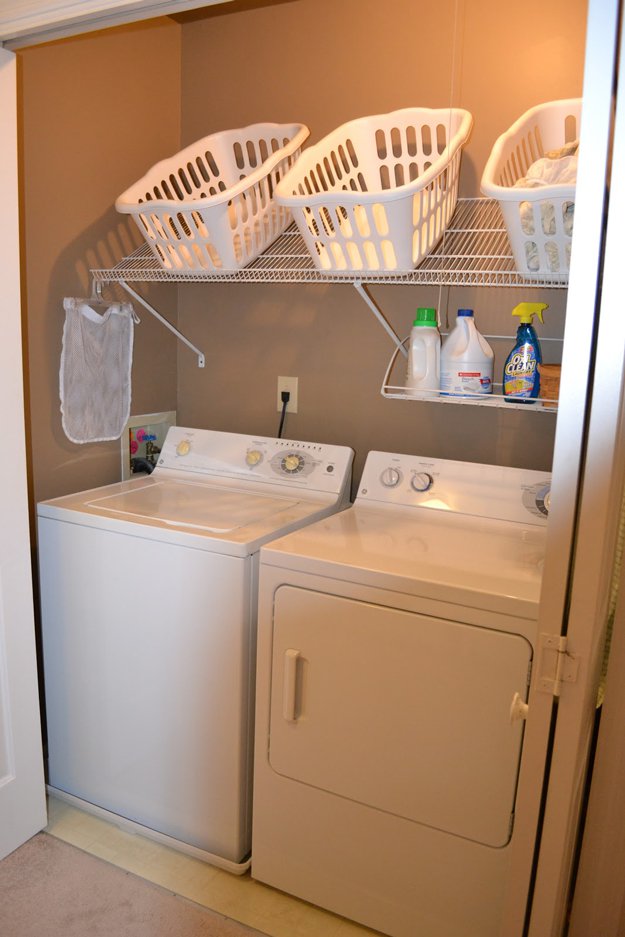
Laundry Room Shelving Ideas for Small Spaces You Need to See HomesFeed
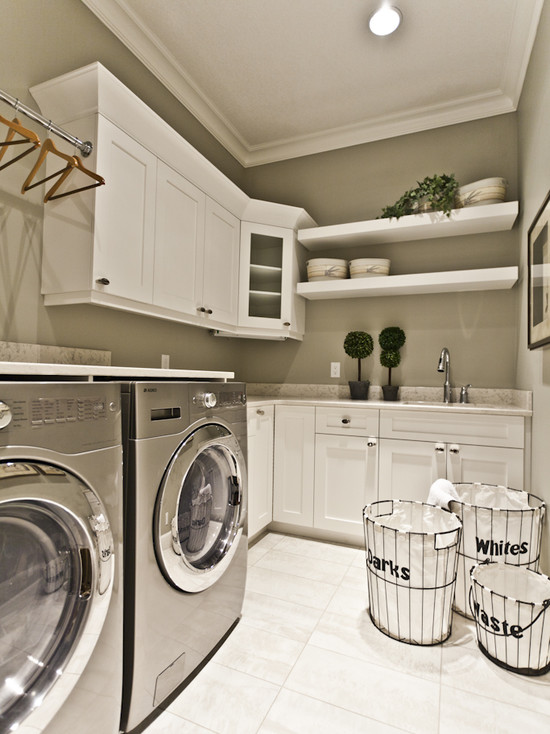
Simple and Best Laundry Room Shelf that You Must Apply HomesFeed
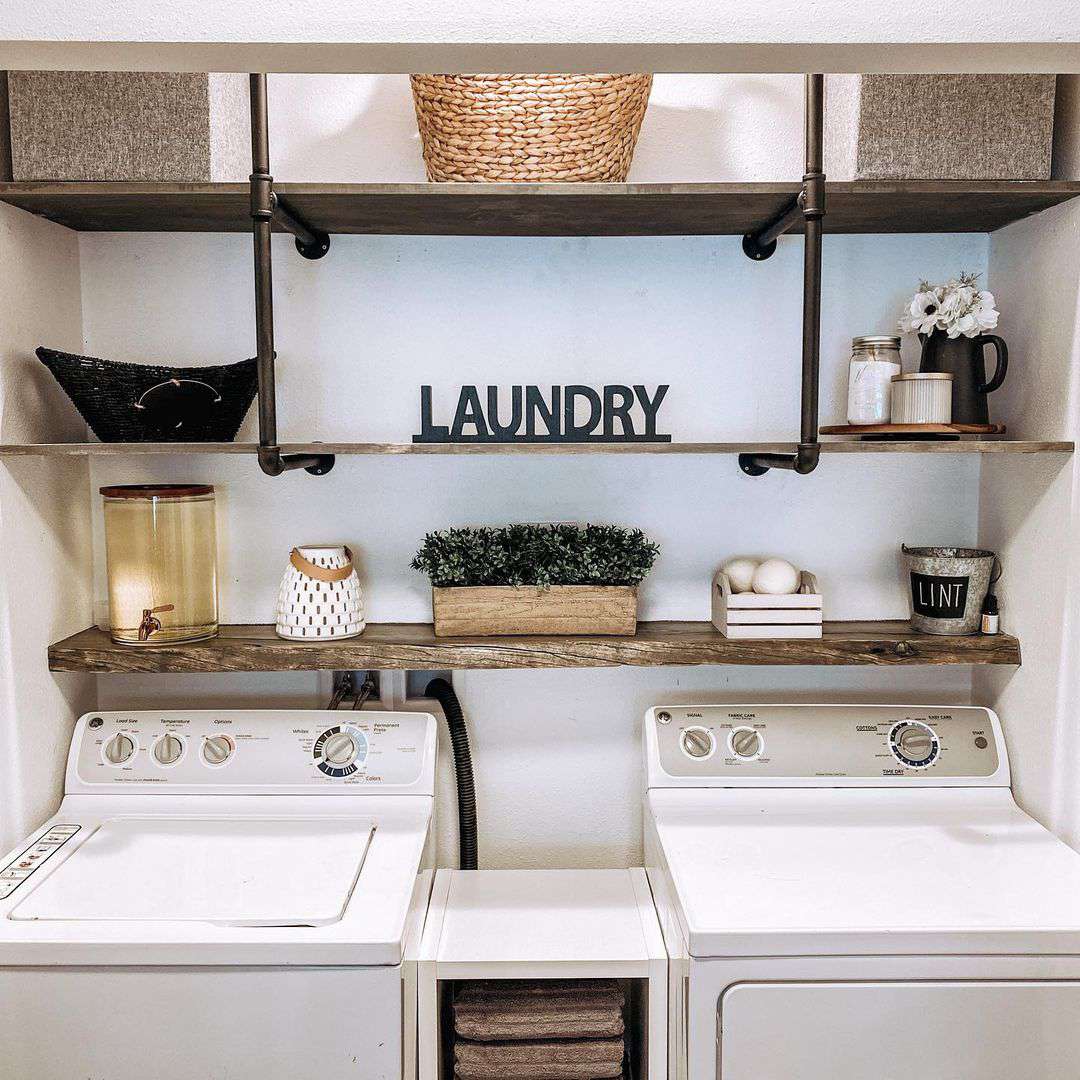
19 Best Laundry Room Shelving Ideas For an Organized Space
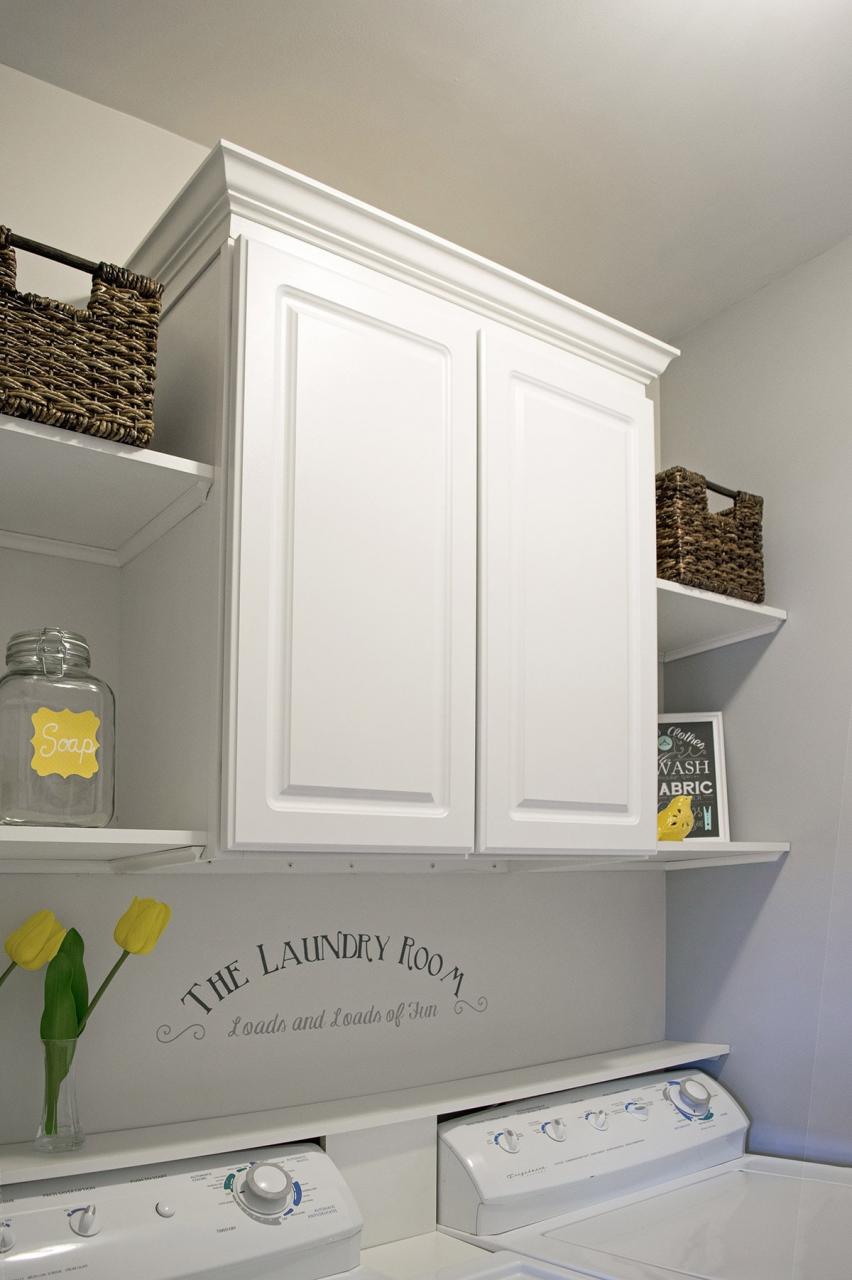
How To Install Laundry Room Learn Methods


